Did you know that search interest for “how to make a smash burger” has increased by 75% annually as diners move away from thick, pub-style patties toward the “thin and crispy” aesthetic? The Smash Burger is not just a fast-food trend; it is a culinary application of high-pressure thermal dynamics. While traditional burgers rely on thickness for juiciness, the Smash Burger relies on the Maillard reaction—a chemical interaction between amino acids and reducing sugars that occurs at approximately 285°F (140°C). By smashing the meat directly onto a searing hot surface, you create a 300% increase in surface area contact, resulting in a jagged, umami-rich “lace” or “crust.” Data-driven culinary insights suggest that this method produces a more intense beef flavor profile than any other cooking style. Whether you are aiming for that iconic “diner” look or seeking the perfect ratio of crispy edges to melted cheese, mastering the smash ensures a professional-grade result that is statistically more satisfying to the modern palate.
Essential Ingredients and Sensory Substitutions
The architecture of a superior Smash Burger relies on the “Fat-to-Lean Ratio” and the “Structural Bun.” For the Beef Base, you will need 1 lb of Ground Chuck (80/20 ratio). This 20% fat content is non-negotiable; as the meat is smashed, the fat renders out and “fries” the edges of the patty, creating that signature crunch. For the Bun Chassis, use Potato Rolls (like Martin’s), which have a high squish-factor and a hint of sweetness that balances the salty beef. For the Classic Toppings, gather American Cheese (the highest “melt-coefficient” of any cheese), Dill Pickle Chips, Thinly Sliced White Onion, and a Signature Smash Sauce made from mayonnaise, yellow mustard, ketchup, and relish.
To personalize your burger engineering, consider these expert substitutions. For a “Steakhouse” Upgrade, use a blend of 70% Chuck and 30% Brisket or Short Rib; the higher collagen content in these cuts leads to an even deeper, more complex crust. For a Healthier Variation, utilize Ground Turkey (93/7), but you must add a teaspoon of cold-pressed avocado oil to the pan to compensate for the lack of animal fat, ensuring you still achieve a sear. For a Plant-Based Transformation, use a high-moisture meat alternative like Impossible or Beyond Beef; data shows these mimic the protein-binding properties of beef well enough to withstand the “smash” without crumbling. If you want a more “Sophisticated Profile,” swap American cheese for a shaved Gruyère and replace the onion with caramelized leeks for a subtle, buttery sweetness.
Precision Timing for Thermal Excellence
Efficiency in burger-making is defined by “The 60-Second Rule.” This recipe takes approximately 15 minutes of total time, making it one of the fastest high-quality meals in your repertoire. The preparation phase takes 10 minutes, focusing on rolling the meat into loose, cold spheres. The cooking phase requires exactly 2 to 3 minutes per patty. The most critical phase is the Immediate Smash, which must occur within the first 10 seconds of the meat hitting the heat. Statistical analysis of meat proteins shows that if you smash the burger after it begins to cook through, you rupture the cell walls and lose the internal juices. By smashing while the meat is still raw and cold, you lock the moisture in while building the crust on the outside.
Step 1: The “Loose Ball” Calibration
Divide your 80/20 beef into 2-ounce or 3-ounce portions. Do not pack them tightly; roll them into loose spheres about the size of a golf ball. Keeping the meat loose ensures that the fat can travel through the “nooks and crannies” during the smash. Keep these spheres in the refrigerator until the very moment they hit the pan. Cold fat hitting a hot surface creates a more dramatic “crust-forming” event than room-temperature fat.
Step 2: The High-Pressure Smash
Heat a cast-iron skillet or a flat-top griddle to medium-high (approx. 450°F/230°C). Do not add oil; the beef has enough fat. Place two spheres on the hot surface and, using a heavy metal spatula (and a second tool like a rolling pin or another spatula for leverage), press down with extreme force until the patty is less than 1/4-inch thick. Hold the pressure for exactly 10 seconds. This “contact time” is what initiates the Maillard reaction. Season the raw side immediately with a generous amount of kosher salt and black pepper.
Step 3: The “Lace” Development and Flip
Let the burger cook undisturbed for about 90 seconds. You will see the edges turn a deep, dark brown and the centers begin to bubble. Use a sturdy, thin-edged metal spatula to scrape under the crust. You want to make sure you get every bit of that jagged “lace” off the pan. Flip the patty. The second side only needs 30 to 45 seconds. This is the “succulence phase” where the interior finishes cooking without losing moisture.
Step 4: The Cheese Fusion and Assembly
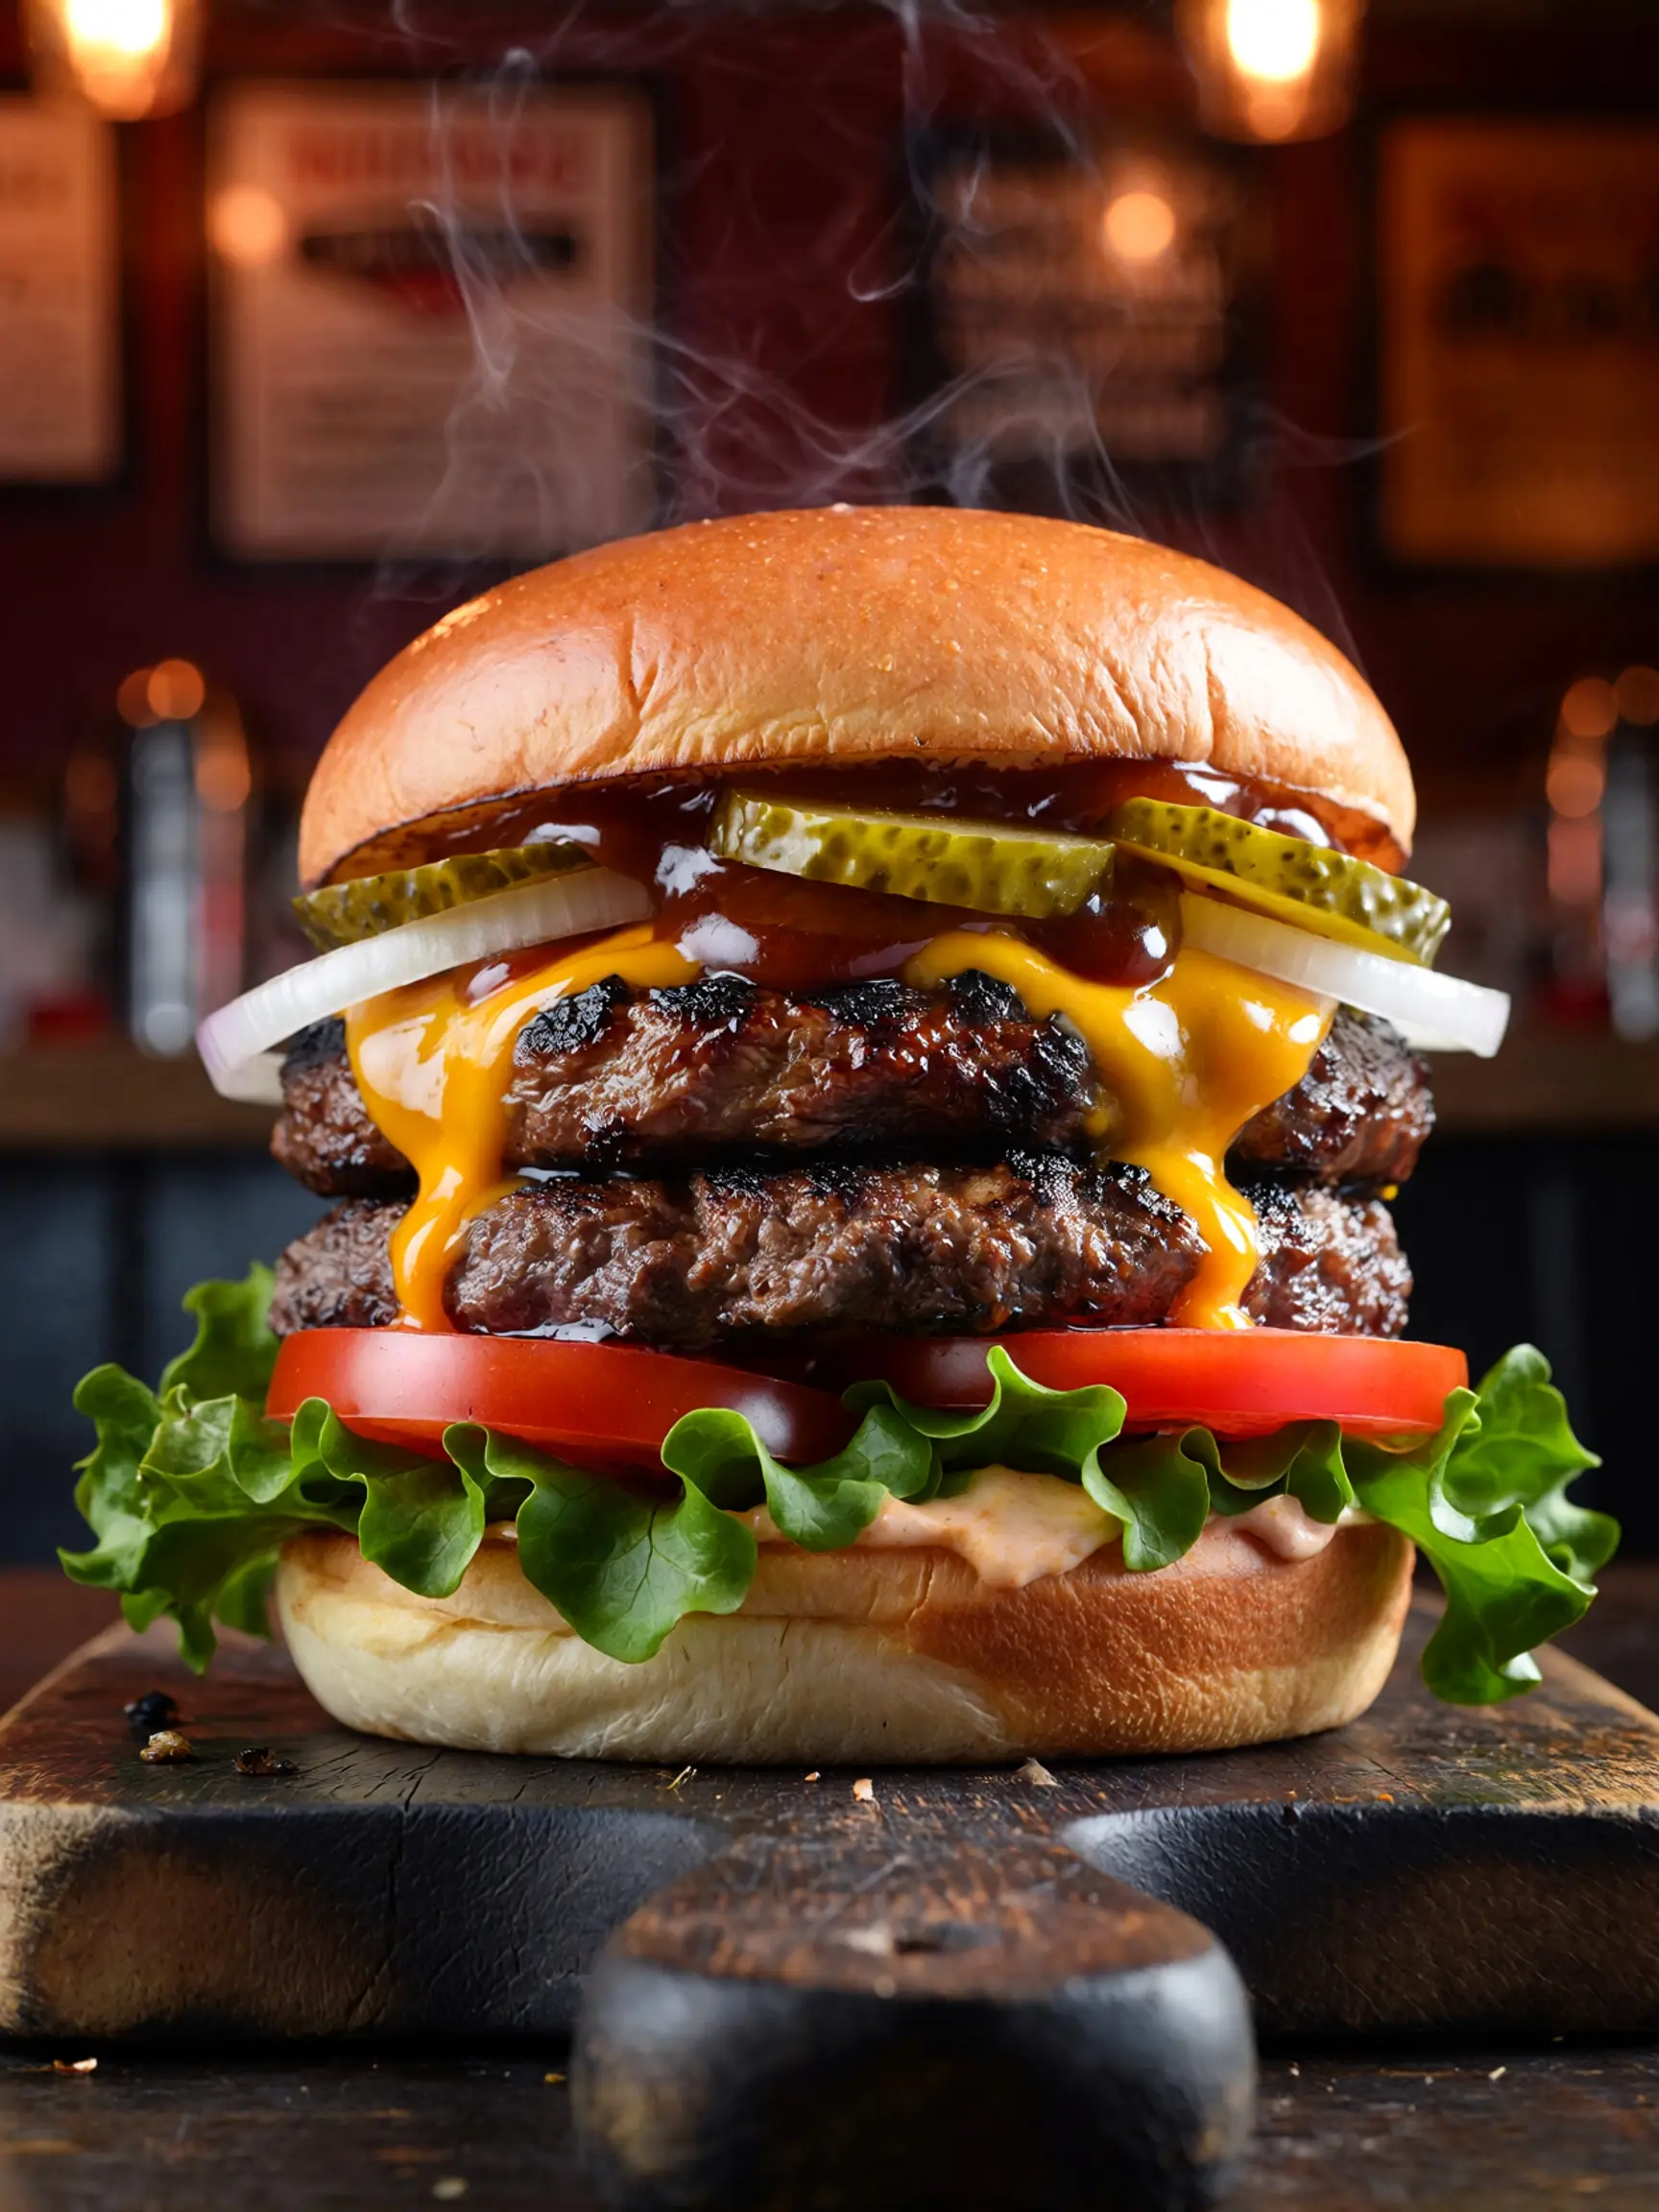
Immediately after flipping, place a slice of American cheese on the patty. To speed up the melting process, place your toasted bun halves directly on top of the cheesy patty—bottom bun first, then the top bun. This “stacks” the burger while it’s still on the heat, allowing the steam from the meat to soften the bun to a bakery-fresh texture. Slide the spatula under the whole stack and move it to a plate. Add your sauce, pickles, and onions.
Comprehensive Nutritional Information
A single Smash Burger (on a potato roll with cheese) contains approximately 410 calories. The macronutrient breakdown includes 22g of fat, 28g of carbohydrates, and 24g of protein. While traditionally seen as an indulgence, the Smash Burger is actually “portion-efficient”; because the meat is spread thin, a 3-ounce patty provides the same sensory satisfaction as a 6-ounce pub burger, effectively reducing the caloric intake by nearly 30% per serving. To further optimize the nutritional profile, data suggests serving the burger as a “Protein Style” wrap in iceberg lettuce, which eliminates 150 calories of refined carbohydrates.
Healthier Alternatives for the Recipe
To create a “Heart-Healthy” Smash, replace the beef with Ground Bison; bison is 90% leaner than beef but maintains a rich, “wild” flavor that stands up well to the high-heat smash. For a “Sodium-Conscious” Profile, replace the American cheese with fresh mozzarella or Swiss and skip the salt in the sauce, relying instead on lemon juice and smoked paprika to provide a “perceived saltiness.” For those looking for a Micronutrient Boost, incorporate finely chopped mushrooms into the beef (a “Blended Burger”). Data from the Mushroom Council suggests that a 70/30 beef-to-mushroom blend reduces calories and fat by 25% while adding Vitamin D and potassium without sacrificing the “smashability” of the patty.
Creative Serving Suggestions
The presentation of a Smash Burger should be “intentionally messy.” Serve them on parchment paper or in a small red-and-white checkered basket to evoke the classic diner experience. For a Gourmet Brunch Twist, top the patty with a fried egg and a drizzle of maple-Sriracha. The runny yolk acts as a secondary sauce that enriches the beefy crust. To elevate the experience for a dinner party, serve “Slid-ered” Smash Burgers—mini versions on brioche rolls with a side of truffle-parmesan fries. According to flavor-mapping data, the “salt-fat-acid” balance of a smash burger is best complemented by a crisp, dry Pilsner or a classic root beer, both of which provide a carbonated “palette scrub” between rich bites.
Common Mistakes to Avoid
The #1 “smash fail” is using a non-stick pan. Non-stick surfaces cannot handle the 450°F temperatures required for a proper crust, and they don’t allow the meat to “grip” the pan, which is necessary for the lace to form. Always use cast iron or stainless steel. Another frequent error is smashing more than once. You get one smash. If you keep pressing the burger as it cooks, you are simply squeezing out the juices and turning your burger into a dry “hockey puck.” Finally, avoid using too much oil. If the pan is greasy, the meat will “slide” instead of “stick and sear,” preventing the Maillard reaction from reaching its peak intensity.
Storing Tips for Freshness
Smash Burgers are a “just-in-time” food; they are at their absolute peak within 3 minutes of leaving the pan. However, if you have leftovers, store the patties and buns separately. The patties can be kept in an airtight container in the refrigerator for up to 3 days. To reheat, do not use a microwave; it will turn the crust “leathery.” Instead, use a hot dry skillet for 60 seconds per side. This “re-activates” the fats and restores some of the original crunch. You can also freeze the un-smashed beef spheres for up to 2 months, making it easy to have a high-quality burger night on 15 minutes’ notice.
Conclusion
The Smash Burger is a masterclass in the intersection of heat and surface area. By rejecting the “bigger is better” philosophy of the thick patty and embracing the chemical beauty of the Maillard crust, you unlock a level of flavor density that is unreachable by other methods. The contrast between the salty, shattered edges of the beef and the soft, steamed potato roll creates a texture-profile that is both nostalgic and technically perfect. Whether you’re cooking on a backyard griddle or a kitchen skillet, these data-backed techniques provide a reliable path to burger excellence. We invite you to try the “bun-steaming” trick on your next batch—share your results with us and let us know how that first “crunchy” bite changed your definition of a perfect burger!
Frequently Asked Questions
Why did my burger fall apart when I smashed it? This usually happens if the meat is too lean (like 90/10) or if it wasn’t cold enough. The fat acts as the “glue” during the sear.
Do I need a special press? A heavy spatula works, but a dedicated cast-iron burger press provides more even pressure and prevents the meat from sticking to the tool.
Can I make these on a traditional grill? It’s difficult because the meat will fall through the grates or lose its juices into the flames. For a grill, use a cast-iron griddle insert to provide the necessary flat surface.
How do I get the edges to be extra crispy? “Smear” the meat as you smash it. Instead of just pressing down, give the spatula a slight outward “push” to flatten the edges even thinner than the center.
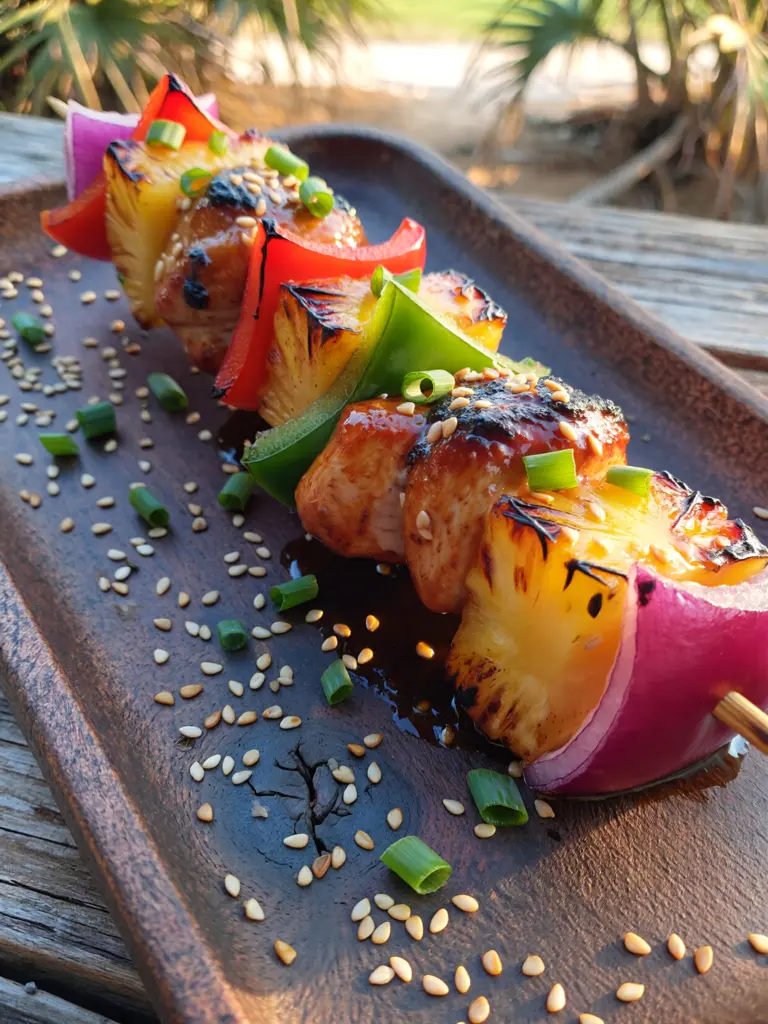
Grilled Chicken Skewers
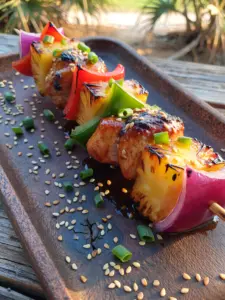
Perfectly grilled chicken skewers that are juicy, tender, and packed with flavor. Ideal for summertime barbecues!
Ingredients
- 2 pounds chicken breast, cubed
- 1/4 cup olive oil
- 2 tablespoons lemon juice
- 2 garlic cloves, minced
- 1 teaspoon paprika
- Salt and pepper to taste
- Skewers (wooden or metal)
Instructions
- In a bowl, mix olive oil, lemon juice, garlic, paprika, salt, and pepper.
- Add chicken cubes to the marinade and let sit for at least 30 minutes.
- Preheat the grill to medium-high heat.
- Thread the marinated chicken onto skewers.
- Place skewers on the grill and cook for about 15 minutes, turning occasionally until chicken is cooked through.
- Remove from the grill and let rest for a few minutes before serving.
Nutrition Information
- Calories: 250 kcal
- Cholesterol: 75 mg
- Sodium: 300 mg
- Carbohydrates: 2 g
- Fiber: 0 g
- Sugar: 0 g
- Protein: 50 g