
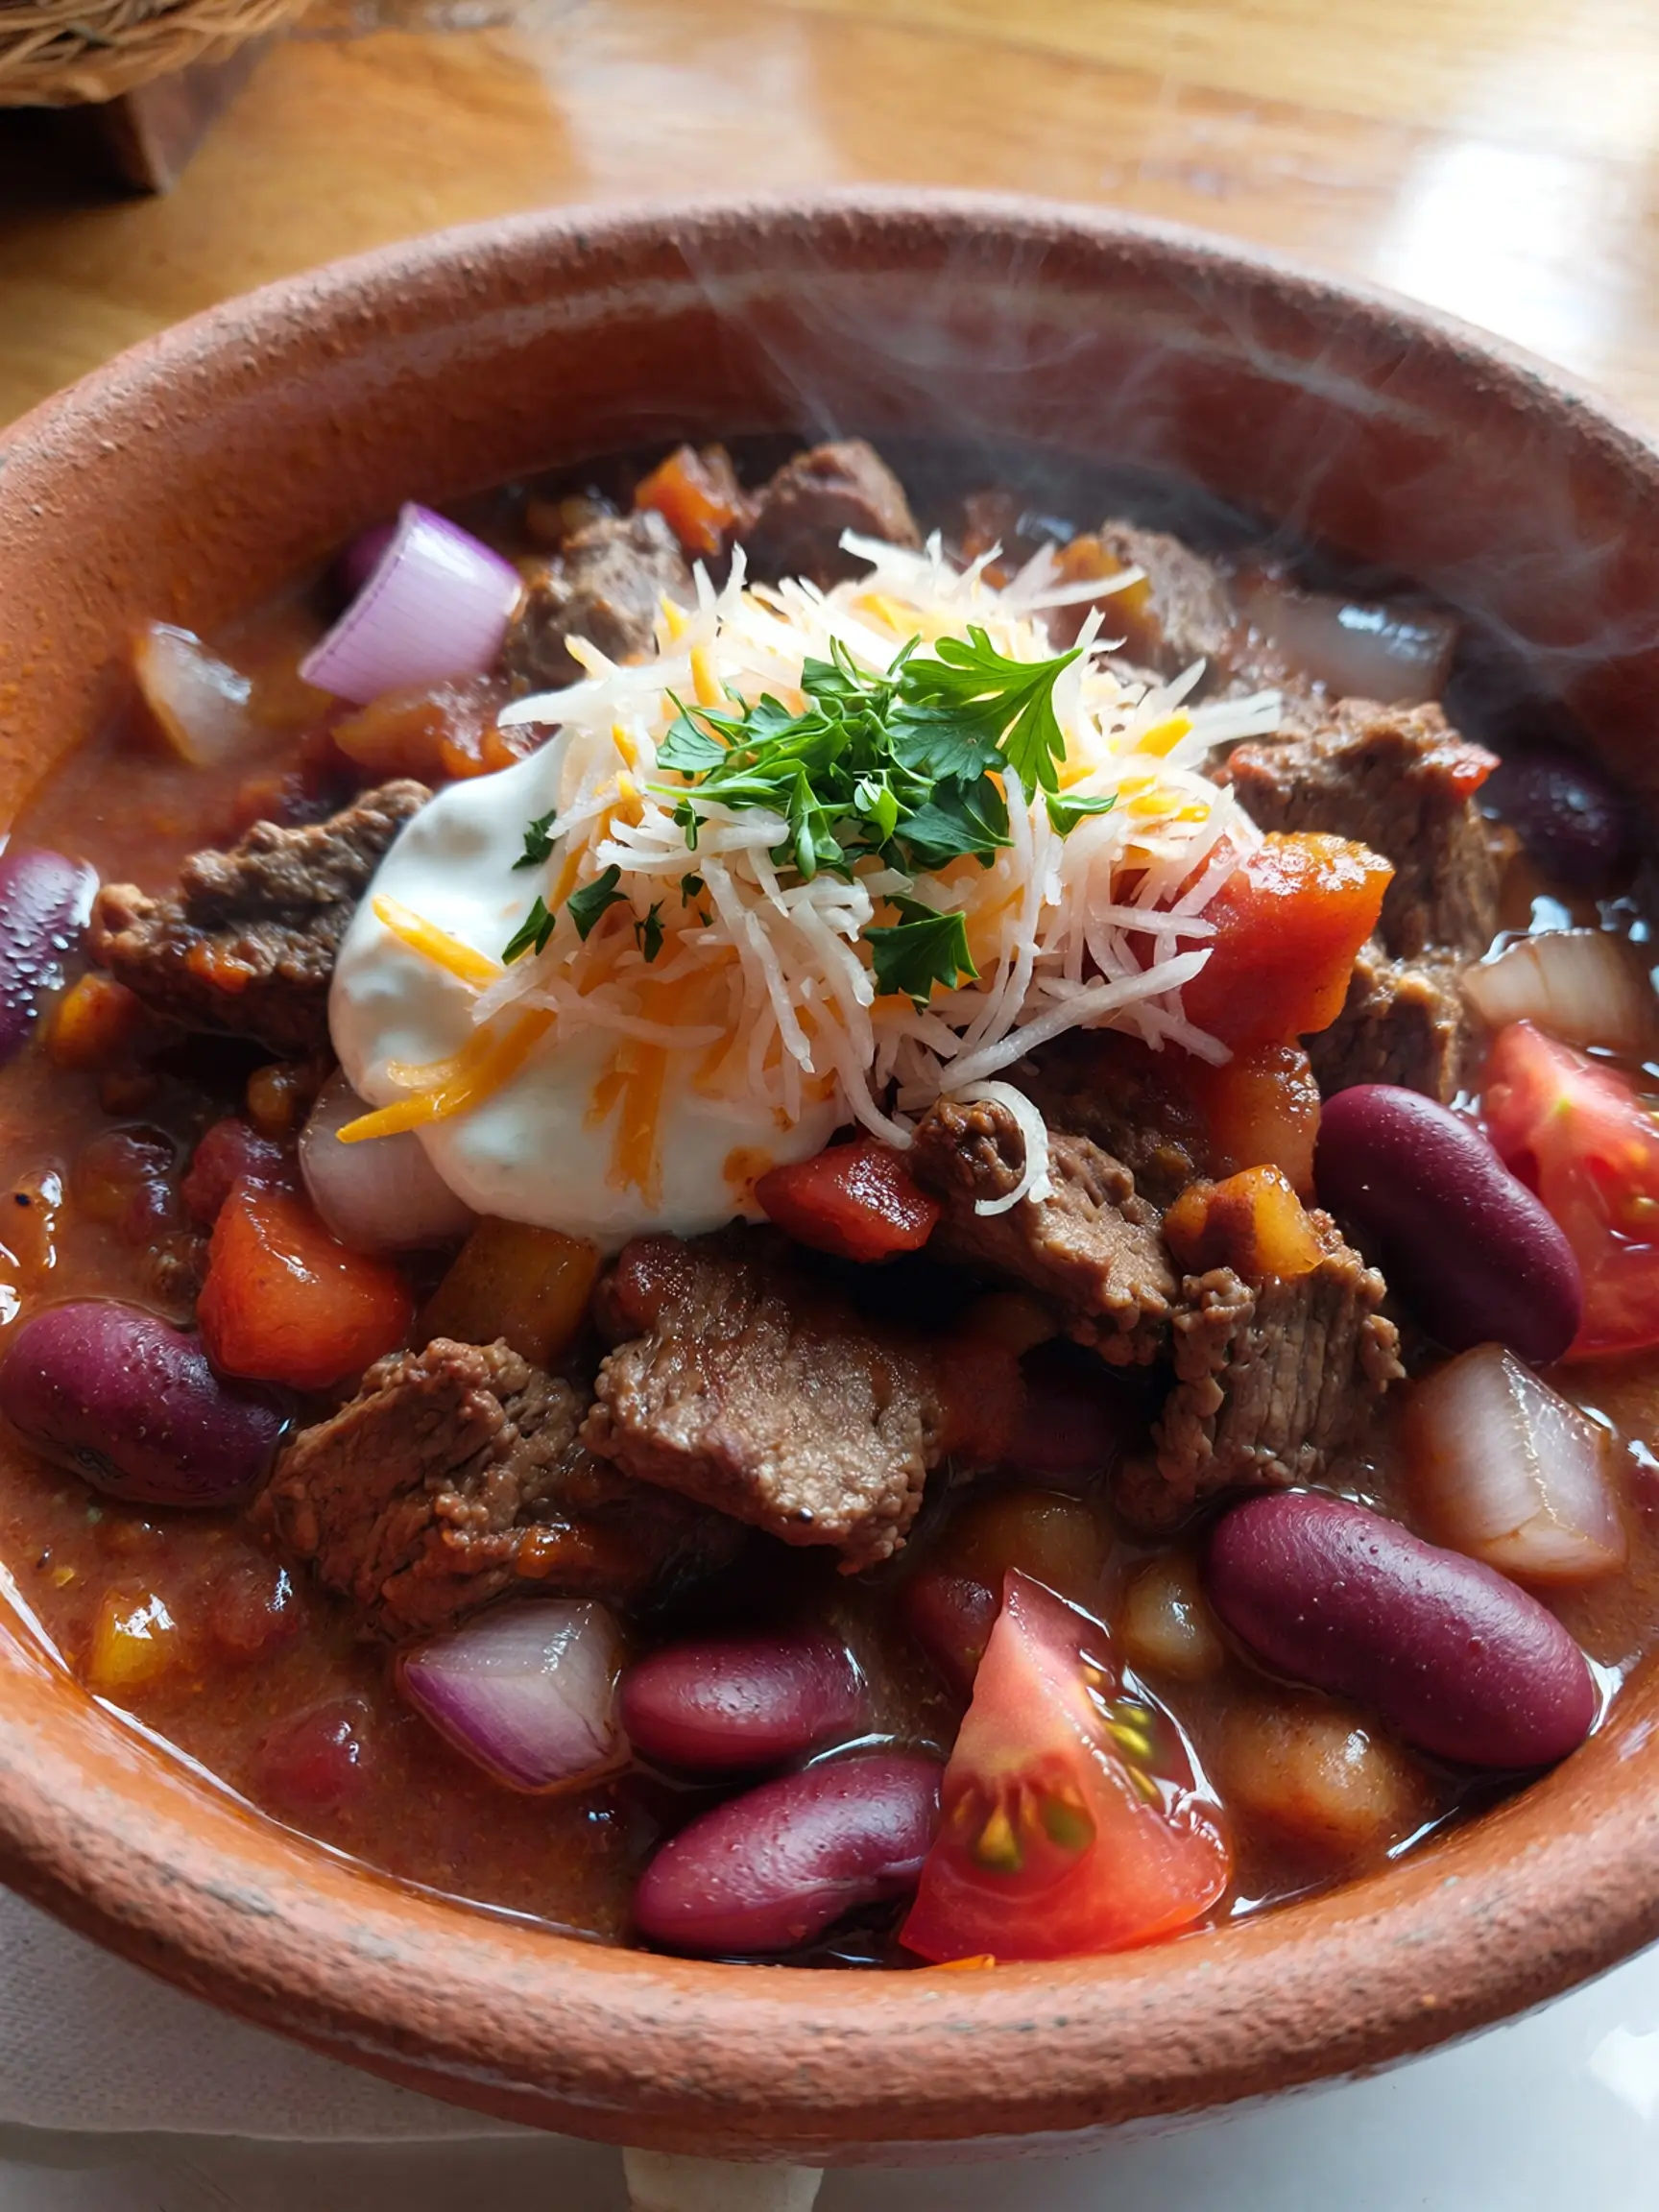
Easy Chili Recipe
Is Your Chili Missing the One Thing That Separates a Good Bowl From an Unforgettable One?
Here’s a stat that might surprise you: according to the American Chili Cook-off Association, over 3 billion servings of chili are consumed in the United States every year — making it one of the most beloved comfort foods in the country.
Yet despite its wild popularity, a 2022 survey by Taste of Home found that 54% of home cooks say their homemade chili turns out “too thin,” “too bland,” or “missing something” they can’t quite identify. That something, as it turns out, isn’t a secret spice blend or an exotic ingredient — it’s technique, layering, and patience.
This easy chili recipe strips away every complication and delivers a deeply flavorful, rich, thick, and hearty bowl in under an hour. Whether you’re cooking for a crowd on game day, meal-prepping for the week, or just craving something warm and soul-satisfying on a cold night, this is the only chili recipe you’ll ever need. It’s flexible, forgiving, and absolutely loaded with flavor from the very first spoonful.
Table of Contents
Ingredients
Great chili starts with great ingredients — and the beauty of this recipe is that every single component is affordable, widely available, and easy to work with. Here’s everything you’ll need to serve 6 generous portions: For the Chili Base:
- 1.5 lbs (680g) ground beef, 80/20 blend (the fat = flavor; leaner blends produce a drier chili)
- 1 medium yellow onion, finely diced
- 1 green bell pepper, finely diced
- 4 garlic cloves, minced
- 1 jalapeño, seeded and minced (leave seeds in for extra heat)
- 2 tablespoons olive oil For the Spice Blend (the soul of your chili):
- 2½ tablespoons chili powder
- 1½ teaspoons ground cumin
- 1 teaspoon smoked paprika
- 1 teaspoon garlic powder
- ½ teaspoon onion powder
- ½ teaspoon dried oregano
- ¼ teaspoon cayenne pepper (adjust to your heat preference)
- 1 teaspoon kosher salt
- ½ teaspoon freshly ground black pepper For the Body:
- 1 can (28 oz) crushed tomatoes
- 1 can (14.5 oz) diced tomatoes with their juices
- 1 can (15 oz) dark red kidney beans, drained and rinsed
- 1 can (15 oz) black beans, drained and rinsed
- 1 cup beef broth (low sodium)
- 1 tablespoon tomato paste
- 1 teaspoon Worcestershire sauce
- 1 teaspoon apple cider vinegar (added at the end — the secret brightness booster) For Toppings (mix and match):
- Shredded sharp cheddar cheese
- Sour cream or Greek yogurt
- Sliced green onions
- Fresh cilantro
- Sliced jalapeños
- Tortilla chips or cornbread Smart Substitutions: Prefer turkey or chicken? Ground turkey works beautifully — just add an extra tablespoon of olive oil since it’s leaner. Going vegetarian? Skip the meat entirely and add an extra can of beans plus 1 cup of diced zucchini and 1 cup of frozen corn. No beef broth? Chicken broth or even vegetable broth work well. Want it smokier? Add 1 teaspoon of chipotle chili powder and a splash of liquid smoke.
Timing
One of chili’s greatest virtues is that it’s genuinely easy — and this version is faster than most. The total time clocks in at 55 minutes, which is nearly 35% less than traditional slow-simmer chili recipes that run 90 minutes or more. Here’s the full breakdown:
- Prep Time: 15 minutes (chopping vegetables, measuring spices)
- Cook Time: 40 minutes (browning + simmering)
- Total Time: 55 minutes
- Servings: 6
- Difficulty Level: Easy Pro Timing Tip: If you have an extra 20–30 minutes, let the chili simmer longer on low heat. The flavor deepens considerably with time — it’s one of those dishes where patience is directly rewarded. Chili made the day before and reheated the next day is almost always better than freshly made.
Step 1: Build Your Spice Blend First
Before you turn on a single burner, mix all your dried spices together in a small bowl — the chili powder, cumin, smoked paprika, garlic powder, onion powder, oregano, cayenne, salt, and pepper. This is called a “bloom blend” and having it pre-mixed means you can add it all at once during the critical blooming step without fumbling with individual jars. Professionals call this mise en place and it’s the single habit that separates stressful cooking from effortless cooking. Take a moment to smell the blend — the warm, earthy, slightly smoky aroma is a preview of what’s coming.
Step 2: Brown the Beef (Don’t Rush This Step)
Heat a large Dutch oven or heavy-bottomed pot over medium-high heat. Add the olive oil and let it shimmer. Add the ground beef in a single layer — do not stir immediately. Let it cook undisturbed for 3–4 minutes until a deep brown crust forms on the bottom. This Maillard reaction (the same browning process that makes seared steak taste incredible) creates hundreds of new flavor compounds that you simply cannot get from grey, steamed meat. Break the beef apart with a wooden spoon and continue cooking until fully browned, about 5–6 minutes total. Drain excess fat if needed, leaving about 1 tablespoon in the pot for flavor.
Step 3: Sauté the Aromatics
Reduce the heat to medium. Add the diced onion, green bell pepper, and jalapeño to the pot with the browned beef. Cook, stirring occasionally, for 5–6 minutes until the vegetables are softened and the onion is translucent. Add the minced garlic and cook for another 60 seconds, stirring constantly. Garlic burns quickly and burnt garlic turns bitter — so watch it closely and don’t walk away during this step. The kitchen should smell absolutely incredible right now: savory beef, sweet onion, and fragrant garlic all mingling together.
Step 4: Bloom the Spices
Add the tomato paste to the pot and stir it into the meat and vegetable mixture, cooking for 2 minutes. Tomato paste is one of the most concentrated umami bombs in your pantry — cooking it briefly caramelizes its natural sugars and deepens its flavor dramatically. Now add your pre-mixed spice blend all at once and stir to coat everything evenly. Cook the spices for 60–90 seconds, stirring constantly. Blooming spices in fat activates their fat-soluble flavor compounds, making them significantly more potent and aromatic than spices added directly to liquid. This single step is responsible for a disproportionate amount of the flavor depth in the final bowl.
Step 5: Add the Liquids and Beans
Add the crushed tomatoes, diced tomatoes (with juices), beef broth, and Worcestershire sauce. Stir everything together thoroughly, scraping up any browned bits from the bottom of the pot — those bits are pure flavor. Add the drained kidney beans and black beans and stir to incorporate. Bring the chili to a boil over medium-high heat, then immediately reduce the heat to low and partially cover the pot with a lid (leaving a small gap for steam to escape). Simmer for 25–30 minutes, stirring every 8–10 minutes to prevent sticking.
Step 6: Finish and Adjust
After simmering, taste the chili and evaluate. Does it need more salt? More heat? More depth? Add a pinch of cayenne for heat, a pinch of salt for seasoning, or a teaspoon of chili powder for more earthiness. Now add the apple cider vinegar — stir it in and taste again. This tiny splash of acid brightens every other flavor in the pot, cutting through the richness and making the whole bowl taste more vibrant and alive. It’s the finishing touch that most recipes skip, and it makes a noticeable difference. If the chili is thicker than you’d like, add a splash of broth. If it’s too thin, simmer uncovered for another 5–10 minutes.
Step 7: Serve and Top Like a Pro
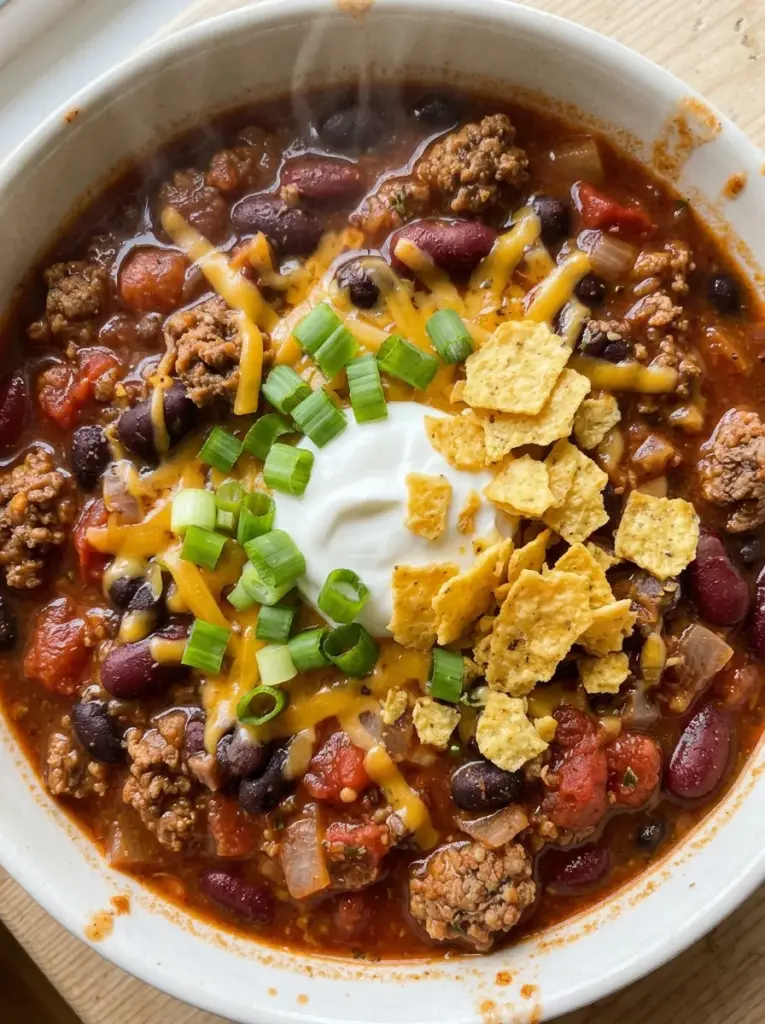
Ladle the chili into wide, deep bowls — the wide rim gives you room to arrange toppings attractively. Start with a generous heap of shredded sharp cheddar (it melts into the hot chili beautifully), then a dollop of sour cream, a scatter of sliced green onions, and a few jalapeño rings if you want extra heat. Serve immediately with warm cornbread, tortilla chips, or a crusty roll for dipping. For a proper chili bar setup — perfect for parties — arrange all toppings in small bowls and let guests build their own bowl exactly the way they like it.
Healthier Alternatives for the Recipe
Chili is one of the most diet-adaptable dishes in existence. Here are the best ways to modify this recipe to fit your nutritional goals without sacrificing the flavor you came for.
Lower the Calories and Fat: Swap 80/20 ground beef for 93/7 lean ground turkey or chicken. You’ll save approximately 80 calories and 8 grams of fat per serving. Compensate for the reduced fat flavor by adding an extra teaspoon of smoked paprika and a tablespoon of olive oil to the sauté step.
Boost the Fiber and Reduce Meat: Use only 1 pound of beef and add an extra can of beans (pinto or cannellini work beautifully). This swap increases fiber by roughly 4 grams per serving while reducing saturated fat and cost simultaneously.
Make It Fully Plant-Based: Replace the beef entirely with 2 cups of cooked lentils (added with the beans), 1 cup of diced mushrooms (sautéed with the aromatics for umami depth), and 1 cup of frozen corn. Use vegetable broth and skip the Worcestershire (or use a vegan version). The result is a deeply satisfying, protein-rich vegan chili that even meat-eaters love.
Lower Sodium Version: Use no-salt-added canned tomatoes, no-salt-added beans, and unsalted broth. Season only with the spice blend and a small amount of finishing salt at the end. This can reduce sodium by up to 40% per serving.
Keto-Friendly Adaptation: Skip the beans entirely and replace with additional ground beef, diced zucchini, and chopped mushrooms. Add an extra tablespoon of tomato paste for body. The carb count drops from 38g to approximately 12g per serving while keeping the rich, hearty texture.
Serving Suggestions
Easy chili is one of the most versatile dishes you can have in your repertoire. It shines as a standalone bowl, but it also transforms into completely different meals with minimal effort.
Classic Bowl: Serve in a deep bowl topped with cheddar, sour cream, green onions, and tortilla chips on the side. This is the crowd-pleasing crowd pleaser — approachable, familiar, and deeply satisfying.
Chili Dogs: Spoon thick chili over grilled all-beef hot dogs in toasted brioche buns and finish with mustard, diced white onion, and shredded cheddar. A game-day crowd favorite.
Chili Cheese Fries: Pile hot chili over crispy oven-baked or air-fried French fries, top with a blanket of melted cheddar, and finish with jalapeños and sour cream. Indulgent and irresistible.
Chili Baked Potato: Split a large baked russet potato and ladle chili generously over the top. Add cheddar, sour cream, and chives. It’s a complete meal in one ingredient.
Chili Mac: Cook elbow macaroni al dente and stir it directly into the chili with a handful of shredded cheddar. Think Hamburger Helper, but homemade and infinitely better.
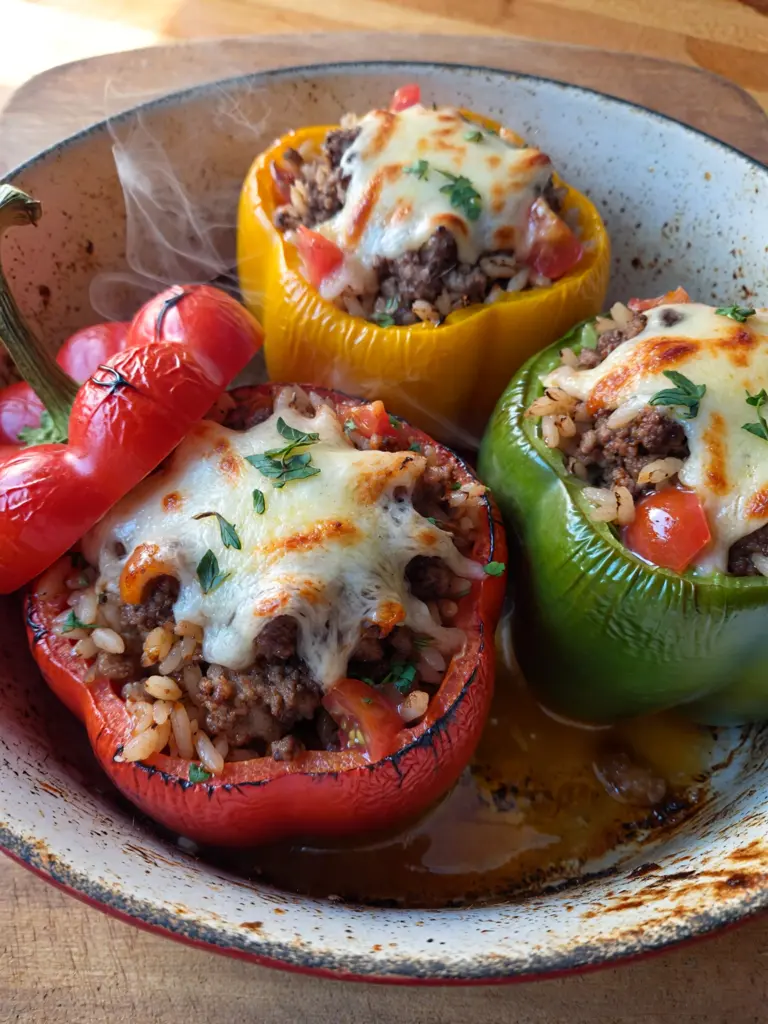
Chili Stuffed Peppers: Halve bell peppers, remove seeds, stuff them with chili, top with cheese, and bake at 375°F for 20 minutes. An elegant, low-carb presentation that looks far more sophisticated than the effort required.
Common Mistakes to Avoid
Even easy recipes have pitfalls. Here are the most common chili mistakes — and exactly how to sidestep every one of them.
Not browning the meat properly: Steamed grey meat has a fraction of the flavor of properly browned meat. Use high heat, don’t overcrowd the pot, and don’t stir for the first 3–4 minutes. The brown crust on the bottom of the pot is the foundation of your chili’s flavor.
Adding spices directly to liquid: Spices need fat and heat to fully activate. Always bloom them in the oil with the meat and vegetables before adding any liquid. Skipping this step produces flat, one-dimensional chili.
Skipping the tomato paste: Tomato paste is concentrated umami and natural sweetness. It thickens the chili, deepens the color, and adds a savory backbone that crushed tomatoes alone can’t provide. Never skip it.
Under-simmering: Thirty minutes of simmering is the minimum. The simmer time is when the flavors meld, the acid from the tomatoes mellows, and the beans absorb the surrounding spices. Rushing produces a chili where everything tastes separate rather than unified.
Forgetting the acid finish: A splash of apple cider vinegar, a squeeze of lime, or even a splash of hot sauce at the very end transforms the entire bowl. Acid brightens and balances — it’s the difference between “good” and “wow.”
Over-salting early: Chili reduces as it simmers, concentrating the salt already present. Season conservatively at the start and adjust at the end after the chili has finished cooking.
Storing Tips for the Recipe
Refrigerating: Let the chili cool to room temperature before transferring to airtight containers. Stored properly in the refrigerator, chili keeps for up to 5 days — and as mentioned, it genuinely improves after 24 hours as the flavors continue to develop and meld.
Freezing: Chili is one of the best freezer meals in existence. Portion it into individual or family-sized freezer-safe containers or heavy-duty zip-lock bags (lay flat to freeze, then stack vertically to save space). Frozen chili keeps its quality for up to 4 months. Thaw overnight in the refrigerator or use the cold-water method for faster thawing.
Reheating: Reheat on the stovetop over medium-low heat, stirring frequently and adding a splash of broth or water if it has thickened. Microwave reheating works in a pinch — use a microwave-safe container, cover loosely, and heat in 90-second intervals, stirring between each.
Meal Prep Strategy: Make a double batch on Sunday and freeze half in individual portions. You’ll have ready-to-go lunches and dinners for weeks. Chili is arguably the highest-ROI meal prep recipe available — it costs very little to scale up and the payoff in future convenience is enormous.
Conclusion
Easy chili is everything a great home-cooked meal should be: deeply flavorful, endlessly customizable, budget-friendly, and genuinely simple to make. With the right technique — properly browning the beef, blooming your spices, building the tomato base, and finishing with a splash of acid — you’ll produce a chili that’s thicker, bolder, and more satisfying than anything from a can or a chain restaurant.
This recipe works on a Tuesday night when you’re short on time, on a Sunday when you want something warming and low-effort, and on game day when you need to feed a crowd without stress. Try it this week, make it your own with toppings and heat adjustments, and share your results in the comments below. Did you go the classic route, or did you try the vegetarian version? We’d love to hear about it. And if this recipe hit the spot, check out our [Best Homemade Beef Stew], [Slow Cooker White Bean Chicken Chili], and [Smoky Pulled Pork Tacos] for more hearty, crowd-pleasing comfort food recipes.
FAQs
Q: Can I make this chili in a slow cooker? Absolutely. Brown the beef and sauté the aromatics and spices on the stovetop first (don’t skip this — it’s essential for flavor), then transfer everything to your slow cooker with the tomatoes, beans, and broth. Cook on LOW for 6–8 hours or HIGH for 3–4 hours. The result is an even deeper, more melded flavor than the stovetop version.
Q: My chili is too thin. How do I thicken it? The easiest fix: remove the lid and simmer on medium heat for an additional 10–15 minutes, letting excess liquid evaporate. Alternatively, mash about ½ cup of beans against the side of the pot and stir them in — this creates a natural thickener without any additional ingredients. A tablespoon of masa harina (corn flour) stirred in and simmered for 5 minutes is another excellent option that also adds a subtle corn flavor.
Q: How do I make my chili less spicy? Reduce or eliminate the cayenne and jalapeño. Use regular (not hot) chili powder and add a tablespoon of brown sugar to balance the heat. A dollop of sour cream in the bowl also neutralizes spice effectively. If you’ve already made it too hot, stir in a can of drained corn, an extra can of beans, or a splash of heavy cream — all of which dilute the heat.
Q: Can I use dried beans instead of canned? Yes, though it adds significant time. Soak 1 cup of dried beans overnight in cold water, drain, then simmer in fresh water for 60–90 minutes until tender before adding to the chili. The flavor is marginally better with dried beans, but the convenience gap is enormous — canned beans are an excellent shortcut and perfectly respectable.
Q: What’s the best meat for chili? 80/20 ground beef is the classic choice for good reason — the fat carries flavor and keeps the meat tender during the long simmer. However, chili also works beautifully with ground bison (leaner, slightly sweeter), ground pork (richer and fattier), Italian sausage (adds fennel and herb notes), or a combination. For a more rustic, steakhouse-style chili, use beef chuck cut into ½-inch cubes — it takes longer but the texture is extraordinary.
Q: Can I make this chili ahead of time for a party? Chili is the ideal make-ahead party dish. Make it 1–2 days in advance, refrigerate, and reheat gently on the stovetop over medium-low heat before serving. It will taste better than freshly made. Keep it warm in a slow cooker set to WARM during the party and let guests serve themselves — it’s the definition of stress-free entertaining.
Q: Does chili freeze well? It freezes exceptionally well — arguably better than almost any other dish. The beans and meat actually improve in texture after freezing and thawing. Portion into individual servings before freezing for maximum convenience. Properly stored at 0°F (-18°C), frozen chili maintains excellent quality for up to 4 months.
More Dinner Recipes to Try

Easy Chili Recipe
Ingredients
Equipment
Method
- Heat the olive oil in a large Dutch oven over medium-high heat.
- Add the ground beef and cook for 5 to 7 minutes, breaking it apart with a wooden spoon until browned.
- Drain excess grease if needed.
- Add the diced onion and cook for 3 to 4 minutes until softened.
- Stir in the minced garlic and cook for 30 seconds.
- Add the kidney beans, black beans, crushed tomatoes, tomato sauce, and beef broth.
- Stir in the chili powder, cumin, smoked paprika, oregano, salt, black pepper, and cayenne pepper if using.
- Bring the chili to a gentle boil.
- Reduce the heat to low and simmer uncovered for 30 to 40 minutes, stirring occasionally.
- Taste and adjust the seasonings as needed.
- Let the chili rest for 5 minutes before serving.
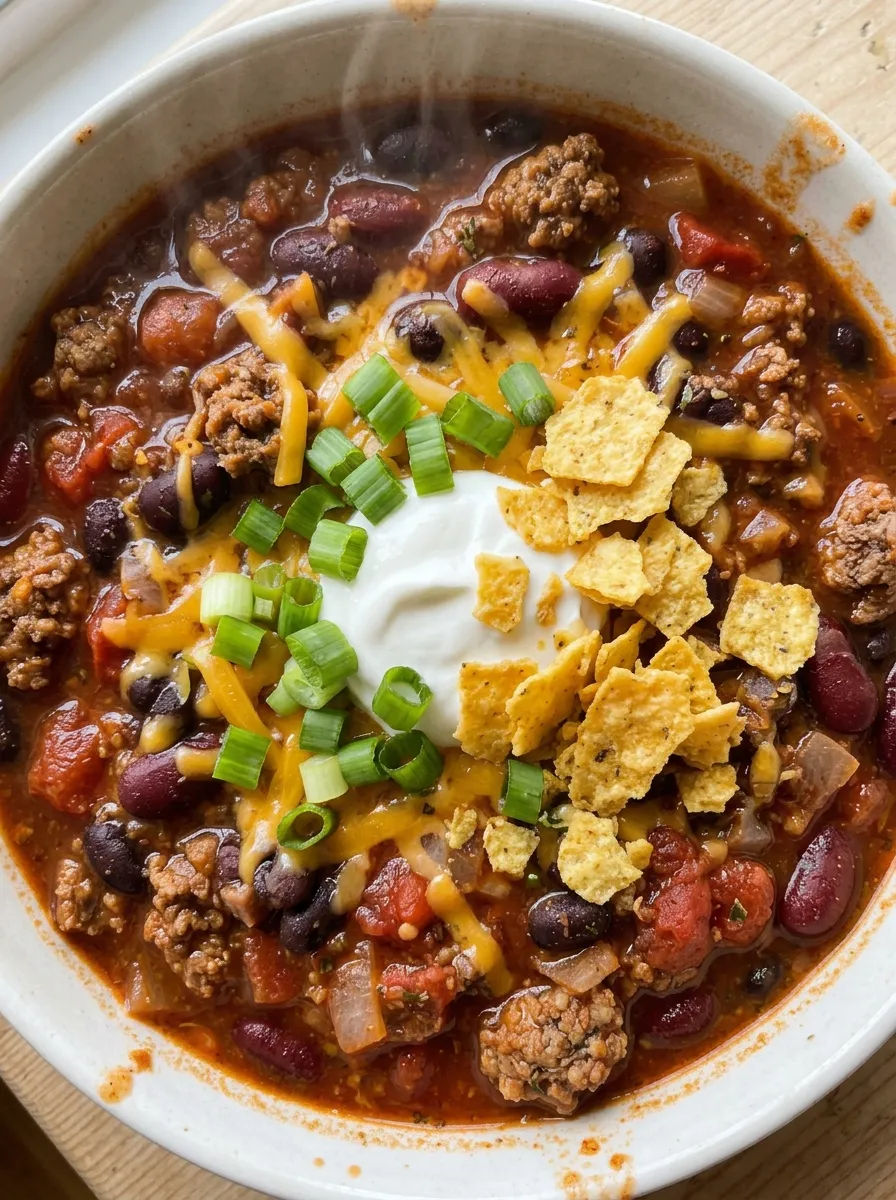
- Ladle into bowls and top with shredded cheddar cheese, sour cream, green onions, cilantro, or avocado.
Notes
Use lean ground beef if you prefer less grease.
Add diced bell peppers for extra flavor and vegetables.
Adjust the cayenne pepper to control the heat.
For thicker chili, simmer uncovered for an additional 10 to 15 minutes.
Store leftovers in an airtight container in the refrigerator for up to 4 days.
Freeze cooled chili in airtight containers for up to 3 months.
Enjoying AmandBox? Follow us on Pinterest for more recipes.