
Apple Crisp
Introduction
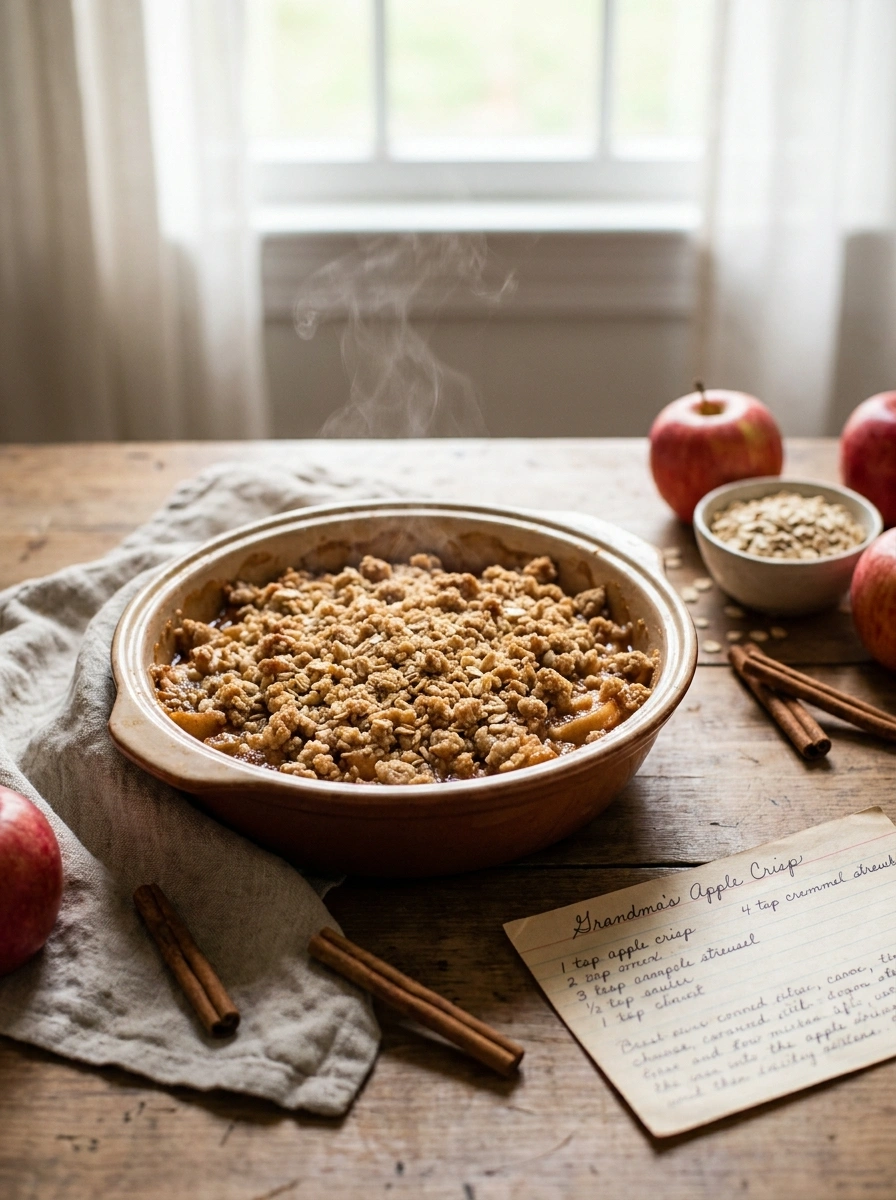
As fall approaches, the air turns crisp, and the aroma of warm desserts fills the kitchen. One of the quintessential treats that embody this season is apple crisp. This delightful dessert pairs tender, baked apples with a buttery, crumbly topping, creating a comforting and indulgent experience. Whether you’re hosting a dinner party or simply treating yourself to a cozy evening at home, apple crisp is a timeless choice that never disappoints. Today, we’ll dive deep into crafting the perfect apple crisp, ensuring your dish is not just delicious but also memorable.
Table of Contents
Ingredients List
To prepare a delightful apple crisp, you’ll need the following ingredients:
For the Filling:
– 6-8 medium-sized apples (such as Granny Smith or Honeycrisp)
– 1 tablespoon of lemon juice
– 3/4 cup granulated sugar
– 1 teaspoon ground cinnamon
– 1/4 teaspoon of nutmeg (optional)
– 2 tablespoons all-purpose flour
For the Crisp Topping:
– 1 cup rolled oats
– 1 cup all-purpose flour
– 1/2 cup brown sugar, packed
– 1/2 teaspoon baking powder
– 1/2 cup unsalted butter, melted
– 1/4 teaspoon salt
Timing
The entire process to create this delectable apple crisp takes about 1 hour from start to finish. This includes 15 minutes of preparation time and roughly 45 minutes of baking time. Depending on your oven’s efficiency, you may need to adjust the timings slightly, but a golden-brown topping and bubbling filling will generally signal that it’s ready to serve.
Step-by-Step Instructions
Creating the perfect apple crisp involves a few easy steps. Let’s go through each one to ensure that you achieve a delightful outcome.
1. Prepare the Apples: Peel, core, and slice the apples into thin wedges. In a large bowl, toss the apple slices with lemon juice, granulated sugar, cinnamon, nutmeg, and flour until they are evenly coated.
2. Preheat the Oven: Set your oven to 350°F (175°C). This ensures that your apple crisp bakes evenly and thoroughly.
3. Make the Crisp Topping: In another large mixing bowl, blend the rolled oats, flour, brown sugar, baking powder, and salt together. Drizzle the melted butter over the mixture and combine until crumbs form.
4. Combine: Pour the apple mixture into a greased 9×13-inch baking dish, spreading it evenly. Next, sprinkle the crisp topping generously over the apples.
5. Bake: Place the baking dish in the preheated oven and bake for 35-45 minutes until the topping is brown and the apples are bubbling.
6. Cool and Serve: Allow your apple crisp to cool for about 10-15 minutes before serving. This time will help the juices thicken slightly.
This step-by-step approach ensures your apple crisp is perfectly balanced, with tender apples and a crumbly topping that will make you swoon.
Nutritional Information
Understanding the nutritional profile of your dessert can help you appreciate it even more. Each serving of apple crisp (approximately 1/2 cup) contains roughly the following:
– Calories: 250-300
– Total Fat: 12g
– Saturated Fat: 6g
– Cholesterol: 20mg
– Sodium: 150mg
– Total Carbohydrates: 38g
– Dietary Fiber: 4g
– Sugars: 15g
– Protein: 2g
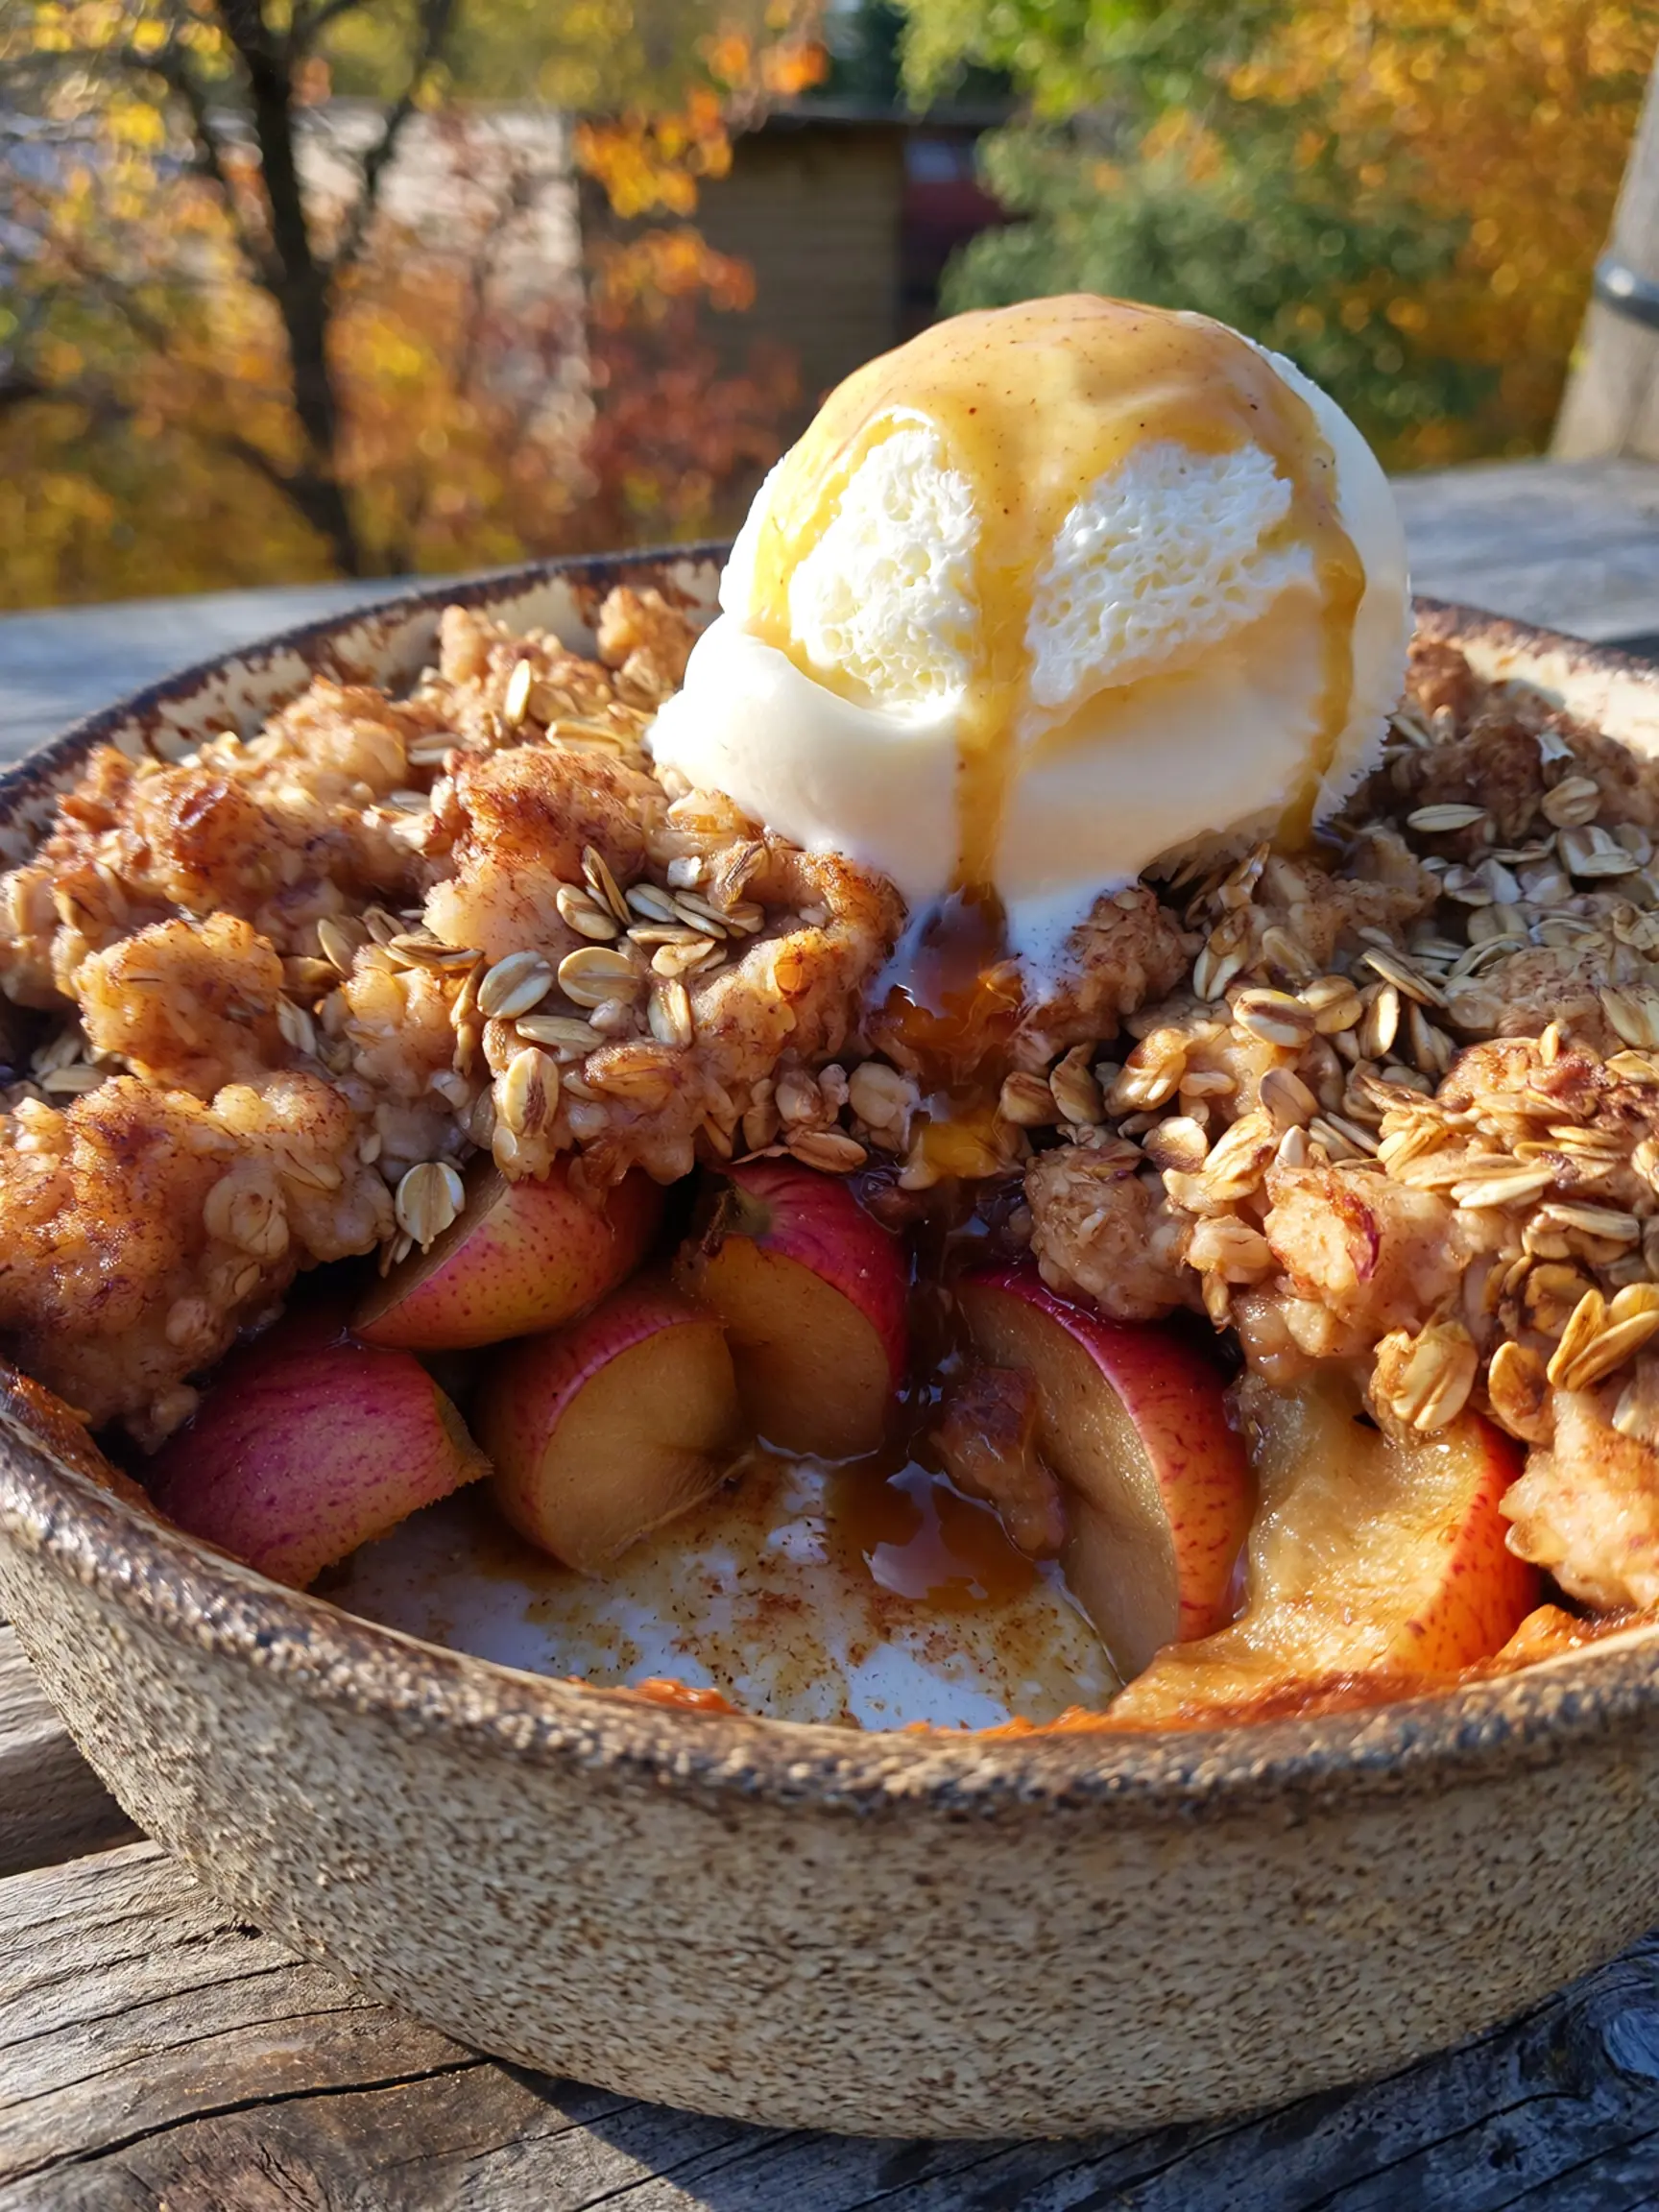
Apple crisp alone can be a treat; when enjoyed with a scoop of vanilla ice cream or a dollop of whipped cream, it takes indulgence to a whole new level.
Tips
To elevate your apple crisp and make it uniquely yours, consider the following tips:
1. Apple Variety: Feel free to mix different types of apples, such as tart and sweet varieties, to create distinct flavors in each bite.
2. Add Nuts: Incorporate chopped nuts, such as pecans or walnuts, into the crumb topping for added crunch and flavor.
3. Spice It Up: Don’t shy away from experimenting with spices. Consider adding a touch of cardamom or ginger to enhance the flavor profile.
4. Serve Warm: Apple crisp is best served warm, so consider baking it prior to serving your guests to capture the delicious aroma that wafts through your home.
Alternative Methods
If baking isn’t an option for you, or if you want to change things up, here are some alternative methods to prepare apple crisp:
– Slow Cooker: Combine the apple filling and topping as per the recipe, then cook it on low for 3-4 hours for a warm and hearty dessert.
– Instant Pot: Use the sauté function to prepare the apples and then pressure cook for 5 minutes. After that, you can add a topping and broil it for a crisp finish.
– Microwave: For a quick individual serving, place sliced apples in a microwave-safe bowl, cover with a sprinkle of cinnamon and sugar, and heat until soft. Top with pre-prepared crisp topping and heat again briefly.
Common Mistakes to Avoid
Even seasoned bakers can make mistakes, so here are some pitfalls to avoid while preparing your apple crisp:
1. Using the Wrong Apples: Not all apples are suited for baking. Choose varieties that hold their shape, like Granny Smith or Honeycrisp.
2. Neglecting to Preheat the Oven: Always preheat your oven to ensure even cooking.
3. Not Allowing to Cool: The filling needs time to set; cutting it too soon may lead to a soupy dessert.
4. Overmixing the Topping: When combining the topping ingredients, mix just until combined; overmixing can lead to a tough texture.
By keeping these tips in mind, you can enhance your apple crisp into something spectacular each time.
Conclusion
Crafting a perfect apple crisp doesn’t require excessive effort or lavish ingredients. It’s a simple yet fulfilling dessert that resonates with warmth and nostalgia. Remember, as we discussed, starting with quality apples is key, and employing the right techniques will reward you with a beautifully baked dish. You’ll find that this apple crisp will not only satisfy your sweet tooth but will also evoke the comforting essence of home and memories spent with loved ones. Take the time to enjoy the process, and let each layer of flavor come through. If you’re inspired to cook this recipe, check back on my website for more new and delectable recipes awaiting your exploration.
FAQs
Q: Can I prepare the filling ahead of time?
A: Yes, you can prepare the apple filling a day in advance and store it in the refrigerator until you’re ready to bake.
Q: Can I freeze apple crisp?
A: Absolutely! You can freeze the unbaked apple crisp. To bake, add a few extra minutes to the cook time when baking from frozen.
Q: Can I use other fruits in this recipe?
A: Definitely! You can try substituting apples with pears, peaches, or berries. Adjust the sugar based on the fruit’s sweetness.
Q: Is apple crisp gluten-free?
A: You can convert this recipe to gluten-free by using gluten-free flour and oats.
Q: Can I make an apple crisp in individual servings?
A: Yes! You can layer apples and crisp topping in ramekins for personal-sized desserts, adjusting the baking time as needed.
Indulge yourself with this comforting treat, and don’t forget to venture back for more culinary inspirations!
More Delicious Recipes

Apple Crisp
Ingredients
Equipment
Method
- Preheat the oven to 350°F (175°C). Lightly grease a 9×9-inch baking dish.
- Place the sliced apples in a large bowl.
- Add the sugar, lemon juice, cinnamon, nutmeg, and flour. Toss until the apples are evenly coated.
- Transfer the apple mixture to the prepared baking dish and spread it evenly.
- In a separate bowl, combine the oats, flour, brown sugar, cinnamon, and salt.
- Pour in the melted butter and stir until the mixture forms a crumbly topping.
- Sprinkle the crumble mixture evenly over the apples.
- Bake for 40 to 45 minutes, until the apples are tender and the topping is golden brown.
- Let the apple crisp cool for about 10 minutes before serving.
- Serve warm with vanilla ice cream or whipped cream if desired.
Notes
Granny Smith, Honeycrisp, and Fuji apples work well.
Place a baking sheet underneath the dish if you are concerned about bubbling juices.
Store leftovers covered in the refrigerator for up to 4 days.
Reheat individual portions in the microwave or oven.
Enjoying AmandBox? Follow us on Pinterest for more recipes.