
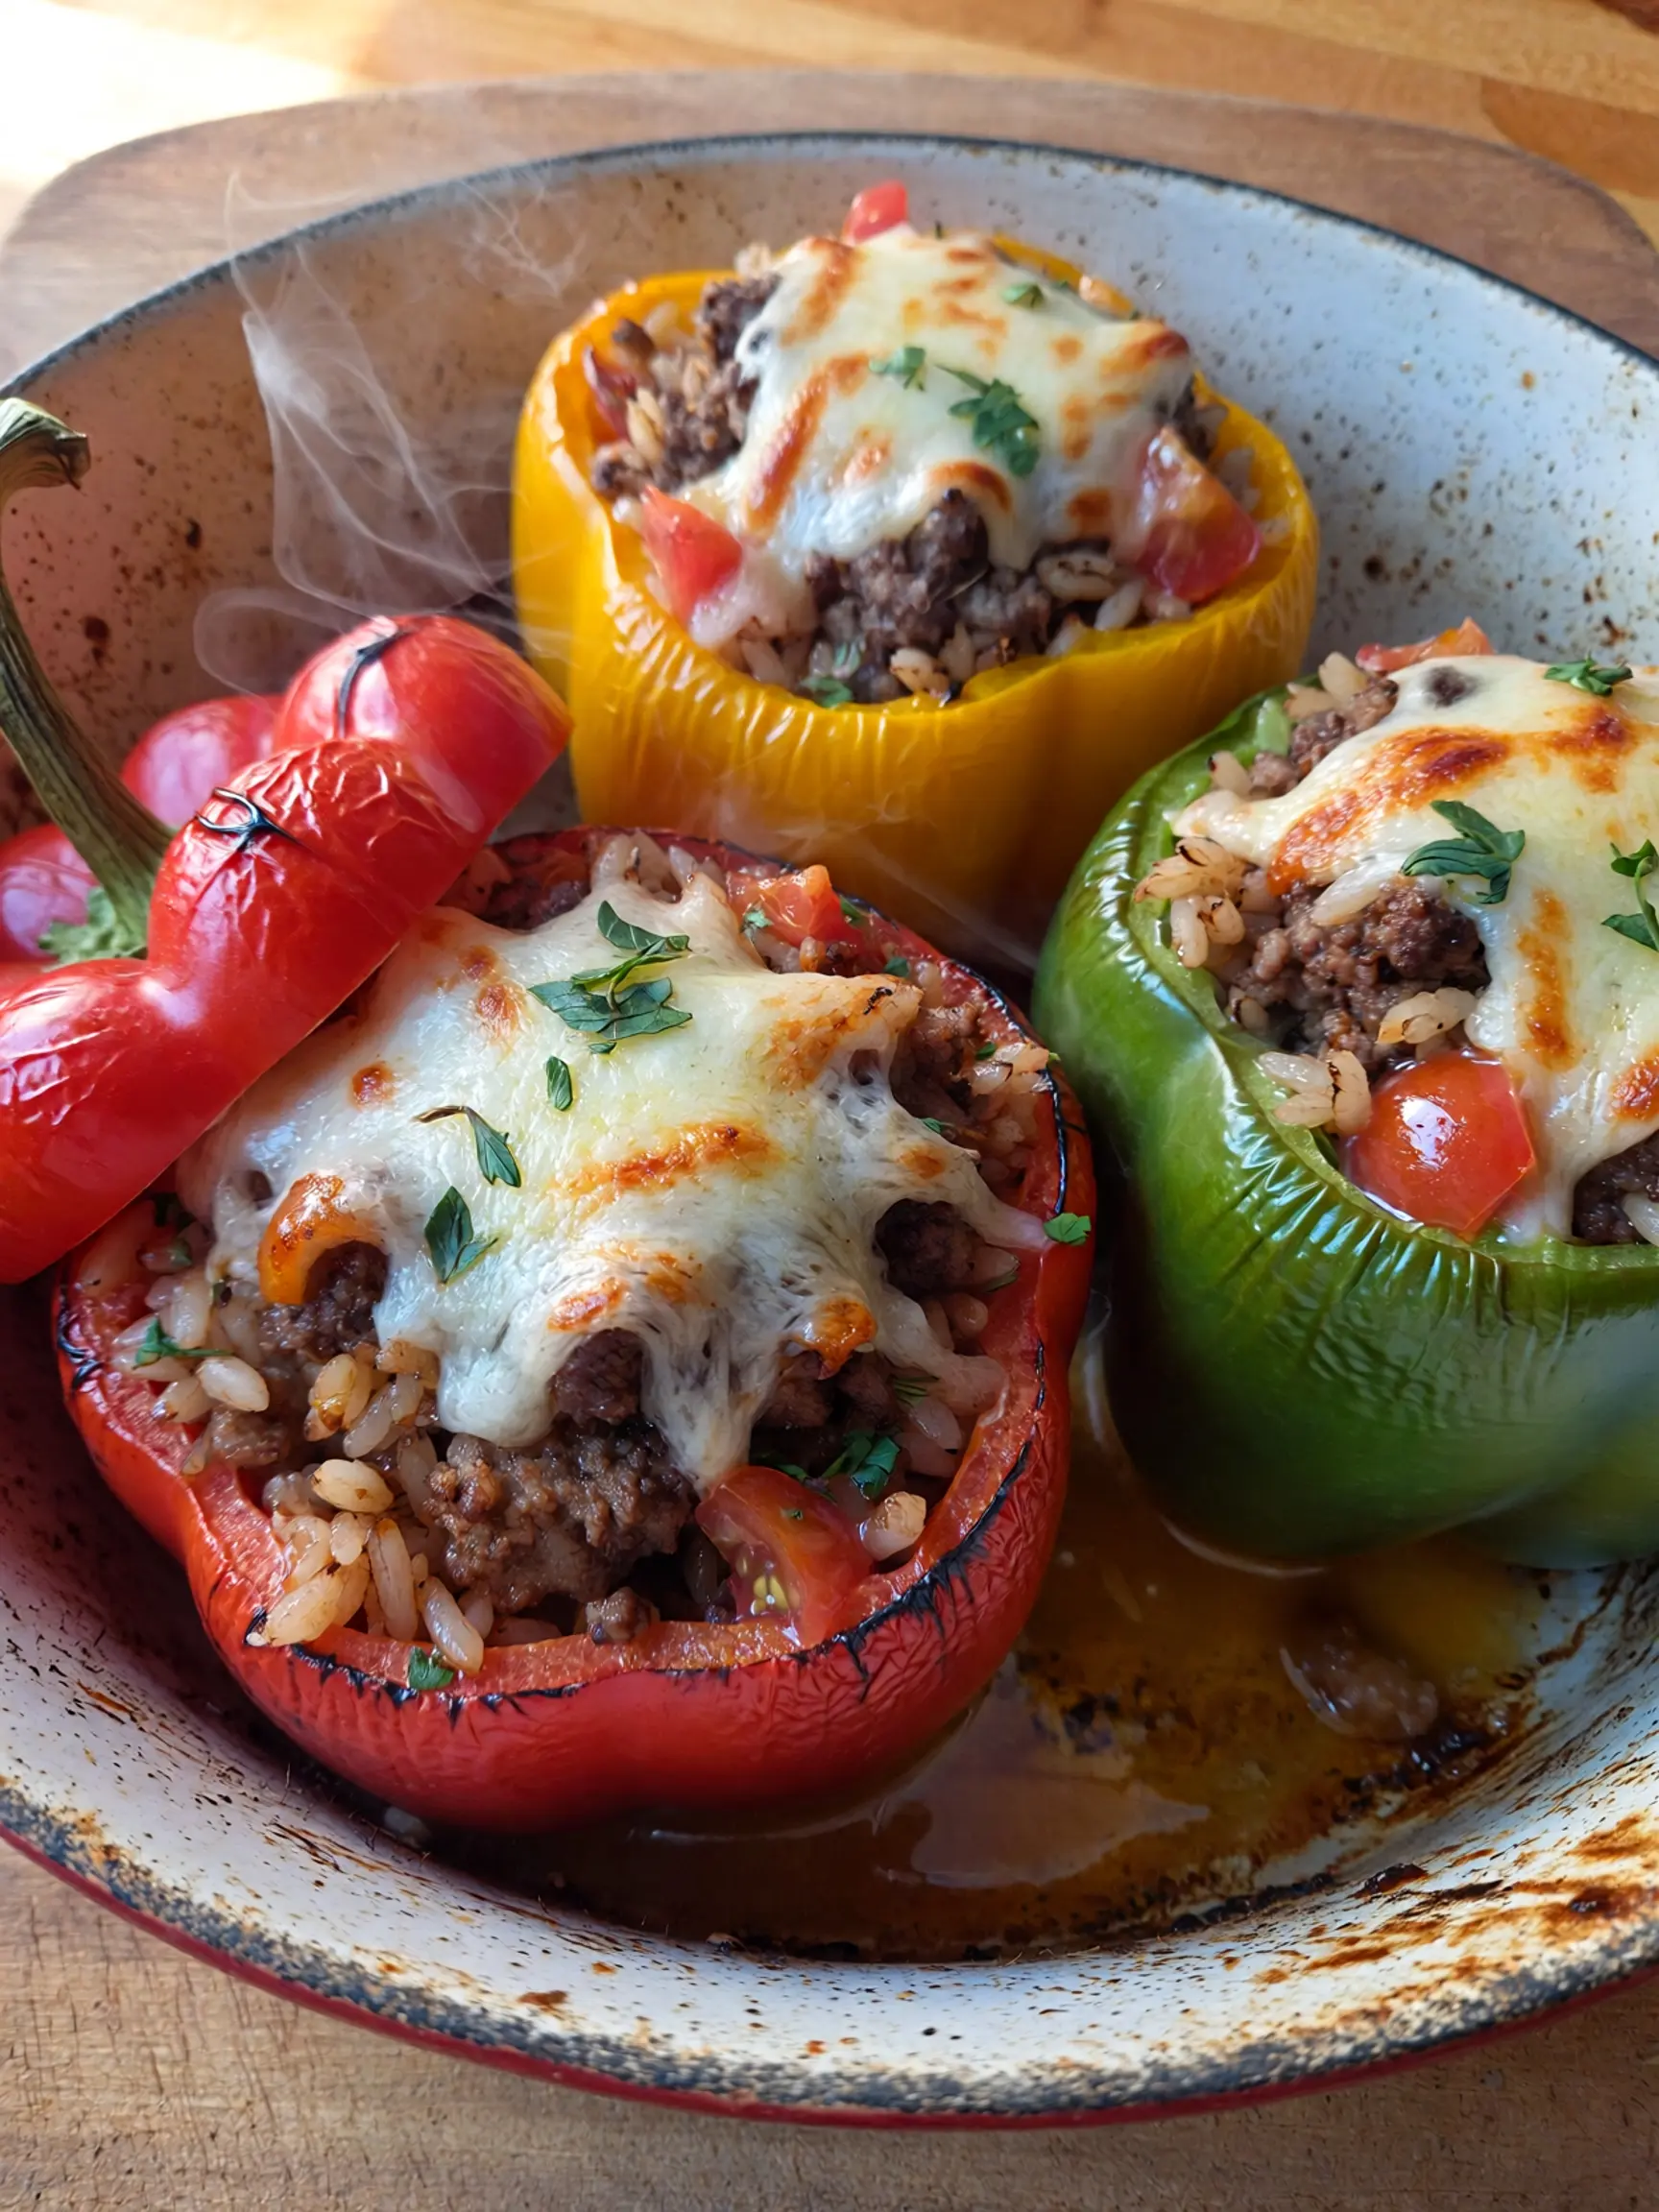
Stuffed Bell Peppers
Why Do Stuffed Bell Peppers Remain a Beloved Comfort Food Classic When So Many Versions Turn Out Bland, Soggy, or Unevenly Cooked?
Searches for “stuffed bell peppers recipe” stay consistently high as families seek hearty, colorful meals that feel like a complete dinner in one dish. Yet many home cooks struggle with watery fillings, peppers that collapse, or flavors that fall flat. If you’ve ever baked a batch that disappointed, this comprehensive guide delivers a foolproof stuffed bell peppers recipe that produces tender-yet-firm peppers filled with savory, seasoned meat, rice, and melty cheese. This versatile dish combines Italian-inspired flavors with wholesome ingredients for a satisfying meal perfect for weeknights, meal prep, or family gatherings. With data-backed techniques, smart substitutions, and pro tips, you’ll master stuffed bell peppers that deliver beautiful presentation and incredible taste every single time.
Table of Contents
Ingredients List
This recipe makes 6 stuffed bell peppers, serving 6 people. Here’s exactly what you need for perfectly balanced flavor and texture:
- 6 large bell peppers (any color – red, orange, and yellow offer sweeter taste)
- 1 pound (450g) lean ground beef (or turkey for lighter option)
- 1 cup (185g) cooked rice (white, brown, or cauliflower rice)
- 1 medium onion, finely diced
- 3 cloves garlic, minced
- 1 can (14.5 oz / 410g) diced tomatoes, drained
- 1 cup (240ml) marinara sauce
- 1 teaspoon Italian seasoning
- 1 teaspoon smoked paprika
- ½ teaspoon salt
- ½ teaspoon black pepper
- 1 ½ cups (170g) shredded mozzarella cheese, divided
- ½ cup (50g) grated Parmesan cheese
- 2 tablespoons olive oil
- Fresh parsley or basil for garnish
Substitutions for flexibility: Use quinoa or farro instead of rice for more protein and fiber, swap ground beef for plant-based crumbles or lentils for vegetarian versions, or add chopped zucchini and mushrooms for extra vegetables. These swaps maintain the hearty, savory profile while adapting to different diets and pantries.
Timing
Total time is about 65-75 minutes, which is efficient for a complete one-dish meal. Prep takes 20-25 minutes, baking around 35-45 minutes. This timeline allows the peppers to soften perfectly while the filling heats through and cheese melts beautifully, making it faster than many casseroles yet delivering superior homemade comfort and presentation.
Step 1: Preheat Oven and Prepare the Peppers
Preheat your oven to 375°F (190°C). Lightly grease a 9×13-inch baking dish. Cut the tops off the bell peppers and remove the seeds and membranes inside. For stability, slice a tiny bit off the bottom if needed so they stand upright. Bring a large pot of water to a boil and blanch the peppers for 3-4 minutes until slightly softened. This pre-cooking step ensures tender peppers without sogginess and reduces overall baking time. Drain and set aside.
Step 2: Cook the Filling
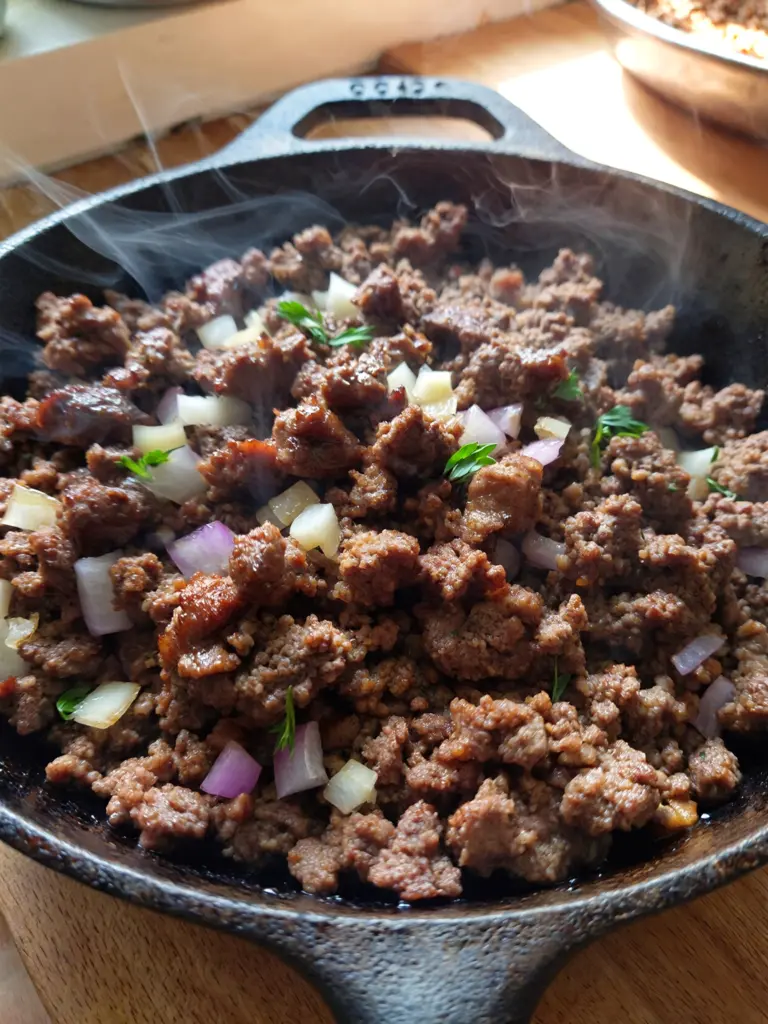
Heat olive oil in a large skillet over medium heat. Add the diced onion and cook for 4-5 minutes until softened. Stir in the minced garlic and cook for 1 minute until fragrant. Add the ground beef and cook, breaking it up with a spoon, until browned and no longer pink, about 6-8 minutes. Drain excess fat if necessary. Stir in the drained diced tomatoes, marinara sauce, cooked rice, Italian seasoning, smoked paprika, salt, and pepper. Simmer for 5 minutes until the mixture thickens slightly. Remove from heat and stir in 1 cup of mozzarella and the Parmesan cheese. The filling should be flavorful, moist but not watery, and perfectly seasoned.
Step 3: Stuff the Peppers
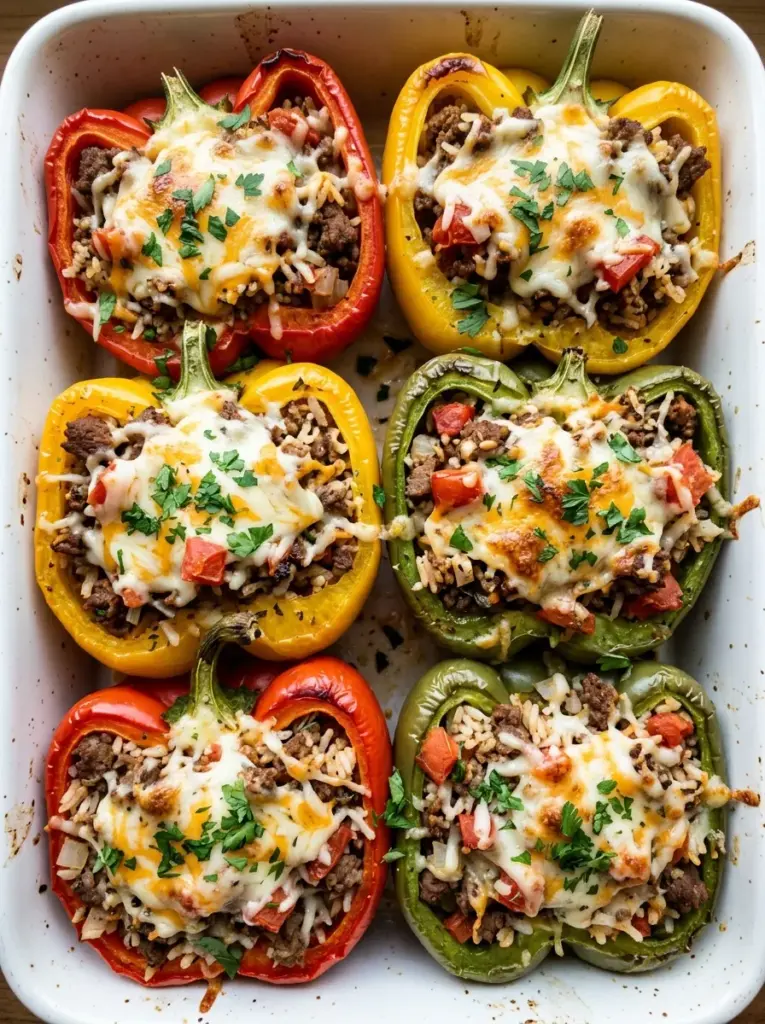
Arrange the blanched peppers upright in the prepared baking dish. Spoon the filling generously into each pepper, pressing down gently to pack it well. Top each stuffed pepper with the remaining mozzarella cheese for that irresistible cheesy pull. This even distribution ensures every bite delivers balanced flavors and melty texture.
Step 4: Bake to Perfection
Cover the dish with foil and bake for 25 minutes. Remove the foil and bake an additional 10-15 minutes until the peppers are tender, the filling is hot, and the cheese is bubbly and golden. For extra browning, broil for the last 1-2 minutes while watching carefully. Your kitchen will fill with wonderful savory aromas as the stuffed bell peppers reach their peak.
Step 5: Rest and Garnish
Let the stuffed bell peppers rest for 5-10 minutes after removing from the oven. This allows the filling to set for cleaner serving and better texture. Sprinkle with fresh chopped parsley or basil for bright color and fresh flavor contrast before serving.
Nutritional Information
Per stuffed bell pepper (with ground beef): approximately 380-450 calories, 20-24g fat, 28-32g carbohydrates, 24-28g protein, and 4-5g fiber. Bell peppers provide excellent vitamin C (over 200% daily value per pepper), vitamin A, and antioxidants. The protein-rich filling offers satiety while homemade versions contain far less sodium than frozen or restaurant options. Using lean meat and brown rice boosts nutrition further. Values vary by exact ingredients—use a nutrition calculator for personalized tracking.
Healthier Alternatives for the Recipe
Transform this classic into even more nutritious versions with simple changes. Use ground turkey or chicken for lower fat, or go fully vegetarian with lentils, black beans, and extra vegetables. Swap white rice with cauliflower rice or quinoa for lower carbs and higher protein. Add chopped spinach, kale, or zucchini to the filling for more fiber and micronutrients. For dairy-free, use plant-based cheese or nutritional yeast. Mediterranean twist with feta, olives, and couscous or Mexican style with corn, black beans, and cumin also work beautifully. These adaptations keep the comforting appeal while supporting gluten-free, low-carb, high-protein, or plant-based dietary needs for families and health-conscious cooks.
Serving Suggestions
Serve stuffed bell peppers hot with a side salad, garlic bread, or roasted vegetables for a complete meal. They pair wonderfully with a dollop of sour cream or avocado slices for creaminess. For casual gatherings, arrange on a platter for colorful presentation. Personal tip: Create a stuffed pepper bar with various fillings and toppings so guests can customize. Leftovers make excellent lunches—reheat and serve over greens or in wraps. They complement iced tea, red wine, or sparkling water with lemon, making them versatile for weeknight dinners, Sunday suppers, or potluck contributions.
Common Mistakes to Avoid
Not blanching the peppers often results in crunchy, undercooked texture that clashes with the filling. Overfilling or using too much liquid leads to soggy bottoms—drain tomatoes well and simmer the filling properly. Skipping seasoning in the filling produces bland results; taste and adjust generously. Using very large peppers without adjusting bake time can leave centers cool. Baking without foil initially can dry out the tops. Home cooking data and reader experiences show these errors cause most disappointing stuffed peppers. Follow precise prep steps, season boldly, and use a thermometer to confirm the filling reaches 165°F (74°C) for consistent success.
Storing Tips for the Recipe
Allow stuffed bell peppers to cool completely before storing. Keep in an airtight container in the refrigerator for up to 4-5 days. For longer storage, freeze individual peppers on a tray then transfer to freezer bags for up to 3 months. Thaw overnight in the fridge and reheat in a 350°F oven covered with foil for 20-25 minutes, uncovering for the last 5-10 minutes to restore cheese crispness. These methods maintain moisture balance, flavor, and food safety while making stuffed bell peppers excellent for meal prep and leftovers.
Conclusion
This classic stuffed bell peppers recipe proves that with proper preparation, quality ingredients, and straightforward techniques, you can create a colorful, hearty, and flavorful meal that brings everyone to the table. From efficient timing and endless customizations to nutritional benefits and reliable storage, it’s a versatile favorite for busy families and special occasions alike. The foolproof methods turn common challenges into tender, cheesy perfection every batch. Make a pan today, try your favorite variations, and share your results in the comments below. Will you go classic beef, vegetarian, or try a new spice blend? Explore more easy comfort food and one-dish dinner recipes on the site for endless inspiration. Happy cooking and enjoy every savory, satisfying bite!
FAQs
Can I make stuffed bell peppers ahead of time?
Yes—assemble completely, cover, and refrigerate up to 24 hours before baking. Add 10 extra minutes to covered bake time.
How do I prevent stuffed peppers from getting watery?
Blanch peppers first, drain tomatoes well, and simmer the filling until thickened. Avoid adding extra liquid.
Can I freeze stuffed bell peppers?
Absolutely. Bake fully, cool, then freeze. Reheat from frozen or thawed for convenient meals.
What’s the best rice for stuffed peppers?
Cooked white or brown rice works great. Cauliflower rice is excellent for low-carb versions.
Are stuffed bell peppers healthy?
Yes—they offer lean protein, vegetables, and fiber. Healthier swaps like lean meats, whole grains, and extra veggies enhance nutritional value while keeping great taste.
More Dinner Recipes to Try
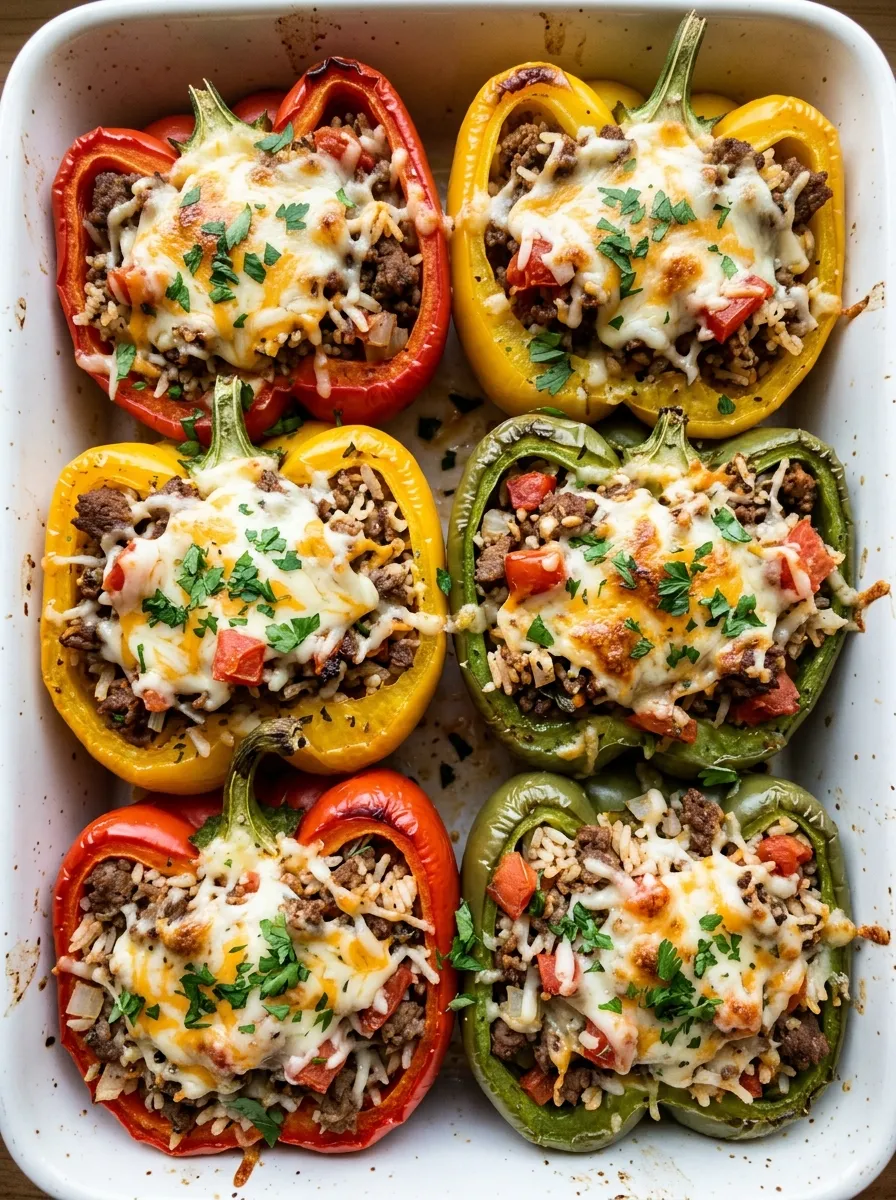

Stuffed Bell Peppers
Ingredients
Equipment
Method
- Preheat the oven to 375°F (190°C).
- Cut the tops off the bell peppers and remove the seeds and membranes.
- Arrange the peppers upright in a lightly greased 9×13-inch baking dish.
- Heat the olive oil in a large skillet over medium-high heat.
- Add the diced onion and cook for 3 to 4 minutes until softened.
- Add the ground beef and cook for 6 to 8 minutes, breaking it apart until browned and cooked through.
- Drain any excess grease.
- Stir in the minced garlic and cook for 30 seconds.
- Add the cooked rice, diced tomatoes, tomato sauce, Italian seasoning, paprika, garlic powder, salt, and black pepper.
- Stir well and cook for 2 to 3 minutes until heated through.
- Spoon the filling evenly into each bell pepper.
- Cover the baking dish tightly with aluminum foil.
- Bake for 30 minutes.
- Remove the foil and sprinkle the mozzarella cheese over each pepper.
- Return to the oven and bake uncovered for another 10 to 15 minutes, until the peppers are tender and the cheese is melted and lightly golden.
- Let the peppers rest for 5 minutes.
- Garnish with fresh parsley and serve warm.
Notes
For softer peppers, bake them for an additional 10 minutes before adding the cheese.
Cooked rice makes this recipe faster, but leftover rice works especially well.
Ground turkey or chicken can be substituted for ground beef.
Add black beans, corn, or chopped spinach for extra variety.
Store leftovers in an airtight container in the refrigerator for up to 4 days.
Reheat individual peppers in the microwave or oven until heated through.
Enjoying AmandBox? Follow us on Pinterest for more recipes.