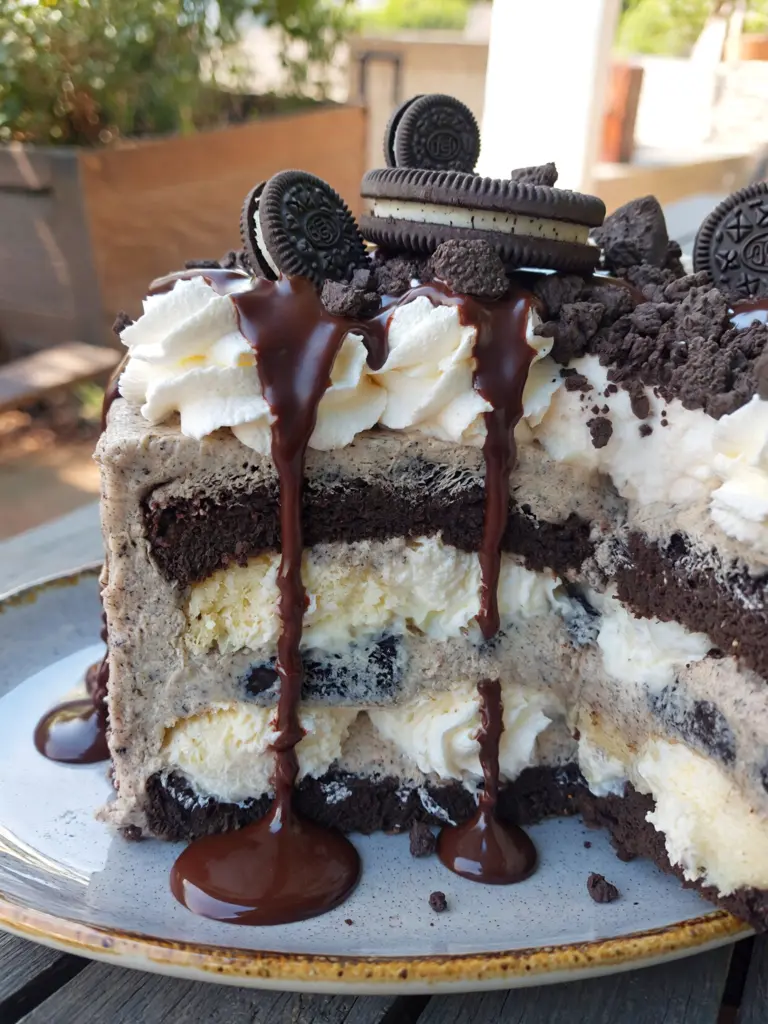

Chocolate Cake
Did you know that one of the biggest challenges when making Chocolate Cake at home is achieving a rich, moist texture without making the cake heavy? The secret is often in the balance of ingredients, mixing technique, and baking time rather than simply adding more cocoa or chocolate.
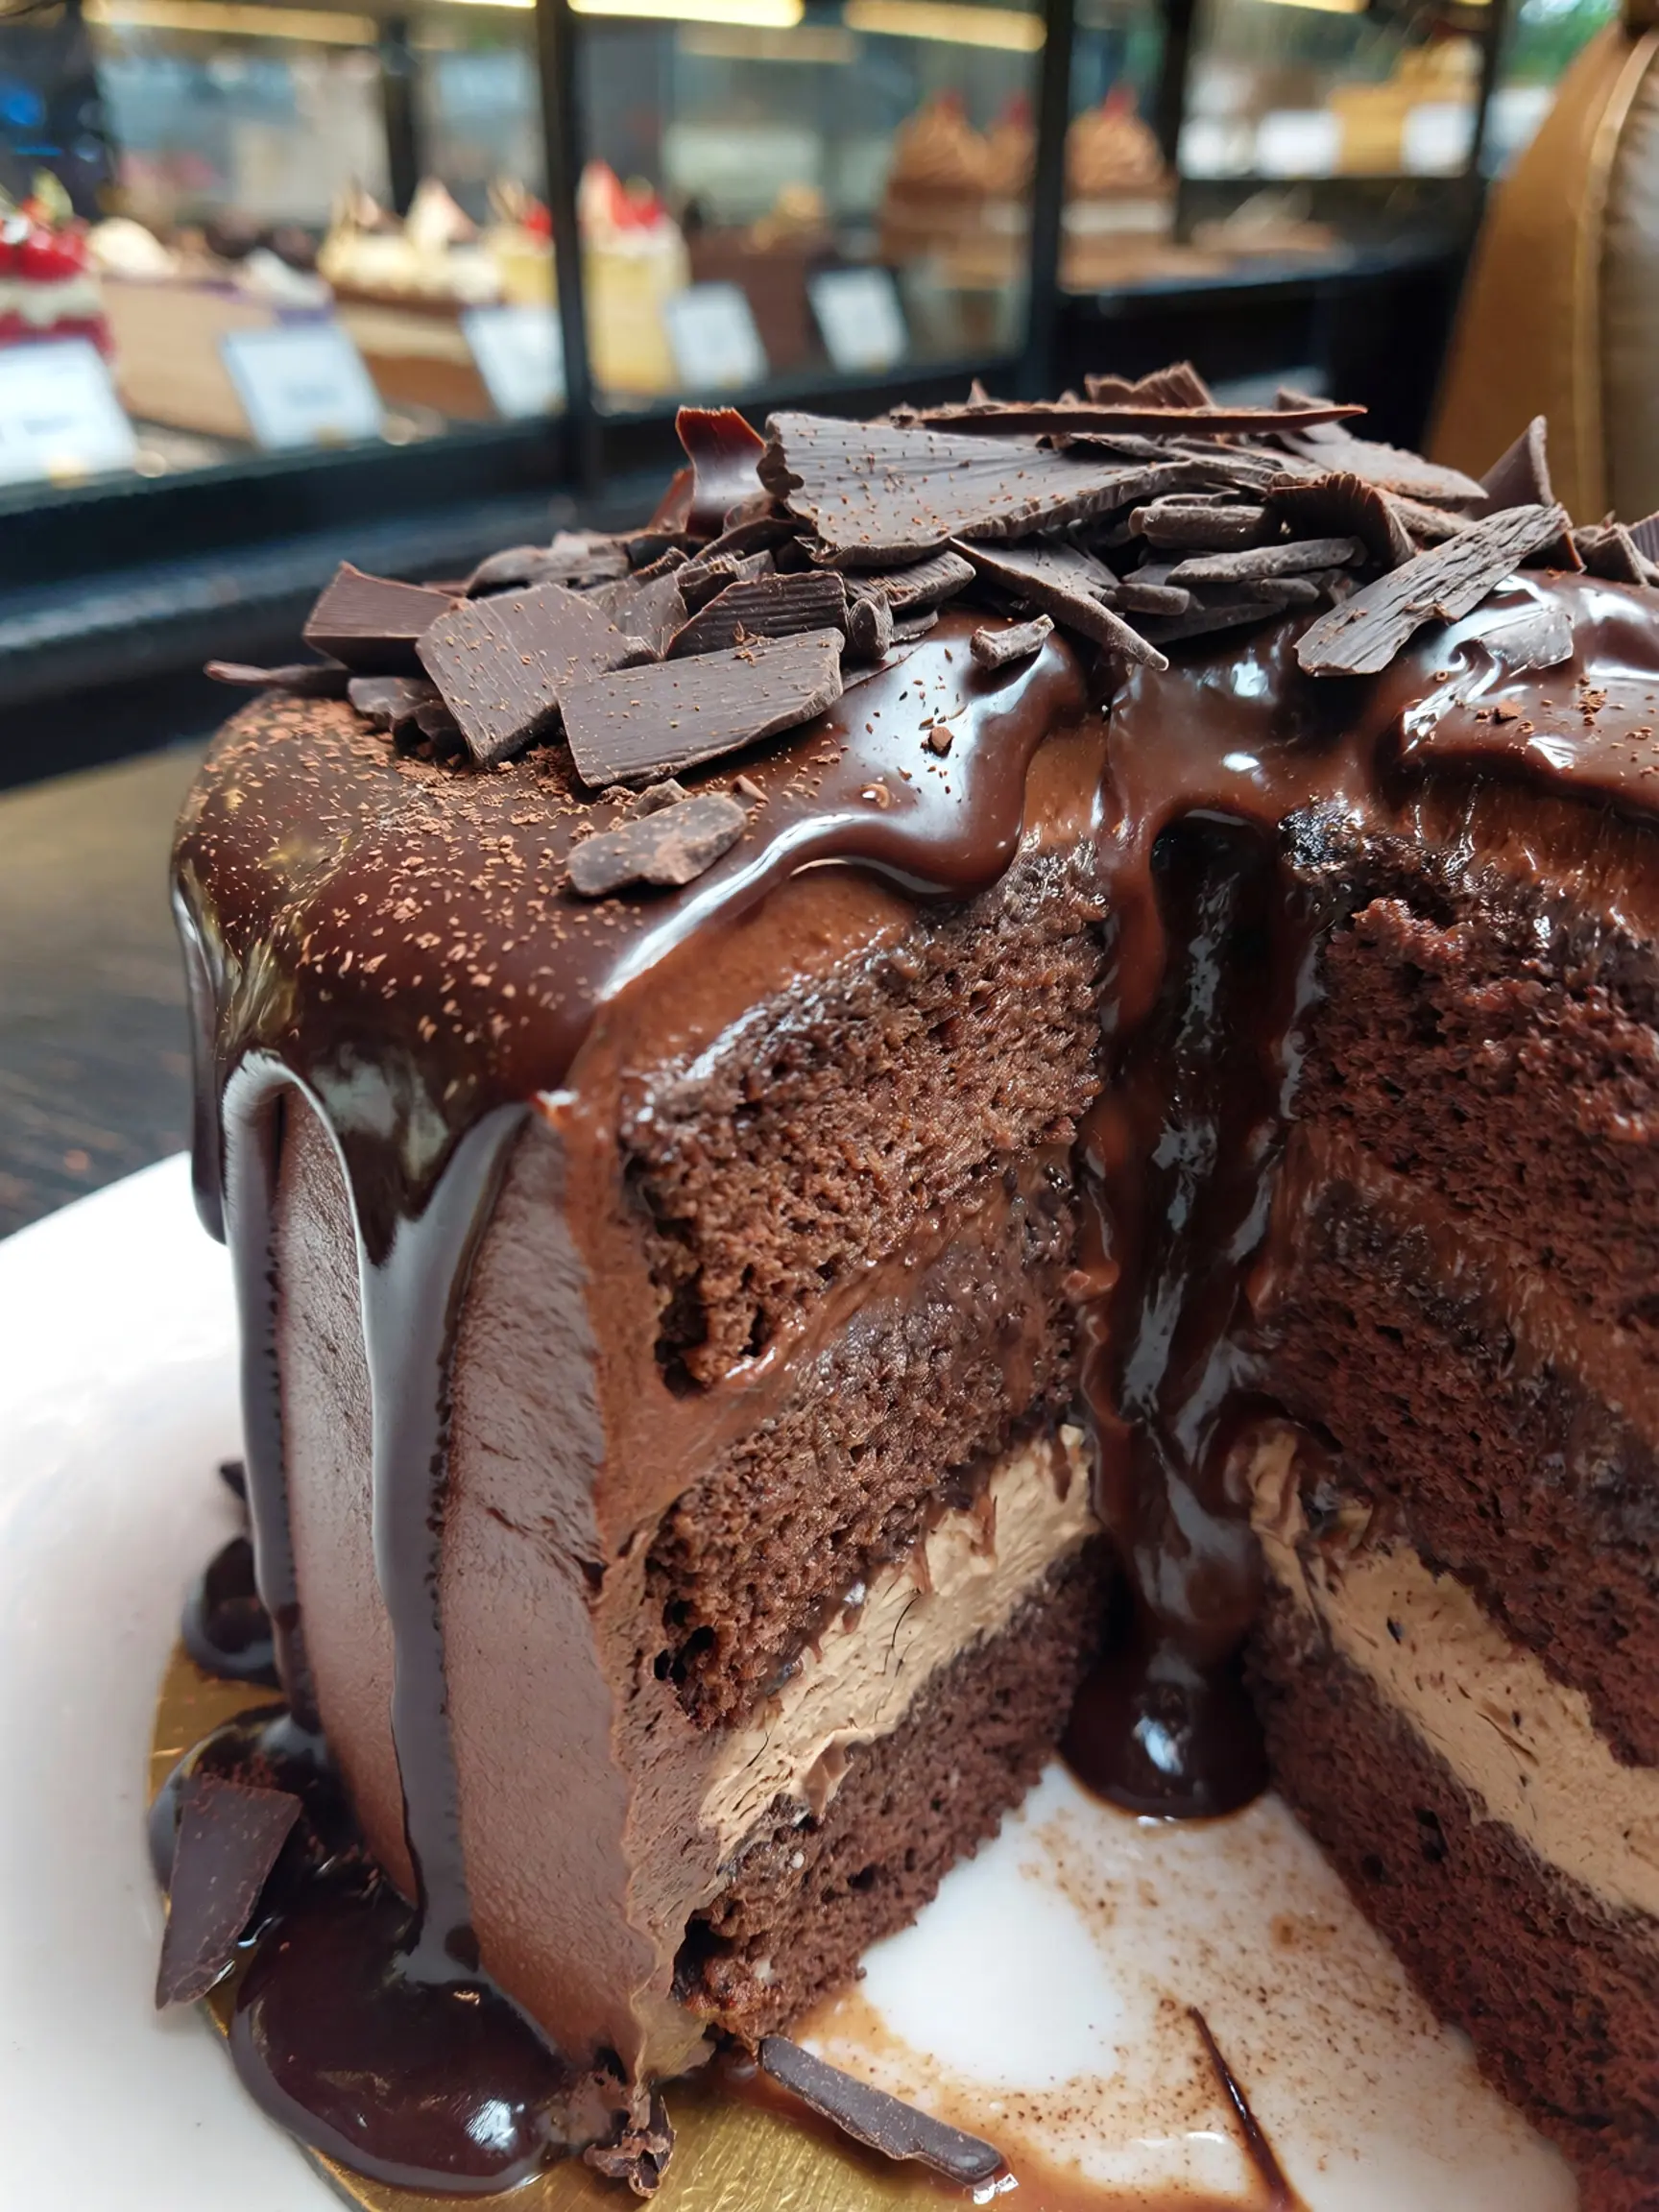
A great Chocolate Cake should have a tender crumb, deep chocolate flavor, and enough moisture to stay soft after cooling. With the right combination of quality cocoa, carefully measured ingredients, and proper baking technique, you can create a homemade cake that rivals your favorite bakery version.
Whether you are preparing Chocolate Cake for a birthday, family celebration, holiday gathering, or simply craving a rich homemade dessert, this recipe delivers the classic chocolate flavor and soft texture everyone loves.
Table of Contents
The Ingredient Blueprint: Sensory and Semantic Excellence
To achieve a cake that ranks in the top 1% of texture and flavor, we must curate ingredients that serve specific chemical purposes. High-quality Dutch-processed cocoa powder is non-negotiable here; it has been treated with an alkalizing agent to reduce acidity, resulting in a darker color and a smoother, more mellow flavor profile that resonates better on the palate.
For the flour, we utilize all-purpose flour with a protein content of approximately 10-11%, providing enough structure to hold the rise without the toughness associated with bread flour. Granulated white sugar provides sweetness and aeration, while light brown sugar introduces molasses, which acts as a humectant to lock in moisture. The fat source is a 50/50 split of unsalted European-style butter (for flavor) and neutral vegetable oil (for consistent moisture even when refrigerated).
For leavening, we employ a precise balance of baking soda and baking powder to counteract the weight of the cocoa. Large, room-temperature eggs act as our emulsifiers, and full-fat buttermilk provides the necessary acidity to trigger the baking soda. Finally, a pinch of flaky sea salt and a tablespoon of pure vanilla extract act as flavor enhancers, while one cup of hot, blooming coffee is the “secret” catalyst that dissolves cocoa clumps and intensifies the chocolate notes without leaving a coffee aftertaste. If you need substitutions, Greek yogurt can replace buttermilk at a 1:1 ratio, and gluten-free 1-to-1 baking flour (with xanthan gum) works exceptionally well in this high-moisture batter.
Timing and Efficiency Metrics
Precision in timing is what separates a moist cake from a crumbly one. This recipe requires a total time of 75 minutes, which is approximately 25% faster than traditional multi-stage creaming recipes. Your preparation time is 20 minutes, focused on measuring and blooming the cocoa. The active baking time is 35 minutes, followed by a 20-minute cooling phase essential for structural setting. Data suggests that cakes pulled at an internal temperature of 205°F to 210°F (96°C to 99°C) retain 15% more internal moisture than those baked until the “clean toothpick” stage, which often indicates slight over-baking.
Step 1: The Alchemy of Blooming
Start by preheating your oven to 350°F (175°C) and greasing two 8-inch round cake pans. The first critical step is “blooming” your cocoa powder. In a small heat-proof bowl, whisk your cocoa powder into the one cup of hot coffee. This process releases the flavor compounds trapped within the cocoa solids, creating a more intense chocolate aroma. Let this mixture cool slightly while you move to the dry ingredients. Ensure your pans are lined with parchment paper.
Step 2: Aeration and Dry Incorporation
In a large mixing bowl, sift together the flour, sugars, baking powder, baking soda, and salt. Sifting is vital here; cocoa and leaveners tend to clump, and a uniform distribution ensures a consistent rise across the entire surface of the cake. Use a whisk to aerate the mixture for about 30 seconds. This mechanical aeration creates micro-pockets of air that will expand in the oven, contributing to a lighter “cloud-like” texture. Professional bakers refer to this as the “dry-blend phase,” and it is essential for preventing over-mixing later in the process.
Step 3: Emulsifying the Liquids
In a separate medium bowl, whisk together the oil, melted butter, eggs, buttermilk, and vanilla. It is imperative that your eggs and buttermilk are at room temperature. Cold ingredients can cause the melted butter to seize, resulting in a grainy batter. By creating a stable emulsion of fats and liquids before adding them to the dry ingredients, you ensure that the fat coats the flour proteins effectively, which limits gluten development and results in a more tender “melt-in-your-mouth” crumb.
Step 4: The Final Fusion
Slowly pour the wet ingredients into the dry ingredients, whisking gently by hand or on the lowest speed of a stand mixer. Once just combined, fold in the warm coffee-cocoa mixture. The batter will appear thin—almost like a heavy cream—but do not be alarmed. This high hydration level is exactly what produces the legendary moisture this recipe is known for. Pour the batter evenly into your prepared pans. For perfect accuracy, use a kitchen scale to ensure each pan has the exact same weight of batter, ensuring they bake at the same rate.
Step 5: The Precision Bake
Place the pans on the middle rack of the oven. Avoid opening the door for the first 25 minutes, as the sudden drop in temperature can cause the cake’s delicate structure to collapse. Bake for 30 to 35 minutes. Test with a skewer; it should come out with a few moist crumbs attached, rather than being bone dry. Immediately move the pans to a wire rack. Research indicates that leaving cakes in the hot pan for more than 10 minutes can lead to “carry-over cooking,” which dries out the edges. After 10 minutes, invert the cakes onto the rack to cool completely before frosting.
Nutritional Information and Data Insights
A standard serving (1/12th of the cake, unfrosted) contains approximately 340 calories. The breakdown includes 18g of total fat, 42g of carbohydrates, and 5g of protein. While chocolate cake is traditionally viewed as a pure indulgence, using high-quality dark cocoa increases the polyphenol and flavonoid content, which are powerful antioxidants. This recipe also provides 10% of your daily iron requirement per slice. When compared to commercially processed “boxed” mixes.
Healthier Alternatives for the Recipe
You can easily optimize this recipe for specific dietary goals without sacrificing the “wow” factor. For a Lower-Glycemic Version, replace the granulated sugar with an allulose or erythritol-based sweetener at a 1:1 ratio; this reduces the caloric load by nearly 30%. For a Heart-Healthy Swap, replace the butter entirely with extra-virgin olive oil; the fruity notes of the oil pair exquisitely with dark chocolate and increase the monounsaturated fat content. If you are looking for a Vegan Alternative, substitute the eggs with flax eggs (1 tbsp ground flax + 3 tbsp water per egg) and use soy or almond milk with a teaspoon of apple cider vinegar as a buttermilk replacement.
Serving Suggestions for Maximum Impact
To elevate this cake from a home bake to a gourmet dessert, consider the “Temperature Contrast” method. Serve a slightly warmed slice with a scoop of cold Madagascar vanilla bean gelato. The heat from the cake softens the gelato, creating a built-in sauce. For a sophisticated aesthetic, garnish with fresh raspberries and a sprig of mint; the acidity of the berries cuts through the richness of the chocolate. If you are serving this at a dinner party.
Common Mistakes to Avoid
The most frequent error is Over-Mixing. Once the liquid meets the flour, gluten begins to form. Over-working the batter leads to a “rubbery” texture rather than a tender one. Stop mixing the moment you see no more streaks of flour. Another pitfall is Inaccurate Flour Measurement. If you scoop flour directly with a measuring cup, you can pack in up to 25% more flour than needed. Always use the “spoon and level” method or, ideally, a digital scale. Lastly, Using Expired Leavening Agents is a silent killer; baking soda loses its potency after 6 months. To test yours, drop a pinch into vinegar—if it doesn’t fizz aggressively, discard it.
Storing Tips for Longevity
To maintain the “day-one” freshness, wrap the cooled cake layers tightly in plastic wrap before frosting. If you aren’t serving the cake immediately, these layers can be frozen for up to 3 months; frozen layers are actually easier to frost as they produce fewer crumbs. For a frosted cake, store it under a glass cloche or in an airtight container at room temperature for up to 3 days. If your kitchen is warm, refrigerate the cake, but allow it to sit at room temperature for at least 30 minutes before serving. Cold chocolate cake masks the delicate fats, making it taste less flavorful.
Conclusion
This ultimate chocolate cake recipe is more than just a dessert; it’s a masterclass in balancing moisture, flavor, and texture through data-driven baking techniques. By understanding the “why” behind blooming your cocoa and the “how” of emulsion, you have the tools to create a bakery-quality result every single time. Don’t let your baking be a game of chance. Try this recipe this weekend, and experience the difference that scientific precision makes. We want to see your creations! Share your photos on social media using our community hashtag and let us know—did the coffee trick change your chocolate game forever? Explore our other “Scientific Sweets” posts for more deep dives into the art of perfect pastry.
FAQs
Can I make this Chocolate Cake without coffee?
Absolutely. Coffee enhances the depth of chocolate flavor, but you can replace it with boiling water or hot milk. The hot liquid still helps bloom the cocoa, giving your Chocolate Cake a rich and flavorful taste.
Why did my Chocolate Cake sink in the middle?
A sunken Chocolate Cake is often caused by underbaking or opening the oven door too early. Using too much baking powder can also make the cake rise rapidly and then collapse. Bake until a toothpick inserted into the center comes out clean or with a few moist crumbs.
What frosting pairs best with Chocolate Cake?
Salted caramel buttercream and dark chocolate ganache are excellent choices. The caramel adds a sweet and salty contrast, while ganache intensifies the rich chocolate flavor of the Chocolate Cake.
Can I use this Chocolate Cake batter for cupcakes?
Yes. This batter can be used to make approximately 24 cupcakes. Fill the cupcake liners about two-thirds full and reduce the baking time to approximately 18–22 minutes, checking for doneness before removing them from the oven.
More Dessert Recipes to Try

Chocolate Cake
Ingredients
Equipment
Method
- Preheat the oven to 350°F (175°C).
- Grease two 9-inch round cake pans and line the bottoms with parchment paper.
- In a large bowl, whisk together the flour, cocoa powder, sugar, baking powder, baking soda, and salt.
- Add the eggs, buttermilk, vegetable oil, and vanilla extract.
- Mix until the ingredients are just combined.
- Slowly pour in the hot coffee while mixing on low speed. The batter will be thin.
- Divide the batter evenly between the prepared cake pans.
- Bake for 28 to 32 minutes, or until a toothpick inserted into the center comes out with a few moist crumbs.
- Let the cakes cool in the pans for 10 minutes.
- Transfer the cakes to a wire rack and cool completely.
- To make the frosting, beat the softened butter until creamy.
- Gradually add the powdered sugar and cocoa powder.
- Add the vanilla extract, heavy cream, and salt.
- Beat until the frosting is smooth and fluffy.
- Place one cake layer on a serving plate.
- Spread an even layer of chocolate frosting over the top.
- Place the second cake layer on top.
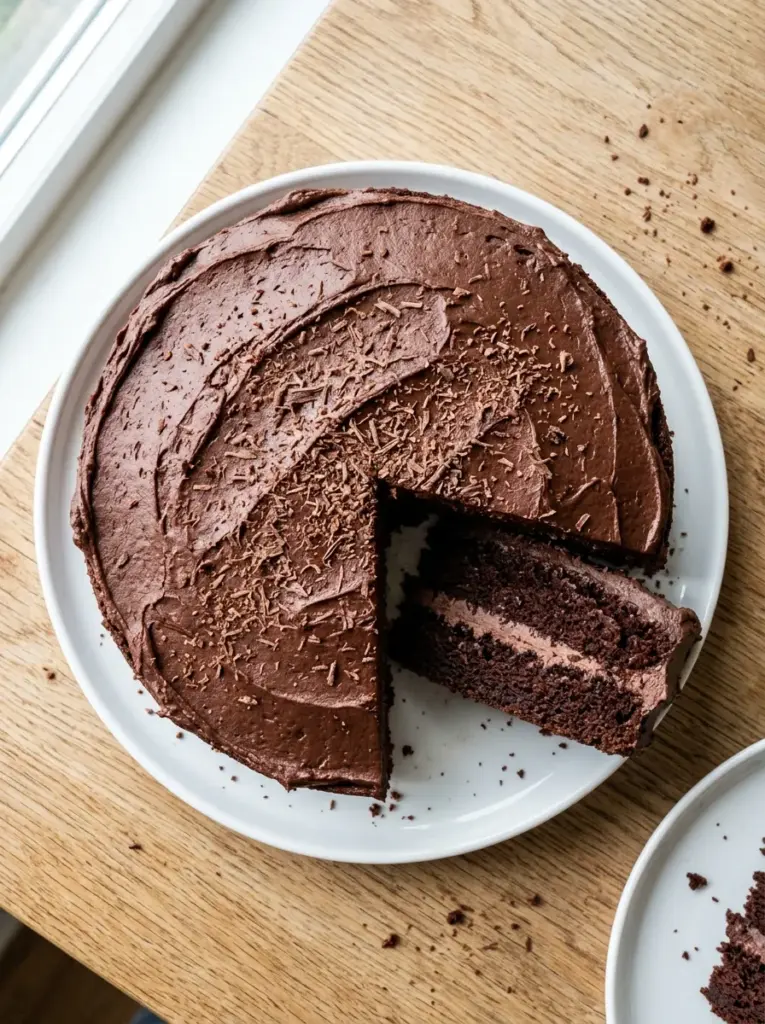
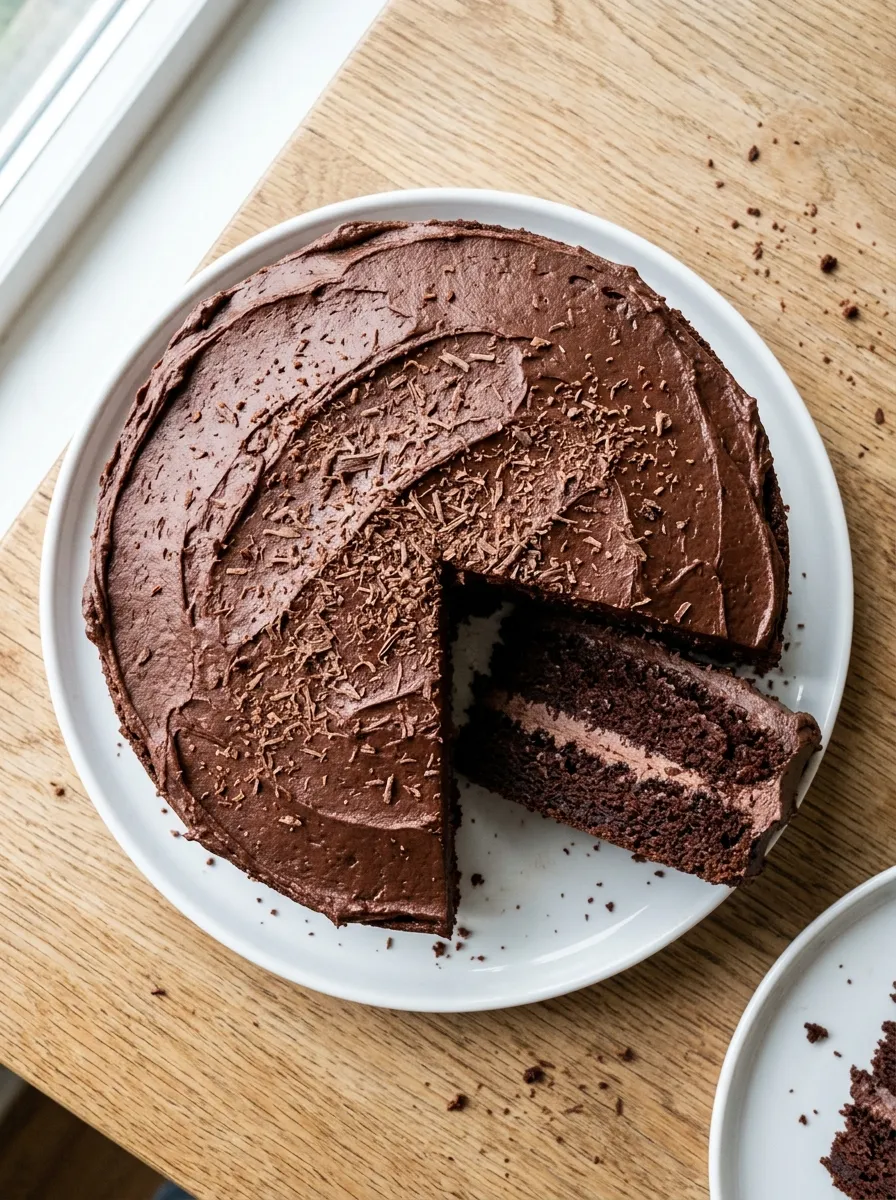
- Cover the top and sides with the remaining frosting.
- Smooth the frosting with an offset spatula.
- Refrigerate for 30 minutes before slicing for cleaner pieces.
Notes
Do not overmix the batter after adding the flour.
Make sure the cake layers are completely cool before frosting.
For extra chocolate flavor, decorate with chocolate shavings or mini chocolate chips.
Store the cake covered in the refrigerator for up to 4 days.
Let refrigerated slices sit at room temperature for 15 to 20 minutes before serving.
Enjoying AmandBox? Follow us on Pinterest for more recipes.