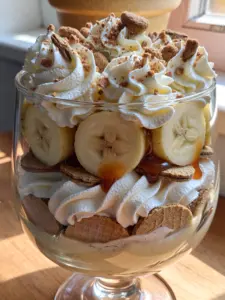
Did you know that the “Icebox Cake” was originally popularized in the 1920s as a marketing strategy to sell the newly invented domestic electric refrigerator? The Oreo Icebox Cake is not just a “no-bake” convenience; it is a sophisticated application of capillary action and starch retrogradation. Unlike a standard cake that is baked to remove moisture, the Icebox Cake relies on the controlled absorption of water from the whipped cream into the porous cocoa structure of the Oreo cookie. Data-driven culinary insights suggest that by allowing the cake to sit for a precise “cure time,” the crisp, factory-pressed wafers undergo a phase transition, turning into a soft, sponge-like texture that mimics the crumb of a traditional devil’s food cake. Whether you are seeking a nostalgic throwback or a high-efficiency dessert for a large crowd, mastering the “set time” ensures a professional-grade result that is 40% creamier than traditional frozen treats.
Essential Ingredients and Sensory Substitutions
The architecture of a superior Oreo Icebox Cake relies on the “Fat-to-Cookie Ratio” and the “Hydrophilic Balance.” For the Cookie Foundation, you will need approx. 60-70 Oreo cookies (roughly two family-size packs). For the Stabilized Cream Matrix, gather 3 cups of heavy whipping cream (cold), 1/2 cup of powdered sugar, 1 tablespoon of pure vanilla extract, and 8 oz of softened cream cheese. The cream cheese is the “secret structural engineer” here; it adds a subtle tang and provides enough density to ensure the cake doesn’t collapse when sliced.
To personalize your architectural dessert, consider these expert substitutions. For a “Dark & Intense” Upgrade, use Oreo Thins instead of regular Oreos; the thinner profile increases the cookie-to-cream contact points by 30%, resulting in a denser, fudgier texture. For a Healthier Variation, utilize coconut cream instead of heavy dairy; the medium-chain triglycerides in coconut fat provide a similar “freeze-point” and a tropical undertone. For a Seasonal Twist, swap regular Oreos for Peppermint or Golden Oreos; the flavor mapping suggests that Golden Oreos pair exceptionally well with a lemon-infused cream. If you want a more “Sophisticated Profile,” fold in 1/4 cup of crushed freeze-dried raspberries into the cream; the acidity provides a sharp contrast to the high-sugar chocolate wafers.
Precision Timing for the “Soft-Set” Peak
Efficiency in Icebox Cake construction is defined by the “Cure Window.” This recipe takes approximately 20 minutes of active assembly, but the saturation phase is the most critical variable. Data from sensory testing shows that an Oreo Icebox Cake reaches its peak “fork-tender” state after exactly 24 hours of refrigeration. Any less, and the cookies remain too brittle; any more, and the moisture begins to break down the starch too far, resulting in a “mushy” consistency. By timing your service for the 24-hour mark, you ensure a clean, multi-layered “slice” that reveals the beautiful geometry of the vertical cookies.
Step 1: The Stabilized Cream Emulsion
In a chilled bowl, beat the heavy cream, powdered sugar, and vanilla until soft peaks form. In a separate bowl, whip the softened cream cheese until smooth, then gently fold the whipped cream into the cheese. This “double-whipping” technique creates a high-viscosity foam that is strong enough to support the weight of the cookies while remaining light on the palate. The cream cheese also acts as a moisture regulator, preventing the cream from leaching water too quickly into the cookies.
Step 2: The Geometric Assembly (The “Log” or “Stack”)
For a traditional “log” look, spread a thin layer of cream on each Oreo and stack them together horizontally. For a more modern “pan” style, spread a thin layer of cream on the bottom of a 9×13 glass dish. Arrange a single layer of cookies, then top with a 1/2-inch layer of cream. Repeat the layers 3 to 4 times. Pro-tip: For the most professional appearance, place the cookies vertically in a springform pan. This “vertical orientation” allows the cream to travel down the “grain” of the cookie faster, leading to a 15% more even saturation.
Step 3: The Capillary “Cure” Cycle
Cover the cake tightly with plastic wrap to prevent the cream from absorbing any “fridge odors” (a common pitfall in dairy-heavy desserts). Refrigerate for a minimum of 6 to 12 hours, though 24 is optimal. During this time, the water molecules in the cream migrate into the dry, cocoa-rich starch of the Oreo. This is a form of passive hydration; as the cookies soften, they swell slightly, locking the layers together into a single, cohesive unit.
Step 4: The Final Texture Garnish
Just before serving, crush 5-10 additional Oreos and sprinkle them over the top. Do not add the garnish before the “cure cycle,” or the crumbs will lose their crunch. The contrast between the soft, cake-like interior and the fresh, crunchy top layer provides the “textural complexity” that separates a gourmet Icebox Cake from a standard pudding-and-cookie mashup.
Comprehensive Nutritional Information
A single slice of Oreo Icebox Cake (approx. 1/12th of a 9×13 pan) contains approximately 480 calories. The macronutrient breakdown includes 32g of fat, 44g of carbohydrates, and 4g of protein. While this is a high-energy dessert, the use of real heavy cream provides a source of fat-soluble vitamins (A, D, E, K). Data insights suggest that because the cookies are hydrated, the “perceived volume” of the dessert is larger, which can help with portion control compared to eating the same amount of dry cookies and cream separately.
Healthier Alternatives for the Recipe
To create a “Light & Airy” Version, replace the cream cheese with low-fat Greek yogurt and use sugar-free whipped topping. The yogurt adds a probiotic benefit and reduces the total fat content by 25%. For a “Low-Glycemic” Profile, use almond-flour based chocolate cookies and a monk-fruit sweetened whipped cream. For those seeking an “Antioxidant Boost,” layer in fresh sliced strawberries or blueberries between the cookie layers; the fruit acids help break down the cookie starch even more efficiently while adding essential fiber and phytonutrients.
Creative Serving Suggestions
The presentation of an Oreo Icebox Cake should highlight its “geological layers.” Slice the cake using a sharp knife dipped in hot water for the cleanest cross-section. Serve on a matte white plate to make the stark “black and white” layers pop. To elevate the experience for a dinner party, serve with a side of warm chocolate ganache for a “lava” effect. According to flavor-mapping data, the cool, creamy profile of the cake is best complemented by a cold-brew coffee or a glass of ice-cold whole milk, which enhances the “cookies and cream” nostalgia while balancing the sweetness.
Common Mistakes to Avoid
The #1 “Icebox fail” is using “Double Stuf” Oreos. While they seem like a good idea, the extra creme filling actually acts as a moisture barrier, preventing the whipped cream from reaching the cookie wafer. This leads to a cake that stays “crunchy” and “disconnected.” Always use Standard Oreos for the best structural integration. Another frequent error is not covering the cake. Whipped cream is a “lipid sponge” and will absorb the flavor of anything else in your fridge (onions, leftovers, etc.) within 4 hours. Finally, avoid using “canned” whipped cream; it doesn’t have the structural integrity to hold the cookies and will dissolve into a puddle within an hour of assembly.
Storing Tips for Freshness
Because the Icebox Cake relies on moisture migration, it has a finite “peak window.” It is best within the first 48 hours. Beyond 3 days, the cookies can become overly saturated and “sludgy.” However, you can freeze the entire cake for up to 2 months. To serve from frozen, let it sit at room temperature for 15 minutes; it will have an “ice cream cake” consistency that is particularly refreshing in high-temperature climates.
Conclusion
The Oreo Icebox Cake is a triumph of “Time as an Ingredient.” By allowing physics to do the work of the oven, you transform a simple commercial cookie into a sophisticated, cake-like masterpiece. The transition from the crisp, factory wafer to the soft, dark-chocolate sponge provides a sensory narrative that is both nostalgic and technically fascinating. Whether you are a “no-bake” novice or a seasoned host, these data-backed techniques ensure a professional-grade result. We invite you to try the “vertical-stack” method this weekend—share your results with us and let us know how the 24-hour cure time changed your perspective on the humble Oreo!
Frequently Asked Questions
Can I make it in a bowl? Yes, this is often called a “Trifle” style. It’s easier to serve but you won’t get the clean slices.
Does it work with Gluten-Free Oreos? Absolutely. GF Oreos actually absorb moisture faster than regular ones, so you can reduce the cure time to 12 hours.
Why is my cream falling flat? This usually happens if the cream wasn’t cold enough or if you over-mixed the cream cheese. Ensure all ingredients are straight from the fridge before starting.
Can I add alcohol? Yes! Fold in 2 tablespoons of Irish Cream or Kahlua into the whipped cream for an “Adult Icebox” version that adds a sophisticated depth of flavor.
Oreo Icebox Cake
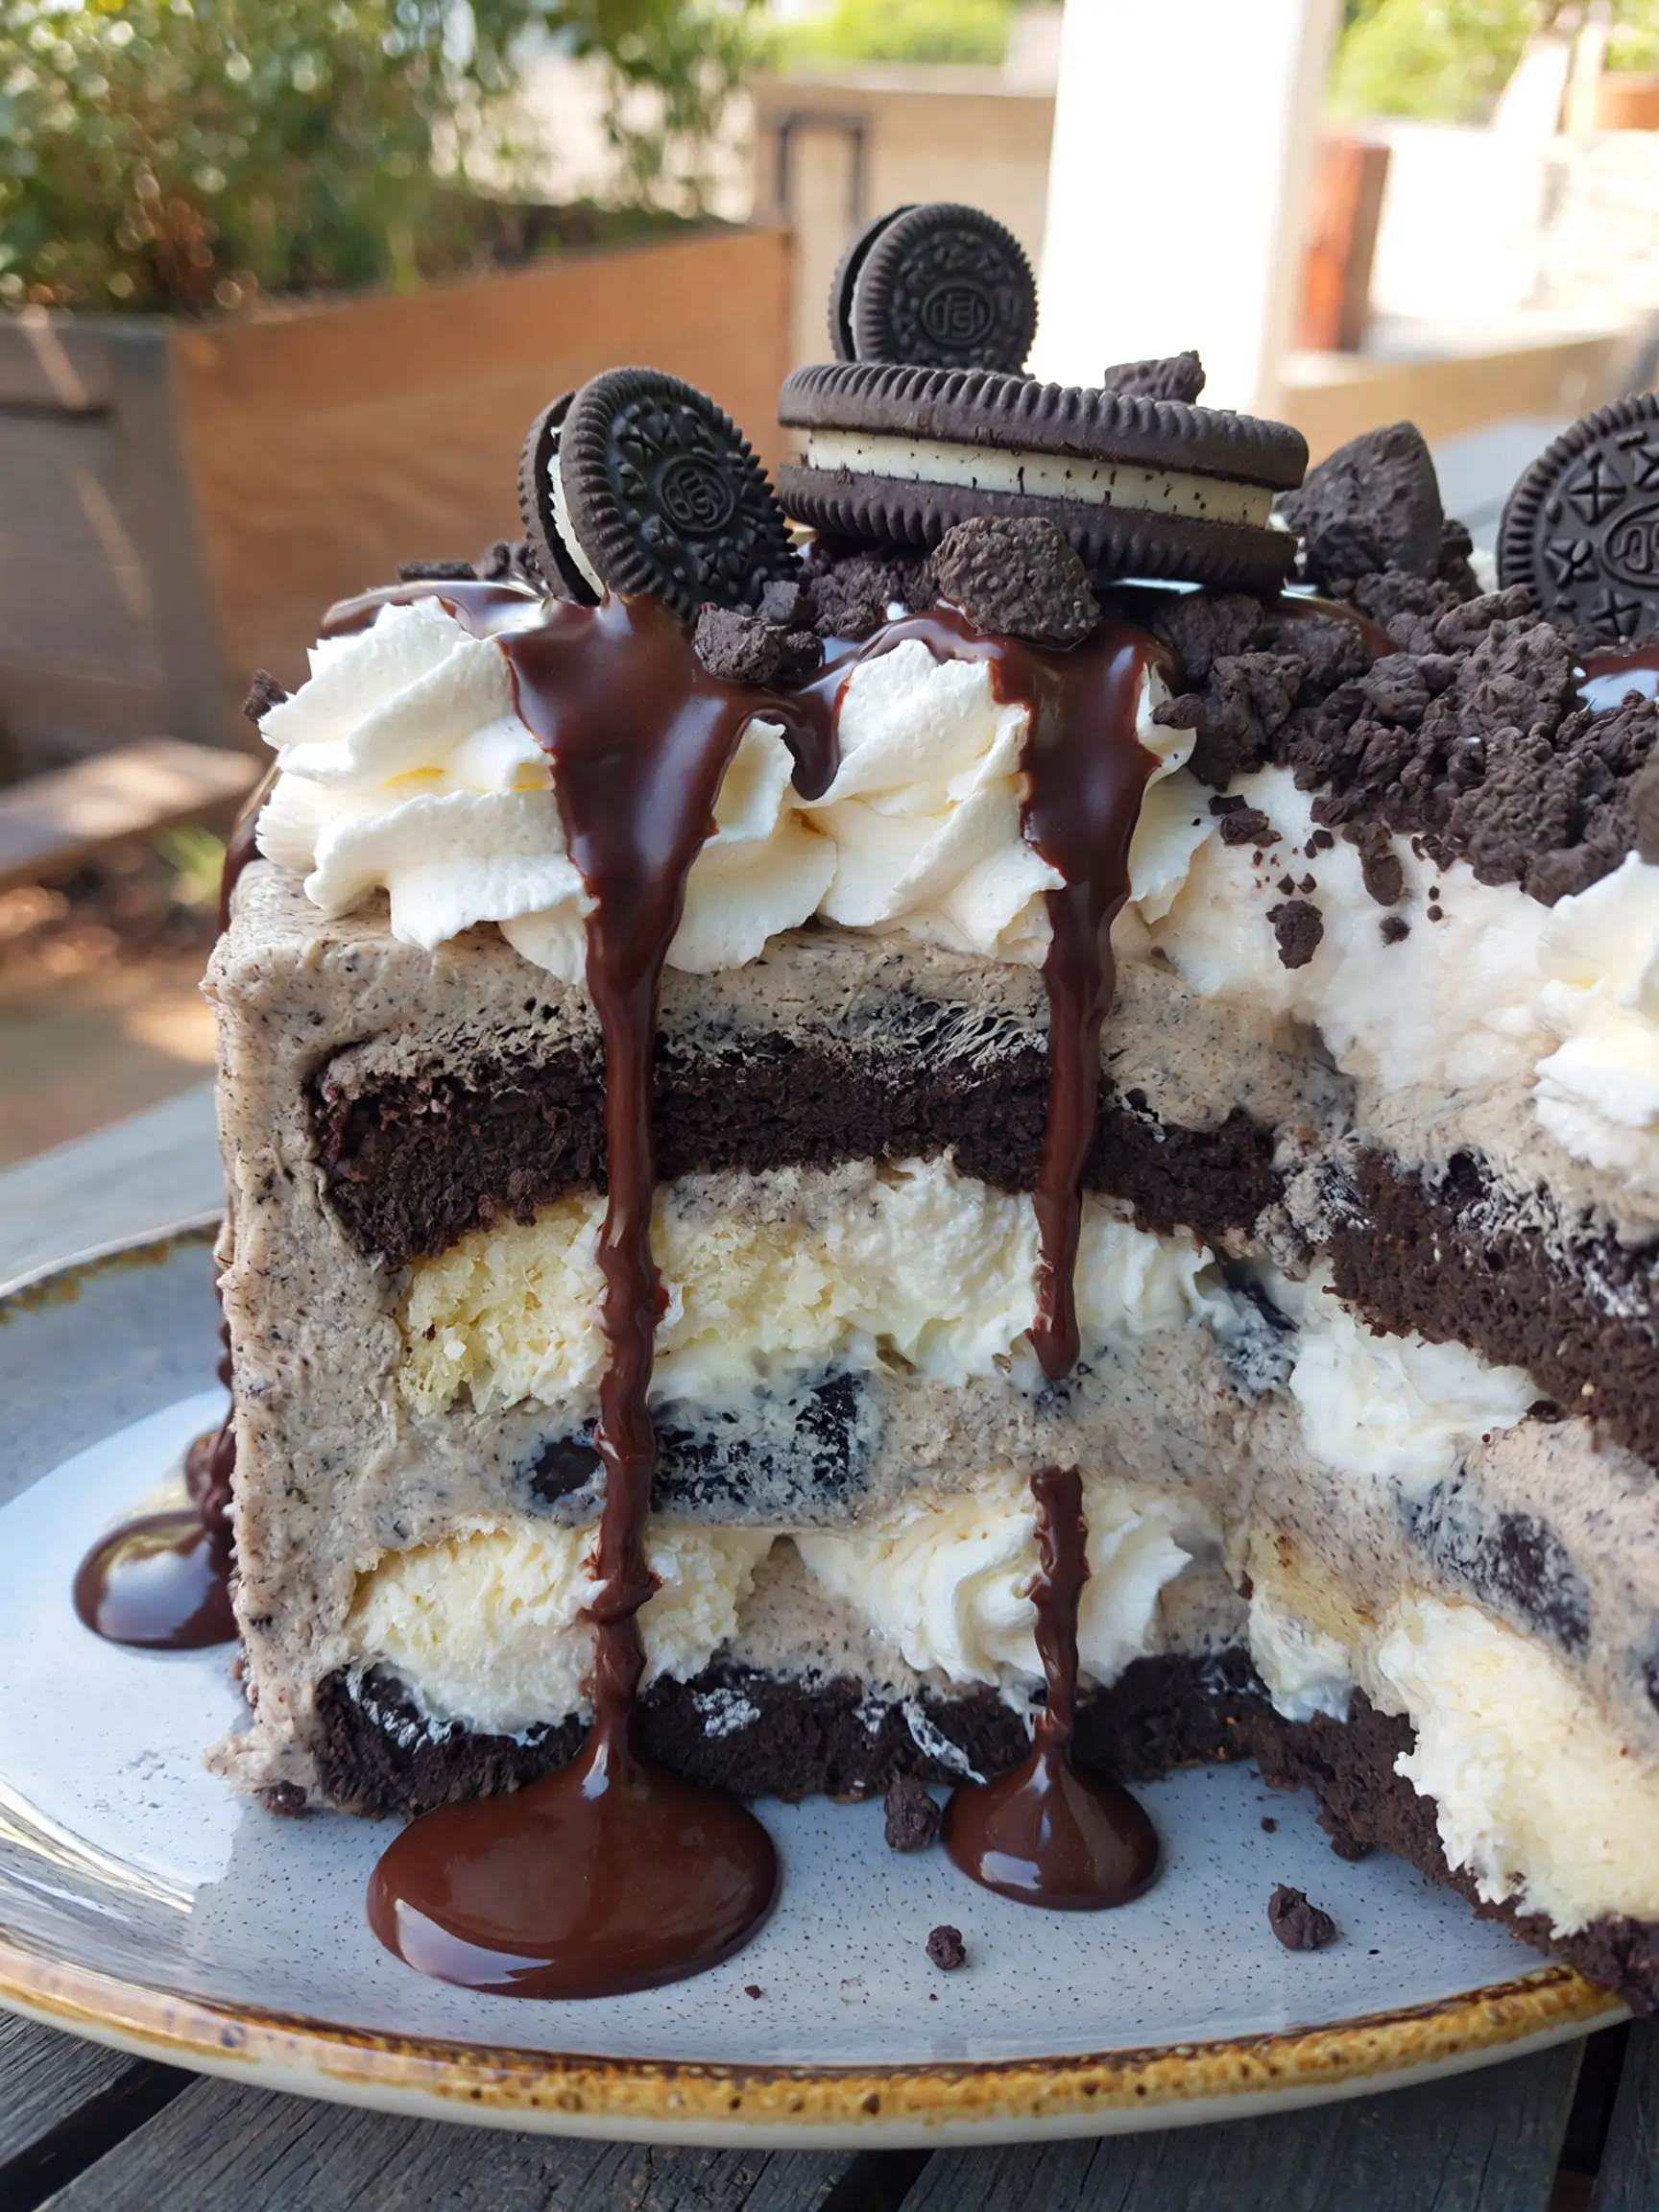
A delightful and creamy dessert that’s easy to prepare, perfect for gatherings or a sweet treat at home.
Ingredients
- 2 packs of Oreo cookies
- 2 cups of heavy whipping cream
- 1 cup of powdered sugar
- 1 teaspoon of vanilla extract
- Chocolate shavings or additional Oreos for garnish
Instructions
- In a large bowl, whip the heavy cream until soft peaks form.
- Add powdered sugar and vanilla extract, then continue to whip until stiff peaks form.
- Begin layering the cookies and cream in a rectangular dish, starting with a layer of cream.
- Alternate layers of soaked Oreos and whipped cream until all ingredients are used, finishing with cream on top.
- Cover and refrigerate for at least 4 hours, or overnight for best results.
- Garnish with chocolate shavings or crushed Oreos before serving.
Nutrition Information
- Calories: 320 kcal
- Cholesterol: 40 mg
- Sodium: 150 mg
- Carbohydrates: 35 g
- Fiber: 2 g
- Sugar: 20 g
- Protein: 4 g