
Pinwheel Cookies
Introduction
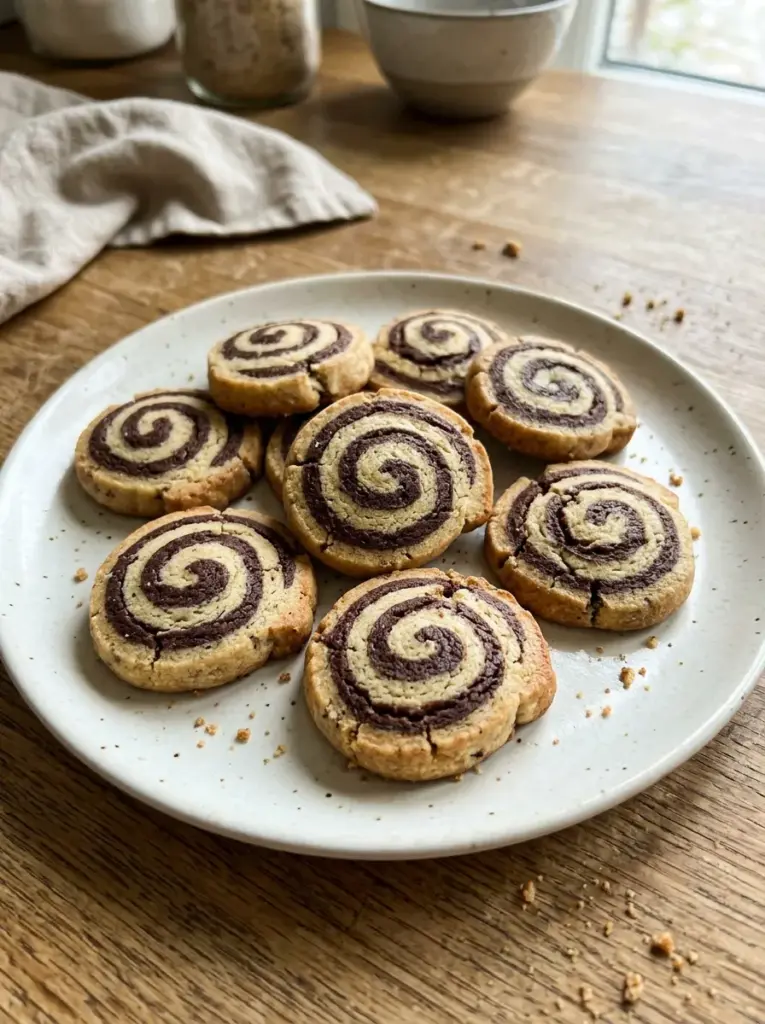
If you’re searching for an enchanting treat that captivates the eyes and delights the palate, look no further than Pinwheel Cookies. These vibrant, swirled cookies are not just a feast for the senses but also a wonderful opportunity to unleash your creativity in the kitchen. Combining various flavor profiles with vivid colors allows you to enjoy a unique cookie experience. Perfect for parties, holidays, or simply a cozy afternoon snack, Pinwheel Cookies are versatile and fun to create. As you embark on this delicious undertaking, you will discover a step-by-step guide to crafting these visually striking delicacies that will not only satisfy your sweet tooth but also elevate your baking skills to new heights.
Table of Contents
Ingredients List
Before diving into the baking process, it’s essential to gather all the necessary ingredients for your Pinwheel Cookies. Here’s what you’ll need:
– 2 cups all-purpose flour: The flour creates the structure of your cookies, providing the perfect texture.
– 1/2 teaspoon baking powder: This leavening agent is crucial for a light and airy cookie.
– 1/4 teaspoon salt: Salt enhances the flavors in your dough.
– 1 cup unsalted butter, softened: The butter adds richness and a delightful mouthfeel.
– 1 cup granulated sugar: Sugar brings sweetness, acting as a key ingredient in cookie-making.
– 1 large egg: The egg helps to bind the dough together.
– 1 teaspoon vanilla extract: Vanilla adds a depth of flavor that complements the sweetness.
– Food coloring: Choose your preferred colors to create vibrant pinwheel patterns.
– Optional flavorings: Consider using cocoa powder, almond extract, or lemon zest for variations.
Timing
Before we get into the detailed instructions, let’s discuss the timing necessary for crafting your Pinwheel Cookies. The preparation time for the dough will take around 20 minutes, while resting in the refrigerator is crucial for about 1 hour. Once you’re ready to bake, expect about 10 to 12 minutes in the oven per batch. Overall, you should set aside approximately 2 hours for this entire process, allowing you to have beautiful Pinwheel Cookies ready to delight your family and friends.
Step-by-Step Instructions
Now, let’s delve into the step-by-step instructions to create your delightful Pinwheel Cookies. Follow these detailed directions, and you’ll be well on your way to mastering this charming treat.
1. Prepare the Dough: In a medium bowl, whisk together the all-purpose flour, baking powder, and salt. In another, larger bowl, cream together the softened butter and granulated sugar until light and fluffy. This process typically takes about 2-3 minutes.
2. Blend In Egg and Vanilla: Add the egg and vanilla extract to the creamed mixture, combining until well incorporated.
3. Combine Wet and Dry Ingredients: Gradually add the flour mixture to the wet ingredients, mixing until the dough comes together.
4. Divide the Dough: Split the cookie dough into two equal portions in separate bowls.
5. Add Colors and Flavors: This is where the magic happens! To each portion, add a few drops of food coloring of your choice. You can mix in cocoa powder for a chocolate version or any other flavorings that appeal to you.
6. Chill the Dough: Once colored, shape each portion of dough into a flat rectangle, wrap in plastic wrap, and refrigerate for about an hour.
7. Assemble the Pinwheels: After chilling, roll out each colored rectangle between two sheets of parchment paper into an even thickness, about 1/4 inch thick. Lay the colored layers on top of each other carefully, ensuring they stick together.
8. Roll It Up: Starting from one end, tightly roll the layers together into a log shape. Make sure to roll evenly to maintain a uniform pinwheel pattern.
9. Chill Again: Wrap the rolled dough in plastic wrap and place it back into the refrigerator for another hour.
10. Slice it Up: Once chilled again, preheat your oven to 350°F (175°C). Unwrap the log and slice it into rounds, roughly 1/4 inch thick. Place the slices on a lined baking sheet, spaced an inch apart.
11. Bake: Bake for about 10 to 12 minutes or until the edges are lightly golden, keeping a close eye to avoid over-baking.
12. Cool and Enjoy: Allow the cookies to cool on the baking sheet for a few minutes before transferring them to a wire rack. Enjoy your beautifully swirled Pinwheel Cookies!
Nutritional Information
Understanding the nutritional profile of your Pinwheel Cookies can help you enjoy them guilt-free. Here’s a typical breakdown for one cookie, keeping in mind that sizes can vary based on thickness:
– Calories: Approximately 120-150 kcal
– Total Fat: 7-8g (Saturated Fat: 4-5g)
– Cholesterol: 30mg
– Sodium: 30mg
– Total Carbohydrates: 15-20g
– Dietary Fiber: 0.5g
– Sugars: 7-10g
– Protein: 1-2g
These cookies can be enjoyed as an occasional treat within a balanced diet. Adjustments can also be made to swap in whole-wheat flour or natural sweeteners to cater to dietary needs.
Tips
To ensure perfect Pinwheel Cookies every time, consider the following tips:
– Chill the Dough Well: Proper chilling helps prevent the cookies from spreading too much in the oven.
– Customize the Colors and Flavors: Experiment with different combinations for seasonal cookies, such as red and green for Christmas or pastels for spring celebrations.
– Use Parchment Paper: It prevents the cookies from sticking and makes for easier cleanup.
– Bake One Batch at a Time: This allows for even baking and optimal temperature management.
Alternative Methods
If you’re looking for variations on your Pinwheel Cookies, consider these alternative methods:
– Chocolate Pinwheels: Incorporate cocoa powder into one half of the dough and create a marbled pattern.
– Savory Pinwheels: Use cheese and herbs instead of sweet ingredients for a fun appetizer option.
– Layered Pinwheels: Add ingredients like nuts or dried fruits between layers for added texture.
Common Mistakes to Avoid
To achieve the best results with your Pinwheel Cookies, here are common pitfalls to steer clear of:
– Overworking the Dough: Handling the dough too much can result in tough cookies.
– Inaccurate Measurements: Precise measurements are key in baking, so use a kitchen scale if possible.
– Skipping Chilling Stages: Skipping the chilling process can lead to misshaped cookies and altered textures.
Conclusion
Crafting Pinwheel Cookies is not only a joyous baking venture but also an opportunity to explore your artistic side in the kitchen. With vibrant swirls of color and flavor, these delightful cookies will surely captivate your friends and family. By following the step-by-step instructions provided, you’ll create visually stunning treats that taste as good as they look. Whether you’re preparing for a special occasion or simply indulging in a sweet snack, Pinwheel Cookies are a must-try recipe. So, whir that rolling pin and bring those delicious dreams to life!
If you enjoyed this recipe, don’t forget to visit my website for more exciting and delightful recipes soon!
FAQs
1. Can I store Pinwheel Cookies? Yes, you can store them in an airtight container for up to one week.
2. Can I freeze the dough? Absolutely! You can freeze the rolled dough for up to three months. Just thaw it in the refrigerator before slicing.
3. What else can I use instead of butter? You can substitute with margarine or coconut oil, but it may slightly alter the texture.
4. Can I add nuts to my Pinwheel Cookies? Yes, finely chopped nuts can be incorporated into the dough for added flavor and crunch.
5. How do I keep my cookies from spreading too much? Make sure to chill the dough sufficiently before baking to maintain their shape.
If you’re inspired to bake these delightful cookies, remember that every creation is an opportunity to share love through food. Happy baking!
More Baking Recipes to Try
- Neapolitan Cookies
- Blueberry Pie Bars
- Pumpkin Roll Cake
- Sprinkle Birthday Cake
- Blackberry Crumble Bars

Pinwheel Cookies
Ingredients
Equipment
Method
- In a large bowl, beat the softened butter and sugar until light and creamy.
- Add the egg and vanilla extract and mix until well combined.
- In a separate bowl, whisk together the flour, baking powder, and salt.
- Gradually add the dry ingredients to the butter mixture and mix until a soft dough forms.
- Divide the dough into two equal portions.
- Leave one portion plain for the vanilla layer.
- Add the cocoa powder and milk to the second portion and mix until evenly combined.
- Place each dough portion between sheets of parchment paper.
- Roll both portions into similar-sized rectangles, about 1/4 inch thick.
- Carefully remove the top parchment sheets.
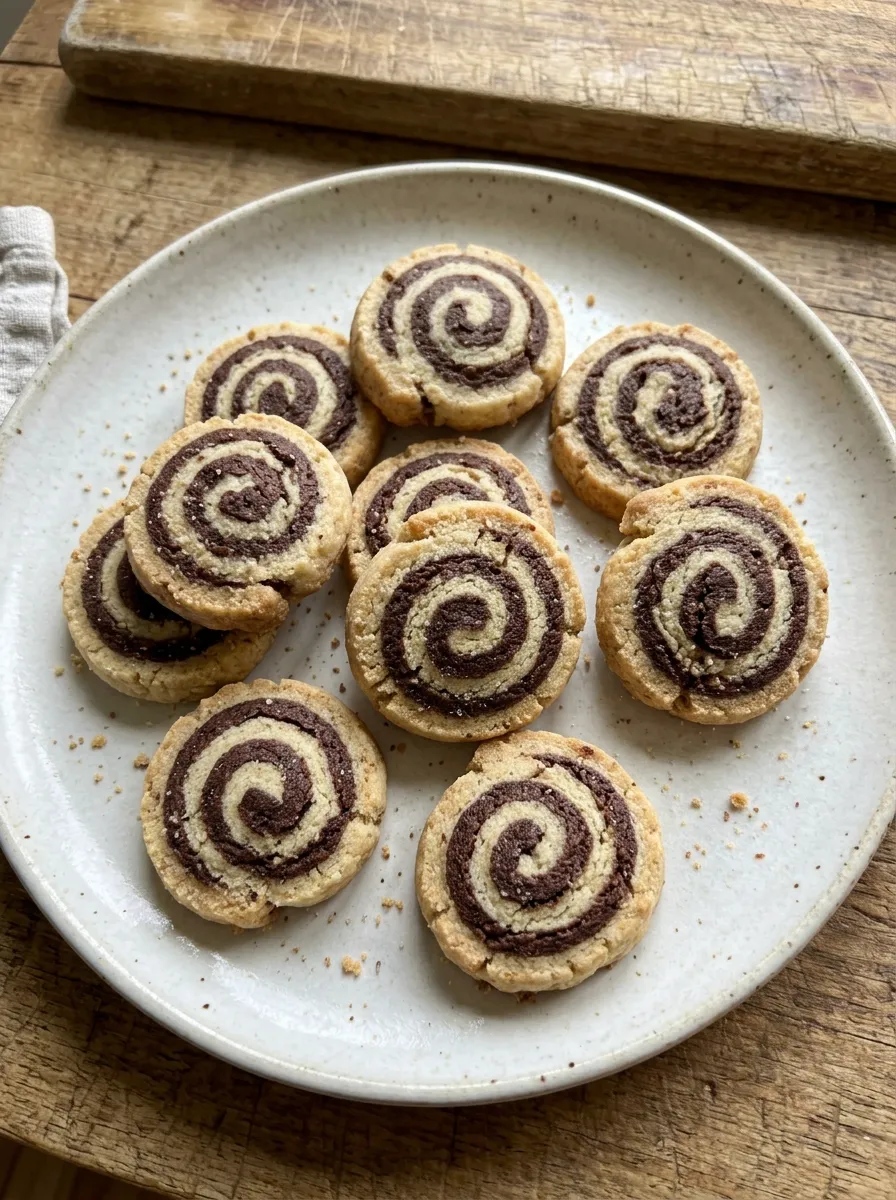
- Place the chocolate dough directly over the vanilla dough.
- Trim the edges if needed so the layers are even.
- Starting from one long edge, tightly roll the dough into a log, using the parchment paper to help guide the roll.
- Wrap the dough log tightly in plastic wrap.
- Refrigerate for at least 1 hour, or until firm.
- Preheat the oven to 350°F.
- Slice the chilled dough into rounds about 1/4 inch thick.
- Arrange the cookies on parchment-lined baking sheets, leaving space between them.
- Bake for 10 to 12 minutes, or until the edges are lightly golden.
- Let the cookies cool on the baking sheet for 5 minutes before transferring them to a cooling rack.
Notes
Roll both dough layers to the same thickness so the pinwheel pattern stays even.
Roll the dough tightly without leaving air pockets between the layers.
If the dough becomes too soft while shaping, refrigerate it for another 15 to 20 minutes.
Use a sharp knife and make clean cuts without pressing down too hard.
Store cookies in an airtight container at room temperature for up to 5 days.
The unbaked dough log can be refrigerated for up to 3 days or frozen for up to 2 months.
Enjoying AmandBox? Follow us on Pinterest for more recipes.