
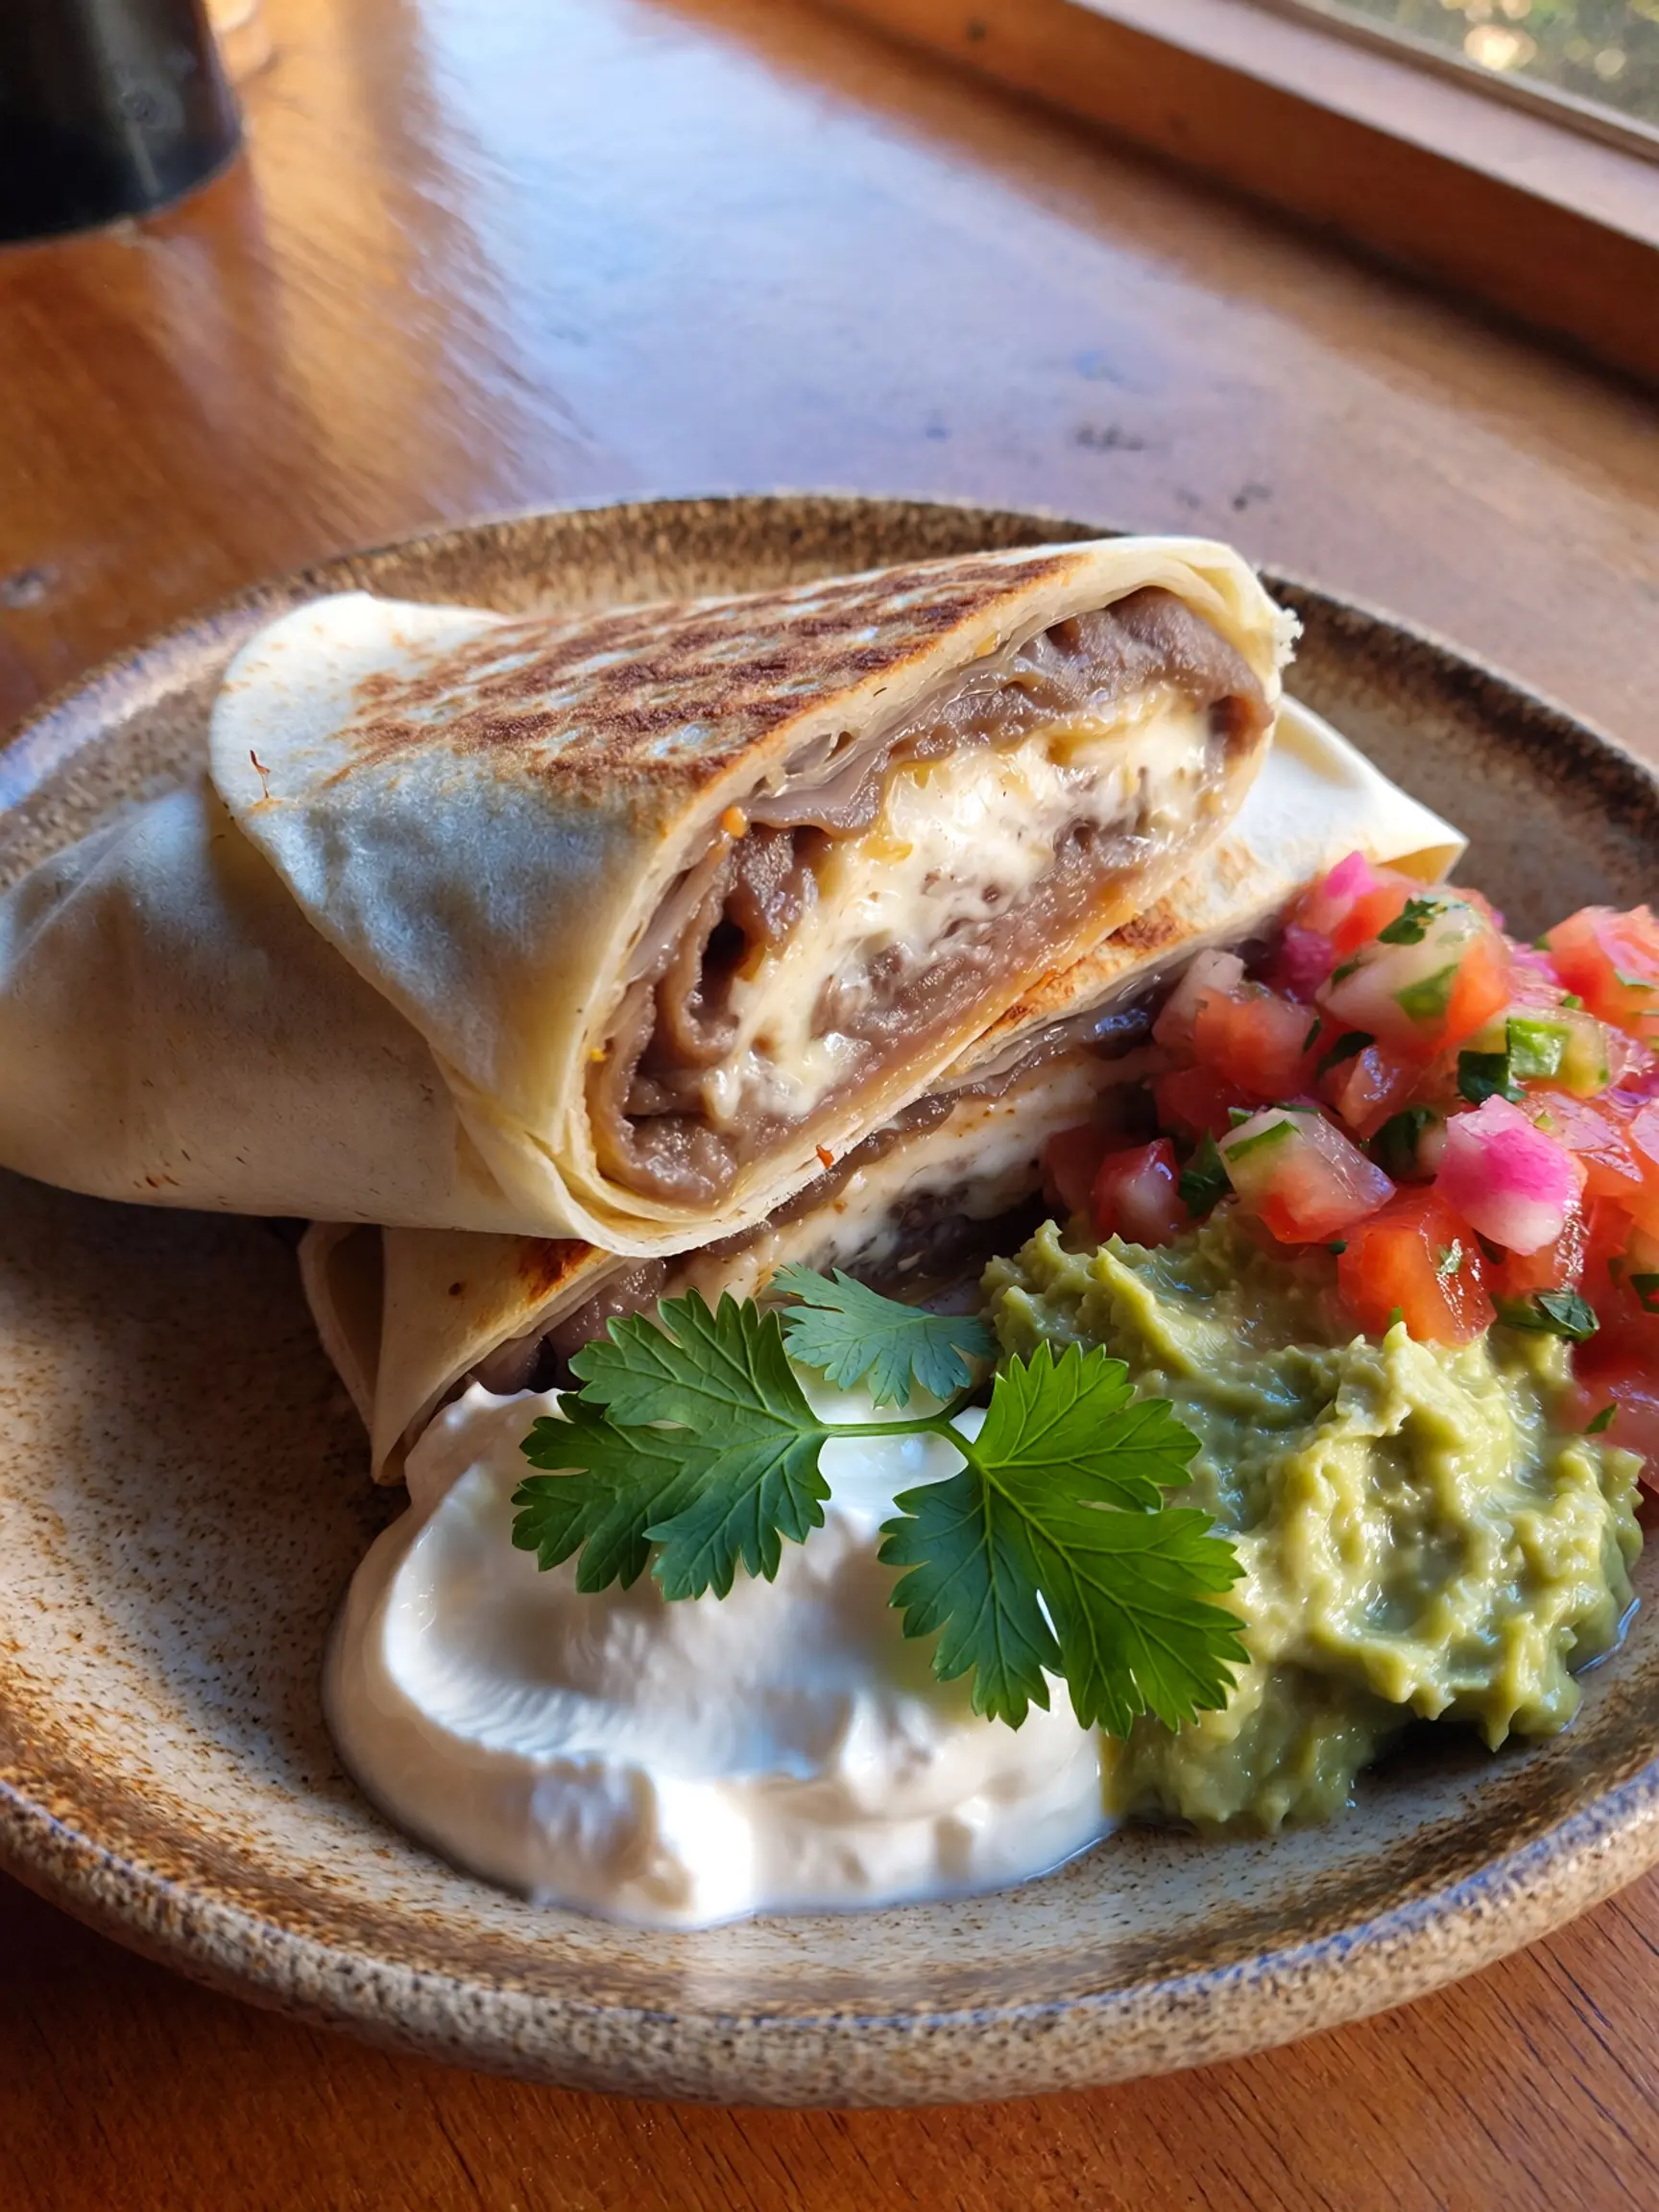
Bean and Cheese Burritos
Are You Still Paying $12 for a Burrito That Takes 3 Minutes to Make at Home?
Here’s a number worth sitting with: Americans spend over $4.5 billion annually on burritos at fast-casual and fast-food chains — and according to a 2023 consumer report by Technomic, the average burrito purchase now costs between $10 and $14 depending on the market. Yet the ingredients required to make a superior version at home cost less than $2 per burrito when purchased in reasonable quantities.
The gap between what people pay and what they could be making themselves is one of the great mysteries of modern home cooking. Bean and cheese burritos are not complicated. They are not time-consuming. They do not require special equipment or culinary training. What they do require is knowing the right beans to use, the right cheese to melt, the right way to warm a tortilla so it wraps without cracking, and the small flavor-layering tricks that separate a bland, forgettable burrito from one that makes you close your eyes on the first bite. This recipe covers every single one of those details — and by the end, you’ll never need to visit a drive-through for a burrito again.
Table of Contents
Ingredients
Everything in this recipe is pantry-friendly, budget-conscious, and easy to find at any grocery store. The quantities below are scaled for 4 large burritos — generous, satisfying, meal-sized portions. For the Seasoned Beans:
- 2 cans (15 oz each) pinto beans, drained and rinsed (or black beans — both are excellent)
- 2 tablespoons olive oil or neutral vegetable oil
- 3 garlic cloves, minced
- ½ medium yellow onion, finely diced
- 1 teaspoon ground cumin
- ½ teaspoon smoked paprika
- ½ teaspoon chili powder
- ¼ teaspoon onion powder
- ¼ teaspoon cayenne pepper (optional, for heat)
- ½ teaspoon kosher salt, plus more to taste
- ¼ teaspoon freshly ground black pepper
- ⅓ cup water or vegetable broth (for mashing consistency)
- 1 teaspoon fresh lime juice (the brightness finisher) For the Cheese Layer:
- 2 cups shredded Mexican cheese blend (Monterey Jack, cheddar, and asadero melt beautifully together)
- OR 2 cups shredded sharp cheddar for a bolder, tangier flavor
- OR 2 cups shredded Oaxacan cheese (quesillo) for the most authentic, stringy, restaurant-style melt For the Burritos:
- 4 large (10-inch) flour tortillas, burrito-size
- ½ cup Mexican crema or sour cream
- ½ cup your favorite salsa (restaurant-style or chunky — both work)
- 1 cup cooked white or Mexican rice (optional but highly recommended for a more filling burrito)
- 1 cup shredded iceberg or romaine lettuce (optional, for a fresh crunch element)
- 1 ripe avocado, sliced or mashed into a quick guacamole (optional but strongly encouraged) Smart Substitutions: No pinto beans? Black beans are equally delicious and have a slightly earthier, denser flavor. Avoiding dairy? Use a plant-based shredded cheese — brands like Violife and Daiya melt reasonably well. Need gluten-free? Swap flour tortillas for large gluten-free tortillas or burrito-sized cassava flour tortillas, which are widely available and wrap almost identically to flour. Want to add protein? A scoop of scrambled eggs makes this a stellar breakfast burrito. Cooked and seasoned ground beef or shredded chicken can also be layered in for a heartier version.
Timing
Bean and cheese burritos are one of the fastest substantial meals you can make from scratch. The total time is 30 minutes — less time than most delivery orders take to arrive, and at a fraction of the cost. Here’s the breakdown:
- Prep Time: 10 minutes (dicing onion, mincing garlic, shredding cheese if using a block)
- Cook Time: 20 minutes (sautéing aromatics, seasoning and mashing beans, warming tortillas)
- Total Time: 30 minutes
- Servings: 4 large burritos
- Difficulty Level: Very Easy Pro Timing Tip: If you’re cooking rice from scratch, start it first — it takes 18–20 minutes and can sit covered and stay warm while you prepare everything else. Using pre-cooked or microwavable rice cuts this recipe down to about 20 minutes total, making it one of the fastest filling meals in your repertoire.
Step 1: Sauté the Aromatics
Heat the olive oil in a medium saucepan or skillet over medium heat. Add the diced onion and cook, stirring occasionally, for 4–5 minutes until softened and translucent. Add the minced garlic and cook for 60 seconds, stirring constantly — garlic goes from golden to burnt quickly and burnt garlic will introduce bitterness that no amount of seasoning can cover. Once the garlic is fragrant and just beginning to turn golden at the edges, you’re ready for the next step. The kitchen should already smell like the beginning of something very good.
Step 2: Bloom the Spices and Season the Beans
Add all the dried spices — cumin, smoked paprika, chili powder, onion powder, cayenne, salt, and pepper — directly to the sautéed onion and garlic. Stir and cook the spice blend for 60–90 seconds in the oil. This blooming step activates the fat-soluble flavor compounds in each spice, making them significantly more potent and aromatic than they would be if added directly to liquid. You’ll see the spices deepen in color slightly and smell a warm, toasty, almost nutty aroma rising from the pan. Now add the drained and rinsed pinto beans and stir to coat them completely in the spiced oil mixture. Add the water or vegetable broth and stir to combine.
Step 3: Mash the Beans to Your Preferred Texture
Cook the beans over medium heat for 3–4 minutes, stirring occasionally, until they are heated through and beginning to soften slightly from the steam. Now comes the most important textural decision in this recipe: how do you want your beans? For a smooth, almost refried-bean consistency that spreads easily and holds the burrito together beautifully, use a potato masher or the back of a fork and mash aggressively until mostly smooth.
For a chunkier, more rustic texture with whole beans visible, mash only partially — about half the beans. For whole beans with maximum texture, skip mashing entirely and simply season them well. All three approaches are valid, and the right choice is entirely personal. Finish with a squeeze of fresh lime juice, stir, taste, and adjust salt as needed. The beans should taste bold, well-seasoned, and deeply savory on their own — they carry the entire flavor profile of the burrito.
Step 4: Warm the Tortillas Properly
This step is criminally underestimated. A cold, stiff tortilla will crack when you try to fold it, spilling your filling everywhere and producing a structurally compromised burrito.
A properly warmed tortilla is pliable, slightly steamy, and wraps like a dream. You have three excellent options: place each tortilla directly over a gas flame on medium-low for 15–20 seconds per side, using tongs to flip (this adds char spots and a subtle smoky flavor); warm in a dry cast iron skillet over medium heat for 30 seconds per side; or wrap all four tortillas in a damp paper towel and microwave for 45–60 seconds. Whichever method you choose, keep the warmed tortillas wrapped in a clean kitchen towel to stay pliable while you assemble.
Step 5: Build the Perfect Burrito
Lay a warm tortilla flat on your work surface. Leave a 2-inch border around the edges — this is your sealing margin and is essential for a tight wrap.
Layer your fillings in this order for structural integrity: start with a generous scoop of seasoned beans (about ½ cup) spread slightly toward the center. Add rice if using, then a handful of shredded cheese directly on top of the hot beans so it begins to melt immediately. Add a spoonful of salsa, a dollop of sour cream, and any optional additions — lettuce, avocado, or extra toppings. Resist the urge to overfill. A burrito that is too full cannot be folded properly and will come apart when you pick it up. The ideal filling amount is about 1 to 1.25 cups total per burrito.
Step 6: Fold and Roll Like a Pro
Here is the exact technique: fold the two side edges of the tortilla inward over the filling, pressing gently to compact it slightly. Then, using both hands, fold the bottom edge up and over the filling — tucking it snugly underneath the filling as you roll forward. Continue rolling away from you in one firm, continuous motion, keeping the sides tucked as you go.
The result should be a tight, compact cylinder with sealed ends. For an extra-crispy exterior, place the assembled burrito seam-side down in a hot dry skillet or on a griddle over medium heat. Cook for 1–2 minutes per side until golden and lightly toasted. This step seals the seam, crisps the tortilla, and adds a textural contrast between the crunchy exterior and the soft, creamy interior that elevates the entire experience considerably.
Step 7: Slice and Serve
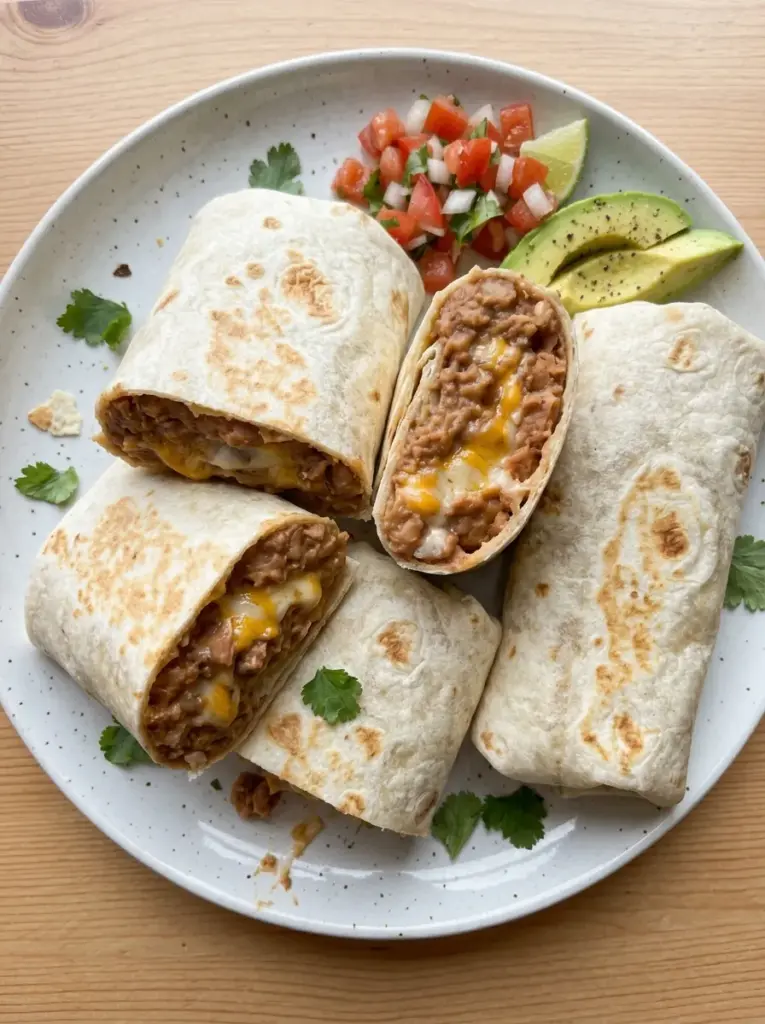
For the most satisfying presentation, slice each burrito diagonally in half — this exposes the colorful cross-section of beans, melted cheese, and fillings, which is visually appealing and also makes it easier to eat. Serve immediately with extra salsa, guacamole, sour cream, or hot sauce on the side for dipping. A squeeze of fresh lime over the top right before serving adds brightness that ties everything together.
Healthier Alternatives for the Recipe
Bean and cheese burritos are already one of the more nutritionally balanced fast meals you can make, but there are plenty of smart modifications that dial the numbers further in your favor.
Reduce Calories and Fat: Use reduced-fat cheese (it still melts adequately) and replace the sour cream with plain non-fat Greek yogurt — it has a nearly identical tangy creaminess with significantly more protein and far less fat. You’ll save approximately 60–80 calories per burrito. Increase Protein: Add ½ cup of scrambled eggs to each burrito, turning it into a high-protein meal suitable for breakfast, lunch, or dinner. Alternatively, stir 2 tablespoons of hemp seeds into the mashed beans — they’re virtually flavorless but add 5 grams of complete protein and beneficial omega-3 fatty acids per tablespoon.
Boost Fiber Further: Add ¼ cup of cooked farro or quinoa in place of white rice. Both are significantly higher in fiber and protein than white rice and add a pleasant, nutty chewiness to the burrito.
Lower Sodium: Use no-salt-added canned beans, rinse them thoroughly (rinsing canned beans removes up to 40% of their sodium content), and use a low-sodium salsa. Season the beans only with spices and a small amount of finishing salt at the end — this approach can reduce total sodium by 200–300mg per burrito.
Whole Grain Option: Swap regular flour tortillas for whole wheat burrito tortillas. They add fiber, a slightly nutty flavor, and fold almost as well as standard flour tortillas when warmed properly. Fully Vegan Version: Skip the cheese and sour cream and use a generous layer of smashed avocado and a drizzle of cashew crema (blended soaked cashews with lime juice, garlic, and water). The avocado adds healthy monounsaturated fat and creaminess that more than compensates for the missing dairy.
Serving Suggestions
Bean and cheese burritos stand completely on their own, but they also integrate beautifully into larger meals and creative serving formats.
The Classic Plate: Serve each burrito halved on a plate with a side of Mexican rice, a scoop of fresh pico de gallo, and a wedge of lime. Simple, satisfying, and complete.
Wet Burrito (Smothered): Place the assembled burrito in a baking dish, ladle warm enchilada sauce generously over the top, cover with shredded cheese, and bake at 375°F for 15 minutes until bubbly and golden. Finish with sour cream, cilantro, and diced jalapeños. This transforms the humble bean and cheese burrito into a full sit-down dinner centerpiece.
Burrito Bowl: Skip the tortilla entirely and layer the seasoned beans, rice, cheese, salsa, sour cream, lettuce, and avocado in a wide bowl. Top with crushed tortilla chips for crunch. A fantastic low-carb-adjacent option that keeps all the flavors without the wrap.
Breakfast Burrito Bar: Set up all ingredients on the counter with scrambled eggs, hot sauce, and fresh cilantro as additions and let family members or guests build their own. It’s interactive, everyone gets exactly what they want, and cleanup is minimal.
Mini Burritos for Kids: Use smaller 6-inch tortillas and fill with just mashed beans and mild cheese. Kids who are skeptical of “complicated” flavors almost universally love the simple bean-cheese combination, and it’s one of the most nutritious things you can put in front of a picky eater.
Burrito Casserole: Arrange 4 assembled burritos snugly in a greased baking dish, pour salsa verde or red enchilada sauce over the top, cover with cheese, and bake at 375°F for 20 minutes. Serve directly from the dish for an effortless family-style dinner.
Common Mistakes to Avoid
Even a simple recipe has its traps. Here are the most frequent bean and cheese burrito mistakes and exactly how to prevent them.
Using cold tortillas: A cold tortilla cracks. Every time. Warming tortillas is not optional — it is the single most important structural step in the entire recipe. Spend the 30 seconds required to do it properly and your burrito will hold together beautifully.
Under-seasoning the beans: Plain canned beans taste flat. The sautéed aromatics and spice bloom are what transform them from acceptable to extraordinary. Taste the beans before filling — they should taste boldly seasoned on their own, because once they’re wrapped inside a tortilla with cheese and salsa, their flavor softens considerably.
Overfilling the burrito: More is not better when it comes to burrito construction. Overfilling makes proper folding impossible and results in a burrito that falls apart when lifted. Stick to 1 to 1.25 cups of filling per large tortilla.
Skipping the toast step: Toasting the assembled burrito seam-side down in a hot skillet takes 2 minutes and produces a dramatically better result — a sealed, crispy exterior that holds the burrito together and adds a satisfying textural contrast. It also reheats the interior and fully melts the cheese if any was added cold.
Not rinsing canned beans: Rinsing canned beans removes the starchy, sometimes metallic-tasting liquid they’re packed in, reduces sodium by up to 40%, and produces a cleaner, fresher flavor. This takes 20 seconds and makes a noticeable difference in the final taste.
Adding wet ingredients without draining: Salsa, pico, and sour cream all contain moisture that can make the tortilla soggy if added in excessive quantities. Use a slotted spoon for chunky salsas and keep wet ingredients to moderate amounts. Place them toward the center of the filling rather than spread to the edges.
Storing Tips for the Recipe
Refrigerating Assembled Burritos: Wrap each burrito tightly in aluminum foil and refrigerate for up to 3 days. The foil maintains moisture and prevents the tortilla from drying out. To reheat, leave the burrito in the foil and warm in a 350°F oven for 15–18 minutes, or unwrap and microwave for 90 seconds, flipping halfway through.
Freezing: Bean and cheese burritos are exceptional freezer meals. Wrap each assembled burrito (without lettuce or avocado — these don’t freeze well) tightly in plastic wrap, then in foil, and freeze for up to 3 months. To reheat from frozen: unwrap from plastic, keep in foil, and bake at 350°F for 35–40 minutes. Alternatively, unwrap completely and microwave on 50% power for 4–5 minutes, then full power for 1–2 minutes until heated through.
Storing Components Separately: For the freshest results, store the seasoned beans, cheese, and tortillas separately and assemble burritos to order. The seasoned bean mixture keeps in the refrigerator for up to 5 days and reheats beautifully on the stovetop with a splash of water to loosen.
Meal Prep Strategy: Make a double or triple batch of the seasoned bean mixture and refrigerate or freeze in portions. With pre-made beans in the fridge, a fresh burrito comes together in under 5 minutes on any given weeknight — warm a tortilla, reheat a scoop of beans, add cheese, fold, toast, done.
Conclusion
Bean and cheese burritos are the definition of humble perfection. They require almost no skill, cost almost nothing to make, come together in 30 minutes, and deliver a genuinely satisfying, nutritious, craveable meal every single time.
The keys are simple: season your beans boldly, warm your tortillas properly, build your filling thoughtfully, and take the extra two minutes to toast the assembled burrito in a hot pan. Those four steps are the difference between a mediocre burrito and one you’ll be thinking about the next morning. Whether you’re feeding yourself on a Tuesday night, feeding a family on a Sunday, or stocking your freezer with ready-to-go meals, this recipe delivers every time. Try it this week — and when you do, leave a comment below telling us how you made it your own.
Did you go smothered with enchilada sauce? Add scrambled eggs? Try the vegan version? We want to hear all about it. And if you loved this one, explore our [Easy Homemade Refried Beans], [Sheet Pan Chicken Fajitas], and [Black Bean Tacos with Mango Salsa] for more quick, flavor-packed Mexican-inspired recipes.
FAQs
Q: Can I use refried beans instead of making my own seasoned beans? Absolutely — canned refried beans are a fantastic shortcut and produce a beautifully smooth, spreadable filling. Warm them in a small saucepan with a splash of water or broth to loosen, then stir in a pinch of cumin, chili powder, and garlic powder to boost the flavor. A squeeze of lime juice at the end brings them to life. The result is nearly indistinguishable from homemade seasoned mashed beans and cuts your prep time roughly in half.
Q: What’s the best cheese for melting in burritos? Monterey Jack is the gold standard for meltability — it has a high moisture content and low acidity that allows it to melt into a smooth, creamy layer. Oaxacan cheese (quesillo) is the most authentic choice and produces those satisfying, stretchy cheese pulls. Sharp cheddar melts decently and adds a bold tangy flavor. Pre-shredded Mexican blends are convenient and work well. Avoid fresh cheeses like cotija or queso fresco for melting — they’re crumbly and don’t melt in the traditional sense, though they’re excellent as a finishing garnish.
Q: My burrito keeps falling apart when I pick it up. What am I doing wrong? Almost always, the culprit is one of three things: overfilling (keep it to 1–1.25 cups of filling), a cold or under-warmed tortilla (it needs to be fully pliable and slightly steamy), or an improperly executed fold (the side edges must be tucked in firmly before you roll). Toasting the assembled burrito seam-side down in a hot skillet for 1–2 minutes is the most reliable structural fix — it essentially seals the burrito shut.
Q: Can I make these burritos ahead of time for a party? Yes, and they’re ideal for entertaining. Assemble the burritos without any cold or wet toppings (no sour cream, lettuce, or avocado inside), wrap each one in foil, and arrange in a single layer in a baking dish. When ready to serve, bake the foil-wrapped burritos at 350°F for 20–25 minutes until heated through. Serve with sour cream, guacamole, and salsa on the side for guests to add themselves.
Q: Are bean and cheese burritos actually filling enough as a main meal? With a large 10-inch flour tortilla, ½ cup of seasoned beans, cheese, and optional rice, a single burrito provides approximately 520–650 calories and 20–25 grams of protein — well within the range of a complete, satisfying main meal for most adults. Adding rice and avocado pushes it into genuinely hearty territory. Many people find that one large burrito is completely sufficient; others pair it with a simple side salad or chips and salsa for a more expansive meal.
Q: What’s the difference between pinto beans and black beans for this recipe? Both are excellent and the choice is largely personal. Pinto beans are creamier, milder, and mash to a silkier consistency — they’re the traditional choice for refried beans and produce a more classic burrito flavor. Black beans have a slightly firmer texture, earthier flavor, and darker color — they hold their shape better if you prefer a chunkier filling and pair particularly well with bold spices and smoky flavors. Try both and see which you prefer; many cooks use a 50/50 combination for the best of both.
Q: Can I make this recipe oil-free? Yes. Sauté the onion and garlic in a few tablespoons of water or vegetable broth instead of oil, adding more liquid as needed to prevent sticking. The flavor depth from the Maillard reaction will be reduced, but the seasoned beans will still taste excellent. This approach reduces the calorie count by approximately 60–70 calories per burrito and eliminates the added fat entirely.
More Dinner Recipes to Try
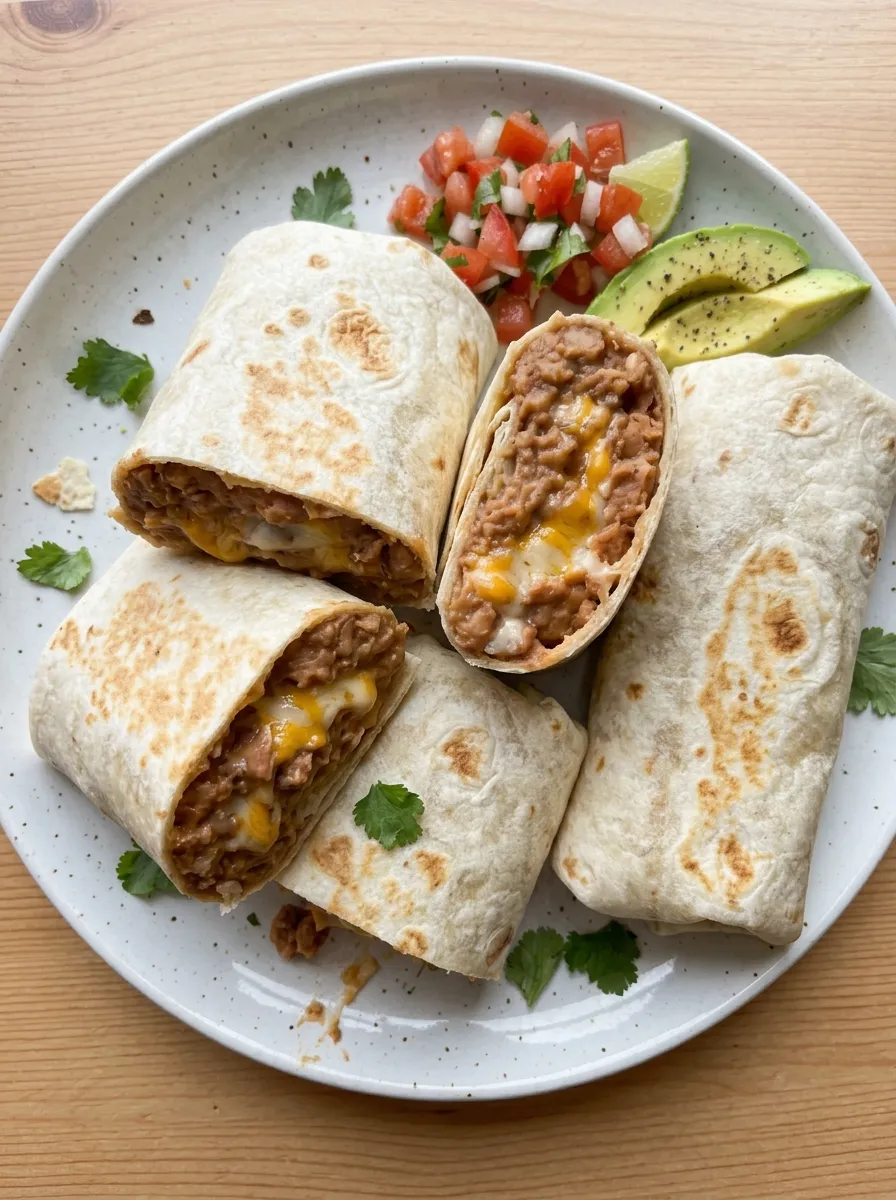

Bean and Cheese Burritos
Ingredients
Equipment
Method
- Heat the olive oil in a skillet over medium heat.
- Add the diced onion and cook for 3 to 4 minutes until softened.
- Add the refried beans, chili powder, cumin, garlic powder, salt, and black pepper.
- Stir well and cook for 3 to 5 minutes until the beans are hot and smooth.
- Warm the tortillas in a dry skillet or microwave until soft and easy to fold.
- Place a tortilla on a clean work surface.
- Spread about 1/2 cup of the seasoned beans down the center of the tortilla.
- Sprinkle with cheddar and Monterey Jack cheese.
- Add a spoonful of salsa.
- Fold the sides of the tortilla inward, then roll it tightly from the bottom to form a burrito.
- Repeat with the remaining tortillas and filling.
- Serve immediately with sour cream, tomatoes, lettuce, avocado, cilantro, and lime wedges.
- For crispy burritos, place the assembled burritos seam-side down on a lightly greased baking sheet and bake at 400°F (200°C) for 10 to 12 minutes, turning once.
Notes
Do not overfill the tortillas or they will be difficult to close.
Use pinto or black refried beans depending on your preference.
Add cooked rice, corn, or sautéed peppers for a heartier burrito.
For a spicy version, add diced jalapeños or your favorite hot sauce.
Store assembled burritos in an airtight container in the refrigerator for up to 3 days.
Burritos can be wrapped individually and frozen for up to 3 months.
Enjoying AmandBox? Follow us on Pinterest for more recipes.