
Jello Poke Cake
Introduction
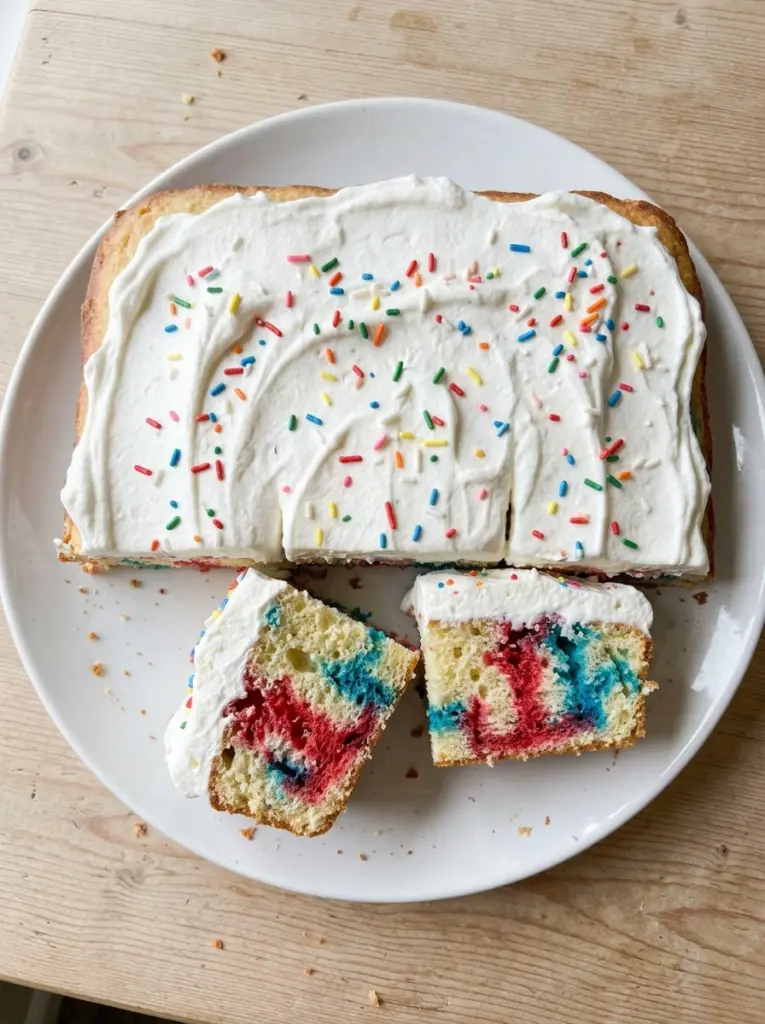
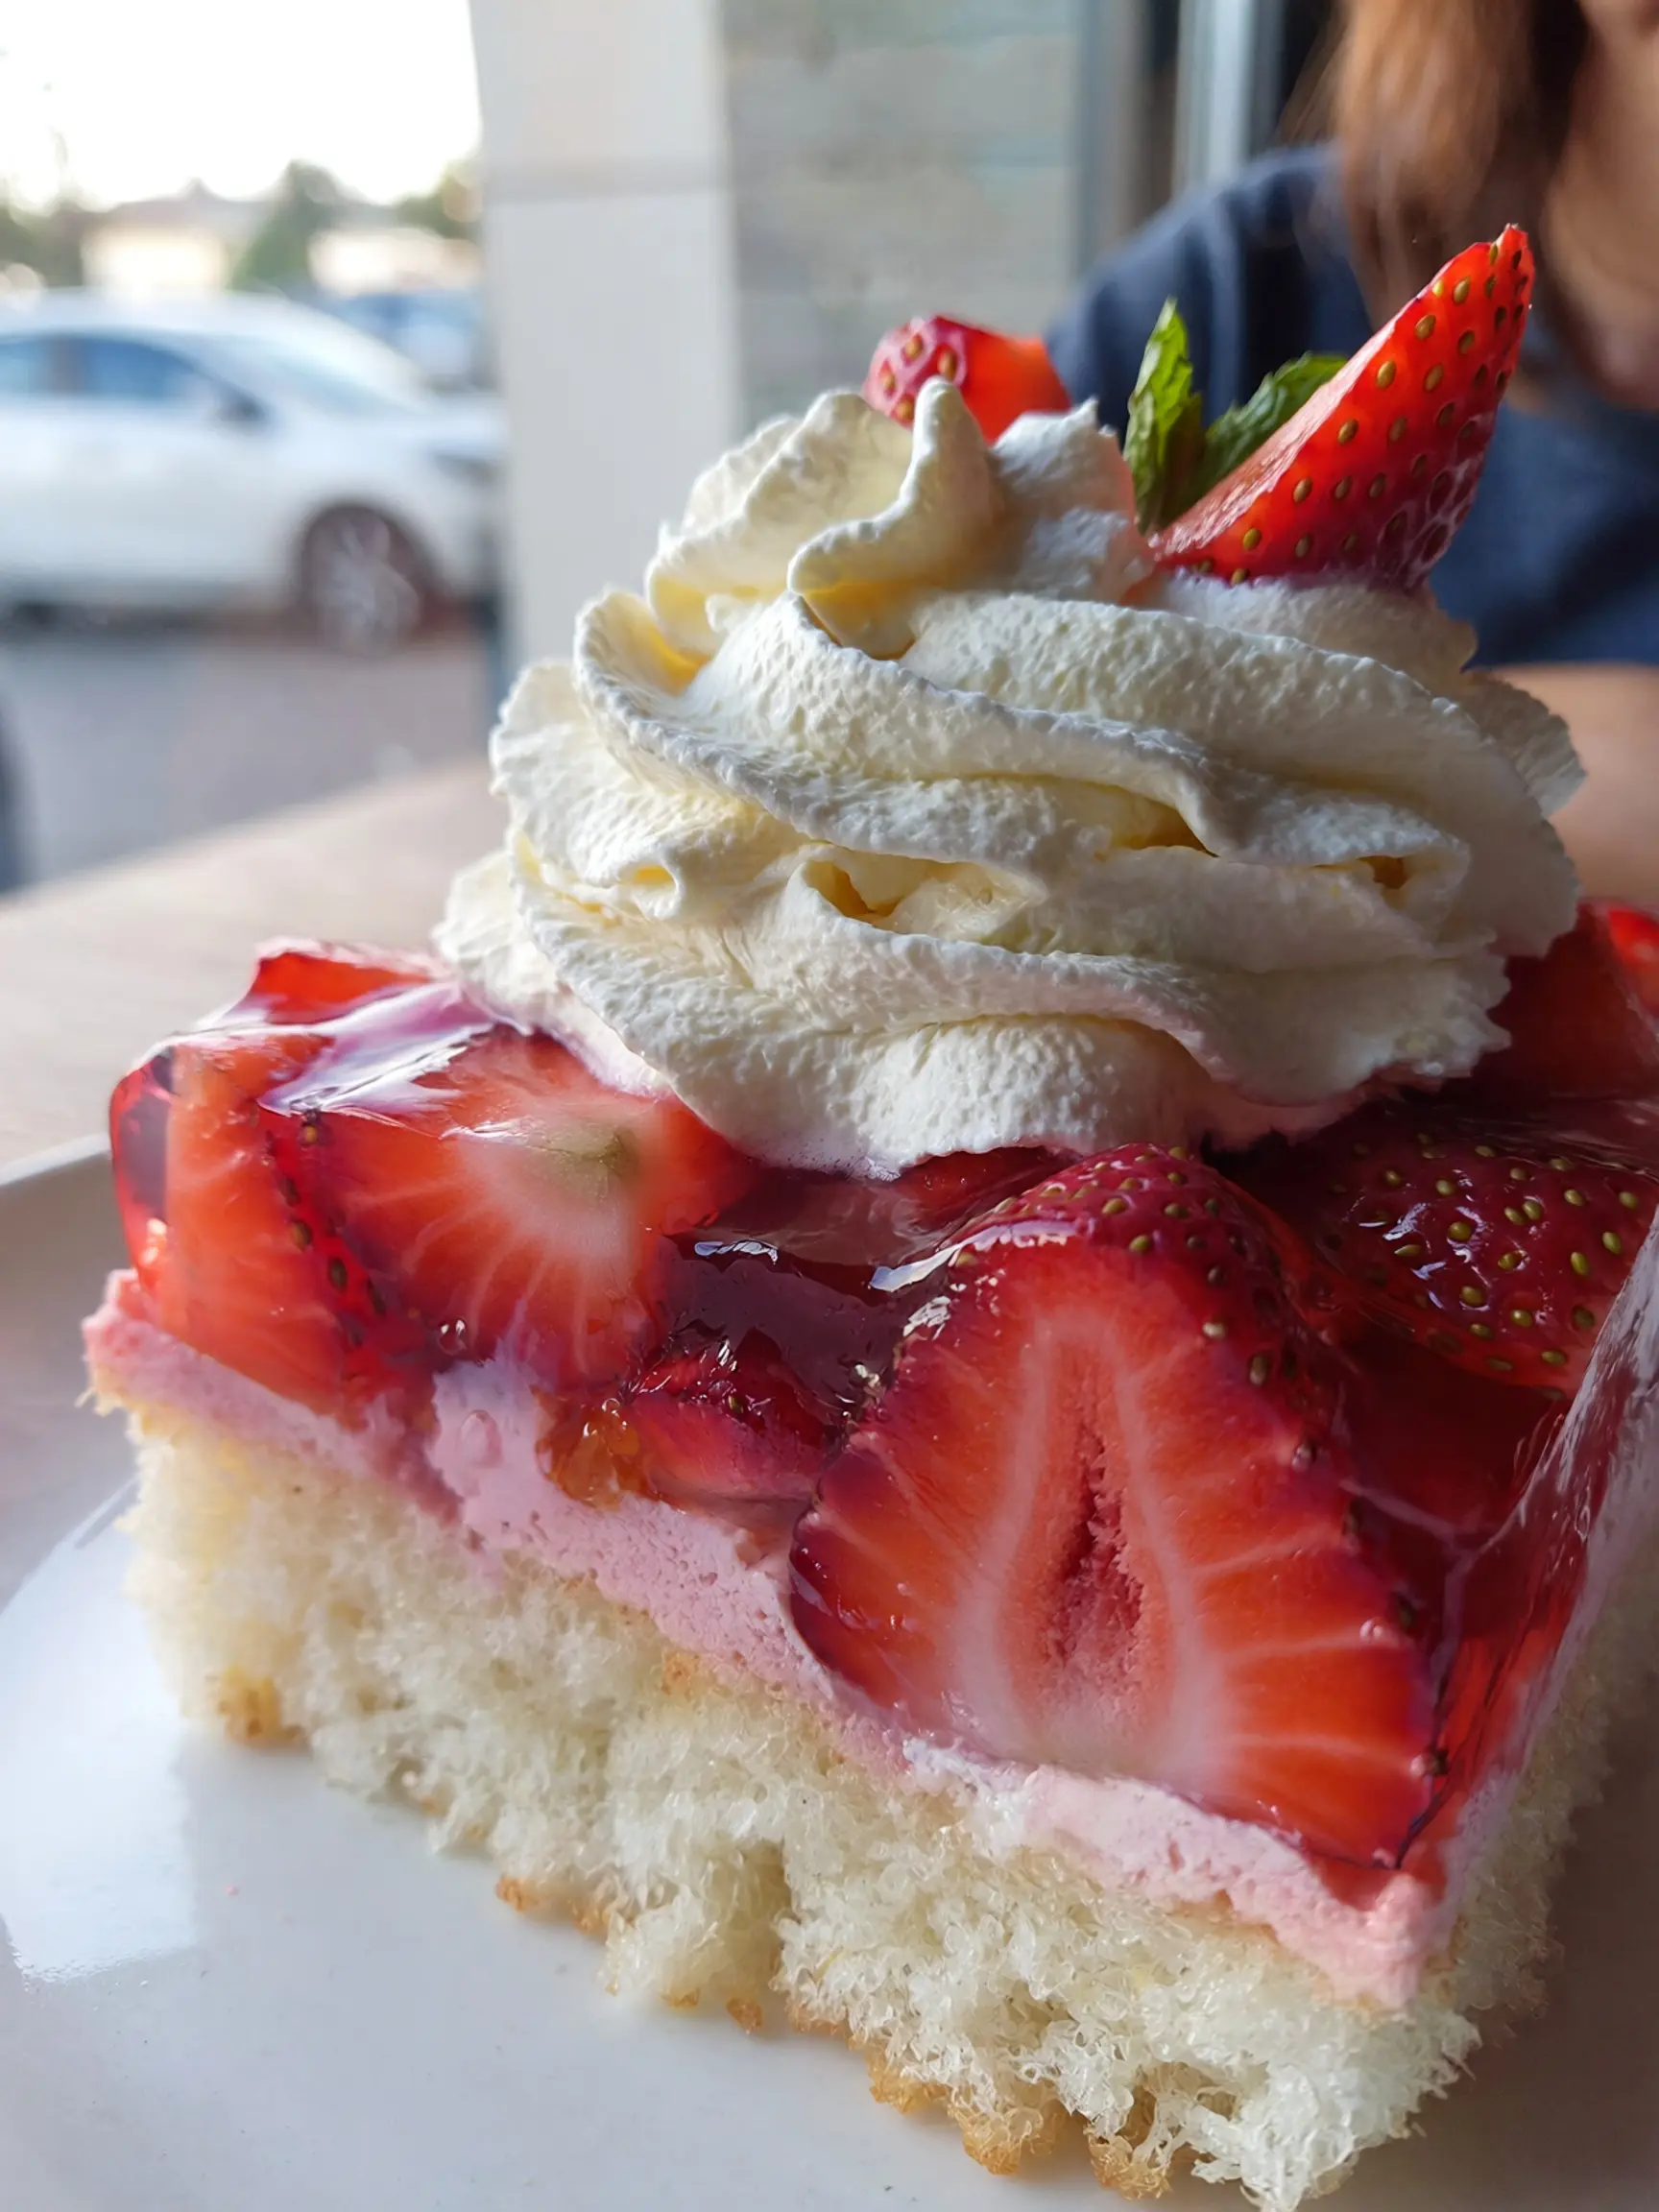
Are you ready to indulge in a delightful dessert that combines texture, flavor, and fun? If so, you’re in for a treat with Jello Poke Cake! This iconic dessert features a moist cake soaked in flavored Jello, resulting in a colorful and visually striking dish that is as enjoyable to make as it is to eat. Whether you’re hosting a celebration, a family gathering, or just craving something sweet, this Jello Poke Cake is sure to impress your guests and delight your taste buds. With its colorful layers and refreshing flavors, this cake is an inviting and playful twist that will bring smiles to everyone around the table.
Table of Contents
Ingredients List
To create your own Jello Poke Cake, gather the following ingredients:
– 1 box of white cake mix (plus eggs, oil, and water as directed)
– 1 box of flavored gelatin (your choice of flavor, such as strawberry, raspberry, or lime)
– 2 cups of boiling water
– 1 cup of cold water
– 1 tub (8 oz) of whipped topping (such as Cool Whip or homemade)
– Optional: Fresh fruits, sprinkles, or additional toppings for garnish
These simple ingredients come together harmoniously to create an unforgettable dessert that will keep your guests coming back for more.
Timing
Preparation time for Jello Poke Cake is relatively straightforward, making it a fantastic option for both novice and experienced bakers alike. Here’s how much time you’ll need:
– Preparation Time: 20 minutes
– Baking Time: 30 minutes
– Cooling Time: 2 hours (to fully set)
– Total Time: Approximately 2 hours and 50 minutes
Plan ahead and allow enough time for the cake to set so that all the flavors meld together perfectly.
Step-by-Step Instructions
Now, let’s dive into the process of creating your Jello Poke Cake with these easy-to-follow instructions. Here’s how you can make this delightful dessert from start to finish:
1. Bake the Cake: Preheat your oven to 350°F (175°C). Grease a 9×13-inch baking dish and prepare the white cake mix according to the package instructions. Bake in the preheated oven for 30 minutes or until a toothpick inserted in the center comes out clean.
2. Prepare the Jello: Once the cake is baked, allow it to cool for about 10 to 15 minutes in the pan. While the cake cools, prepare the flavored gelatin. In a bowl, dissolve the gelatin in 2 cups of boiling water, stirring until fully dissolved. Then, add 1 cup of cold water to the mixture.
3. Poke the Cake: After the cake has cooled slightly, use the handle of a wooden spoon or a fork to poke holes throughout the cake—make sure the holes are evenly distributed and reach down to the bottom.
4. Soak the Cake: Gradually pour the prepared Jello mixture over the cake, ensuring the gelatin seeps into the holes. Don’t worry if it looks messy now; it will set beautifully!
5. Refrigerate: Cover the cake tightly with plastic wrap and refrigerate for at least 2 hours (or overnight) to allow the gelatin to set and for the flavors to merge.
6. Frost the Cake: Once the Jello is fully set, spread a layer of whipped topping over the cake. You can garnish with fresh fruits, sprinkles, or nuts to add a personal touch.
7. Serve and Enjoy: Slice the Jello Poke Cake into squares, serve, and watch your guests relish each bite of this vibrant and refreshing dessert!
By following these simple steps, you’ll create a stunning Jello Poke Cake that will be the star of any gathering.
Nutritional Information
Understanding the nutritional profile of your cake can be helpful, especially when sharing with family or guests. Here’s an approximate breakdown of one serving (1/12 of the cake):
– Calories: 180
– Total Fat: 6g
– Saturated Fat: 3g
– Cholesterol: 30mg
– Sodium: 210mg
– Total Carbohydrates: 28g
– Dietary Fiber: 0g
– Sugars: 14g
– Protein: 2g
Keep in mind that variations in frosting, gelatin flavors, and additional toppings can alter the nutritional content of your cake.
Tips
To ensure your Jello Poke Cake turns out perfectly, consider the following tips:
– Choose Flavor Wisely: Experiment with different Jello flavors to keep things exciting. Combine flavors like orange and pineapple for a tropical vibe or stick to classic berry flavors for a more traditional taste.
– Use Room Temperature Ingredients: If your eggs and other ingredients are at room temperature, your cake will rise better, yielding a fluffier texture.
– Cooling is Key: Allow the cake to cool completely before pouring the Jello over it for optimal absorption.
– Don’t Rush the Refrigeration: Allow adequate time for the gelatin to set, ensuring that each bite is filled with flavor.
These tips will help you achieve the best possible outcome for your Jello Poke Cake.
Alternative Methods
While the traditional method of making Jello Poke Cake is straightforward, you can also explore alternative approaches:
1. Vegan Jello Poke Cake: Substitute the eggs and whipped topping with plant-based alternatives. Use a vegan cake mix and gelatin made from agar-agar or fruit-based gelling agents to create a vegan version of this dessert.
2. Mini Poke Cakes: For individual servings, consider baking mini cakes in muffin tins or specialty cake molds. Assemble each mini cake with Jello and toppings for fun party treats.
3. Layered Poke Cake: Instead of using one flavor of Jello, create layers of different colors and flavors for a stunning presentation. After poking holes in one layer, pour one flavor, allow it to set, then repeat with another layer.
4. Ice Cream Poke Cake: Incorporate ice cream into your creation. After the Jello is set, layer ice cream on top of the cake instead of whipped topping for a decadent treat.
These alternative methods offer excitement and variety, ensuring you can tailor this dessert to fit occasions and preferences!
Common Mistakes to Avoid
Even seasoned bakers can run into pitfalls, so here are some common mistakes to avoid when making your Jello Poke Cake:
– Overbaking the Cake: Keep an eye on the baking time to prevent a dry cake. Conduct the toothpick test a few minutes before the suggested time.
– Not Poking Enough Holes: Ensure there are enough holes for the Jello to saturate the cake for an even flavor throughout.
– Skipping the Refrigeration: Don’t rush the setting process; if the cake isn’t refrigerated long enough, the Jello won’t firm up, leading to sogginess.
– Using Hot Jello: Make sure the Jello mixture is at room temperature when poured onto the cake; pouring hot Jello can collapse the cake’s structure.
By avoiding these common pitfalls, you’ll be more successful in creating a delicious and visually appealing Jello Poke Cake.
Conclusion
In conclusion, Jello Poke Cake is a delightful and eye-catching dessert that perfectly pairs fun with flavor. Whether you’re celebrating a special occasion or just want to treat yourself to something sweet, this recipe is sure to become a favorite in your baking repertoire. With its easy-to-follow steps and playful nature, Jello Poke Cake empowers you to create something memorable in the kitchen. Now it’s your turn to bake this delicious treat and share it with your loved ones. Be sure to return to my website to explore even more exciting recipes that will elevate your baking game!
FAQs
Q: Can I use different cake mixes for this recipe?
A: Yes, feel free to experiment with various cake mixes, such as chocolate or lemon, for different flavor profiles.
Q: How long does the Jello Poke Cake last in the fridge?
A: Generally, the cake can last up to 3-5 days in the refrigerator if properly covered.
Q: Can I make the cake a day ahead?
A: Absolutely! In fact, making it the day before allows the flavors to meld together beautifully.
Q: Is it necessary to use whipped topping?
A: No, you can also use homemade whipped cream or skip it altogether if you prefer a simpler presentation.
Q: What’s the best way to store leftovers?
A: Store the leftover cake in an airtight container in the refrigerator to keep it fresh and moist.
Get ready to impress with your Jello Poke Cake! Don’t forget to check back for new recipes; there’s always something exciting cooking in my kitchen!
More Dessert Recipes to Try

Jello Poke Cake
Ingredients
Equipment
Method
- Preheat the oven and prepare the vanilla cake according to the package directions.
- Pour the batter into a greased 9×13-inch baking pan.
- Bake according to the package directions, until a toothpick inserted into the center comes out clean.
- Let the cake cool for about 15 minutes.
- Using the handle of a wooden spoon or a large fork, poke holes evenly across the entire cake.
- In a medium bowl, whisk the Jello powder with the boiling water until completely dissolved.
- Stir in the cold water.
- Slowly pour the Jello mixture evenly over the holes in the cake.
- Refrigerate the cake for at least 2 hours to allow the Jello to set.
- Spread the whipped topping evenly over the chilled cake.
- Garnish with fresh strawberries if desired.
- Slice and serve chilled.
Notes
Do not pour the Jello over a completely hot cake because it can make the texture too soft.
Strawberry, raspberry, cherry, or lime Jello can be used.
Chill the cake thoroughly before adding the whipped topping.
Store covered in the refrigerator for up to 4 days.
Enjoying AmandBox? Follow us on Pinterest for more recipes.