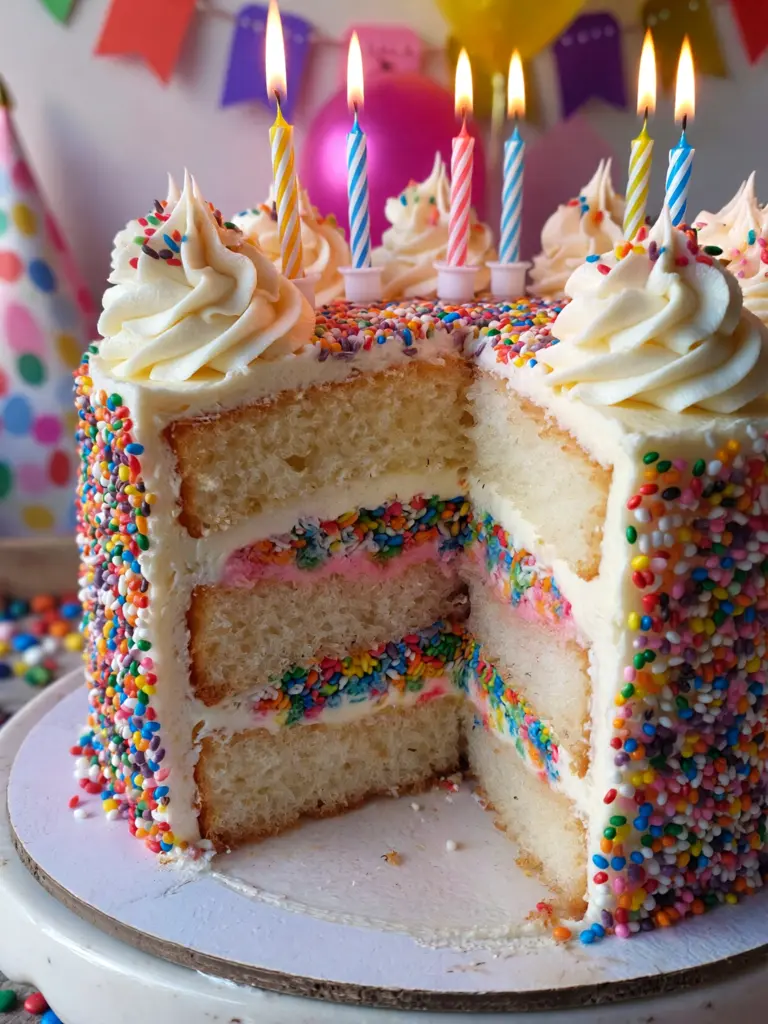


Cake Pop Recipe
Introduction
When it comes to achieving the perfect treat for any occasion, Cake Pop Recipe are a wonderful choice that blends creativity and flavor seamlessly. This easy cake pop recipe stands out for its simplicity and mouthwatering taste. Whether it’s a birthday party, a festive gathering, or just a well-deserved treat for yourself, Cake Pop Recipe can be the highlight of the day. By following this recipe, you’ll find that whipping up cake pops in your kitchen can be enjoyable and highly rewarding. Let’s dive into what you need to know to create these delightful bites!
Table of Contents
Ingredients List
To make this easy cake pop recipe, gather the following ingredients:
– 1 regular-sized cake mix (any flavor you prefer)
– 1 can of frosting (again, your favorite flavor works best)
– Candy melts or chocolate chips (for coating)
– Lollipop sticks (or any stick you prefer)
– Sprinkles or edible decorations (optional)
– Styrofoam block (to hold the cake pops while setting)
Timing
The total time you’ll need to prepare these Cake Pop Recipe can be broken down as follows:
– Preparation Time: 20 minutes
– Baking Time: 30 minutes (depending on the cake mix)
– Cooling Time: 30 minutes
– Decorating Time: 30 minutes
– Total Time: About 1 hour 50 minutes
Step-by-Step Instructions
Now, let’s get into the heart of the easy cake pop recipe with straightforward steps.
1. Bake the Cake: Preheat your oven according to the cake mix instructions. Prepare a baking pan by greasing it, then bake the cake according to the mix’s specifications. Once baked, remove it from the oven and let it cool completely.
2. Crumble the Cake: After the cake has cooled, crumble it into a large bowl using your hands or a fork. The goal is to break it down into fine crumbs.
3. Mix with Frosting: Gradually add half of the frosting to the crumbled cake and mix it using a spatula or your hands. You want the mixture to be moist enough to hold its shape but not overly wet. If the mixture feels too dry, add more frosting gradually until you reach the right consistency.
4. Form Cake Balls: Take small amounts of the mixture and roll them into balls about 1 inch in diameter. Place these balls on a lined baking sheet.
5. Chill the Cake Balls: Put the baking sheet with the cake balls in the fridge for about 30 minutes to firm up.
6. Prepare the Coating: While the cake balls chill, melt your candy melts or chocolate chips in a microwave-safe bowl in 30-second intervals, stirring in between until smooth.
7. Insert Sticks: Take the chilled cake balls and dip about half an inch of a lollipop stick into the melted coating before inserting it into the center of each cake ball. This helps hold the stick in place.
8. Coat the Cake Pops: Dip each cake pop into the melted chocolate, rolling it around to ensure it’s completely coated. Let any excess chocolate drip off.
9. Decorate: If desired, while the candy coating is still wet, sprinkle your chosen decorations over the cake pops. Alternatively, you can drizzle contrasting colored melted chocolate over the top once they have set.
10. Let Them Set: Place your finished cake pops into the Styrofoam block to allow the coating to harden completely.
Nutritional Information
Here’s some basic nutritional information for each cake pop based on the ingredients used (this may vary slightly depending on specific brands and additional toppings):
– Calories: Approximately 200 per cake pop
– Total Fat: 10g
– Saturated Fat: 5g
– Cholesterol: 20mg
– Sodium: 100mg
– Total Carbohydrates: 28g
– Dietary Fiber: 1g
– Sugars: 14g
– Protein: 2g
This nutritional data gives you a brief overview; be sure to customize it based on the specific ingredients you use.

Tips
– Use Quality Ingredients: The flavor of your cake pops depends on the quality of the cake mix and frosting. Choose your favorites for the best results.
– Experiment with Flavors: Don’t hesitate to mix different cake flavors with frostings! A chocolate cake with vanilla frosting creates a delightful combination.
– Make Ahead: You can prepare and chill the cake balls a day in advance. Just assemble them when you’re ready.
– Storage: Keep the finished cake pops in an airtight container in the refrigerator for up to a week.
Alternative Methods
If you’re looking to switch things up, consider these alternatives for making cake pops:
– Brownie Pops: Replace the cake mix with your favorite brownie recipe for a fudgy variation.
– Vegan Cake Pops: Use a vegan cake mix and egg substitute to cater to dietary needs while still enjoying cake pops.
– Gluten-Free Options: Opt for gluten-free cake mixes available in stores to make these scrumptious treats accessible to everyone.
Common Mistakes to Avoid
To ensure your cake pops turn out perfectly, watch out for these common pitfalls:
– Overmixing the cake crumbs: This can lead to a dense texture that doesn’t form well.
– Not cooling the cake enough: If the cake is warm, it can lead to melting chocolate or frosting and a messy coating process.
– Skipping the chilling step: Chilling is crucial for creating firm cake balls that won’t fall apart when you dip them.
– Overheating your coating: Melting chocolate at too high a temperature can cause it to seize. Use low heat and stir frequently.
Conclusion
CreatingCake Pop Recipe at home with this easy cake pop recipe can be a tremendously enjoyable experience. Not only do they look great, but they also taste incredible and can be tailored to any taste preference. With the right mixing and melting techniques, you can impress your family and friends with your baking skills. Now that you know the ins and outs of making these fun treats, get into your kitchen and give it a try! Return to my website frequently as I continually share new delicious recipes to inspire your culinary adventures.
This Cake Pop Recipe is a simple way to make delicious homemade treats for any occasion. With a soft cake center and a sweet coating, this Cake Pop Recipe is perfect for birthdays, parties, holidays, and family gatherings. You can customize this Cake Pop Recipe with different colors, sprinkles, or toppings to match your celebration. Keep this Cake Pop Recipe handy whenever you want an easy, fun, and delicious dessert that everyone will love.
FAQs
Q: Can I use any cake mix to make cake pops?
A: Yes, you can use any flavor of cake mix that you like. Vanilla, chocolate, red velvet, or even lemon work exceptionally well.
Q: How do I store leftover cake pops?
A: Place them in an airtight container, and they can be stored in the refrigerator for up to a week. You can also freeze them for longer storage.
Q: Can I make cake pops without sticks?
A: Absolutely! You can simply roll the mixture into balls and serve them as cake truffles.
Q: Is it necessary to use Styrofoam to hold the cake pops?
A: While it’s convenient, you can use a baking sheet to rest the cake pops upright if you don’t have Styrofoam.
Q: Can I use chocolate chips instead of candy melts?
A: Yes! Just ensure you temper the chocolate properly for a smooth coating.
Baking Cake Pop Recipe can be a fun activity to bond with friends and family, ideal for any celebration or just a cozy night in. Dive into this delightful process today and check back for more tips, tricks, and recipes!
More Dessert Recipes to Try


Cake Pop Recipe
Ingredients
Equipment
Method
- Prepare the vanilla cake according to the package directions and bake in a 9×13-inch pan.
- Let the cake cool completely.
- Break the cooled cake into small pieces and place them in a large mixing bowl.
- Add the frosting a little at a time and mix until the cake forms a soft mixture that holds together when pressed.
- Scoop the mixture into approximately 24 equal portions.
- Roll each portion between your hands to form smooth balls.
- Place the cake balls on a parchment-lined baking sheet.
- Refrigerate for 30 minutes to help them firm up.
- Melt a small amount of the chocolate coating.
- Dip the end of each cake pop stick into the melted chocolate.
- Insert the coated end about halfway into each cake ball.
- Refrigerate the cake pops for another 10 minutes.
- Melt the remaining chocolate coating until smooth.
- Dip each cake pop completely into the melted chocolate.
- Gently tap the stick against the side of the bowl to remove excess coating.
- Add sprinkles immediately before the coating sets.
- Place the cake pops upright in a stand or glass until completely set.
- Serve once the coating has hardened.
Notes
Add the frosting gradually because too much can make the cake pop mixture too soft.
Chill the cake balls before dipping to help them stay firmly on the sticks.
If the melted chocolate is too thick, stir in a small amount of vegetable shortening.
Work quickly when adding sprinkles because the coating sets fast.
Store finished cake pops in an airtight container in the refrigerator for up to 5 days.
Enjoying AmandBox? Follow us on Pinterest for more recipes.