
Witch Finger Breadsticks
Introduction
As the autumn chill sets in, Halloween-themed gatherings become a staple of the season. One of the most delightful and eerie dishes you can serve at such an event is Witch Finger Breadsticks. These spooky snacks not only embrace the themes of Halloween with their ghoulish appearance but also provide a delicious, savory treat that everyone will love. Combining simple ingredients with a fun presentation makes this recipe a fantastic choice, ideal for impressing your party guests or adding a playful touch to a family dinner. With each bite, the delicious breadsticks will have you conjuring up memories of festive celebrations while leaving your guests enchanted.
Table of Contents
Ingredients List
To create these Witch Finger Breadsticks, you’ll need the following ingredients:
– 1 package of refrigerated pizza dough (or homemade dough if preferred)
– 1/2 cup of sliced almonds (for the “nails”)
– 1 tablespoon of olive oil
– 1 teaspoon of garlic powder
– 1 teaspoon of dried Italian herbs (oregano, thyme, or basil)
– 1/2 teaspoon of salt
– Optional: Red food coloring or marinara sauce for a bloody effect
Timing
Preparing Witch Finger Breadsticks is a relatively quick process, making them an ideal snack for busy cooks. Here’s a breakdown of the timing:
– Preparation Time: 15 minutes
– Cooking Time: 15-20 minutes
– Total Time: Approximately 30-35 minutes
This quick preparation allows you to whip up a batch of these spooky delights, perfect for a last-minute party snack.
Step-by-Step Instructions
Creating Witch Finger Breadsticks is an easy and enjoyable experience. Follow these clear instructions for achieving the perfect whimsical treat:
1. Preheat the Oven: Start by preheating your oven to 400°F (200°C). This high temperature will help your breadsticks achieve that golden brown color.
2. Prepare the Dough: Open the refrigerated pizza dough. If you’re making homemade dough, roll it out onto a floured surface until it reaches about ¼ inch thickness. Cut the dough into strips approximately 1 inch wide and 4-5 inches long.
3. Season the Dough: In a small bowl, mix the olive oil, garlic powder, Italian herbs, and salt. Brush the mixture generously over each strip of dough. This enhances both the flavor and the golden appearance of your Witch Finger Breadsticks.
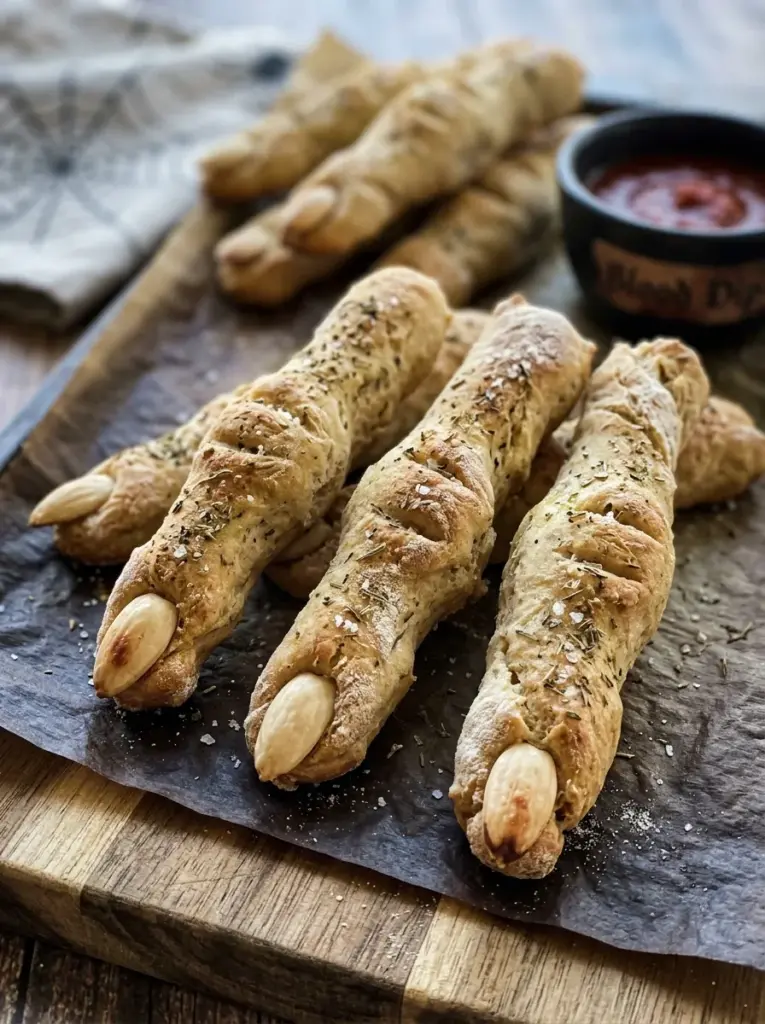
4. Shape the Fingers: Take one strip of dough and pinch one end to form a “finger” shape. You can twist it slightly for a more twisted finger appearance, giving it a more Halloween-like feel.
5. Add the Almond Nails: Place an almond slice at the tip of each finger to represent the fingernail. Press it firmly into the dough so it adheres well during baking.
6. Arrange on Baking Sheet: Line a baking sheet with parchment paper. Lay out your shaped breadsticks, ensuring they have enough space to expand as they bake.
7. Bake: Place the baking sheet in your preheated oven and bake for 15-20 minutes or until they are golden-brown. Keep an eye on them to ensure they don’t over-bake.
8. Serving: Remove from the oven and let cool slightly before serving. For an extra gory effect, you can drizzle red food coloring or offer marinara sauce as a dip for a ‘bloody’ twist.
By following these straightforward steps, you’ll have enchanting Witch Finger Breadsticks that bring a playful yet spooky vibe to your Halloween gatherings.
Nutritional Information
For those monitoring their intake, here’s a general breakdown of the nutritional content for one Witch Finger Breadstick (based on the recipe yielding around 12 sticks):
– Calories: approximately 120
– Protein: 3g
– Fat: 6g
– Carbohydrates: 12g
– Fiber: 0.5g
– Sugar: 0g
– Sodium: 200mg
These nutritional values make the Witch Finger Breadsticks a relatively guilt-free snack, allowing you and your guests to indulge in the festive spirit of Halloween without sacrificing health.
Tips
While the Witch Finger Breadsticks are simple to prepare, consider these tips for making them even better:
– Use Fresh Herbs: If available, fresh herbs can elevate the flavor profile of your breadsticks significantly.
– Play with Spices: Don’t hesitate to incorporate spices like paprika or cayenne for a flavorful kick.
– Make Ahead: You can prepare the dough and shape the sticks a day ahead and store them in the refrigerator until you’re ready to bake.
Alternative Methods
There are always ways to vary traditional recipes, and Witch Finger Breadsticks are no exception. Consider these alternative methods:
– Cheesy Variation: Add shredded cheese to the dough before shaping to create a cheesy version of the breadsticks.
– Gluten-Free Option: Use a gluten-free pizza dough if you or your guests have dietary restrictions.
– Vegan Alternative: Select vegan pizza dough and replace the almonds with a plant-based alternative for the ‘nails’.
Common Mistakes to Avoid
To achieve the best results with your Witch Finger Breadsticks, avoid these common pitfalls:
– Overbaking: Keep an eye on your breadsticks; overbaking can lead them to become hard and chewy instead of crusty and delicious.
– Misplacing the Almonds: Ensure you press the almond nails into the dough well; this prevents them from falling off during baking.
– Uneven Thickness: Aim for consistent dough thickness to ensure even baking.
Conclusion
Witch Finger Breadsticks are the perfect combination of whimsy and taste. Not only do they serve as an ideal party snack for Halloween, but they can also easily transition into other festive gatherings. This recipe brings joy and a hint of spookiness to your table, making it a memorable treat for all who partake. With careful attention to detail and a dash of creativity, you can craft these frightening, yet delicious, breadsticks that will have everyone coming back for seconds. Share your creations and return to our website for more exciting recipes that spark both joy in cooking and satisfaction at the dining table!
FAQs
Can I freeze these breadsticks?
Yes, you can freeze Witch Finger Breadsticks before baking. Just shape them and place them on a baking sheet in the freezer. Once frozen, transfer to a freezer bag and store for up to 3 months. Bake directly from frozen, adding a few extra minutes to the cooking time.
What can I use as a dip for these breadsticks?
Marinara sauce is a popular choice, but you could also try garlic butter, ranch dressing, or a zesty olive oil dip for a delicious accompaniment.
Can I make them spicy?
Absolutely! Incorporate crushed red pepper flakes into your olive oil mixture before brushing on the dough strips. You can also sprinkle some spicy seasoning on top before baking.
What’s the best way to cut the dough?
Using a pizza cutter is the most effective way to cut the dough into strips evenly.
Get ready to delight your guests with these irresistible Witch Finger Breadsticks, and remember to come back for more fantastically fun and delicious recipes!
More Appetizer Recipes to Try
- Garlic Butter Shrimp Pasta
- Sheet Pan Gnocchi
- French Bread Pizza
- Smash Burgers
- Grilled Chicken Skewers

Witch Finger Breadsticks
Ingredients
Equipment
Method
- Preheat the oven to 400°F.
- Line a baking sheet with parchment paper.
- Divide the pizza dough into 12 equal pieces.
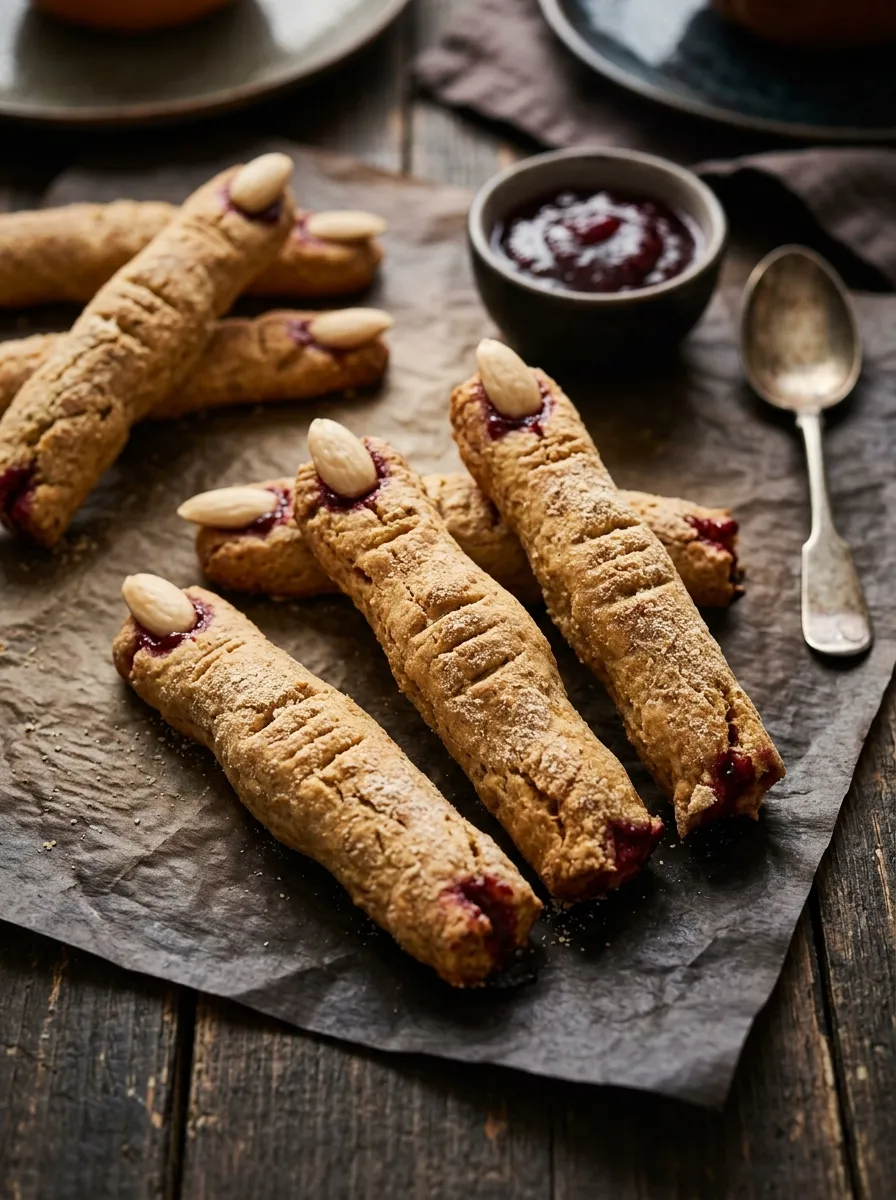
- Roll each piece into a finger-shaped breadstick, slightly thinner in the middle and wider at the knuckles.
- Place the dough fingers on the prepared baking sheet.
- Use a sharp knife to make two or three shallow lines across each finger to resemble knuckle creases.
- Press one sliced almond onto the tip of each dough finger to create the fingernail.
- In a small bowl, mix the olive oil, Italian seasoning, garlic powder, salt, and black pepper.
- Brush the seasoned oil over each breadstick.
- Sprinkle with Parmesan cheese.
- Bake for 12 to 15 minutes, or until golden brown and cooked through.
- Let cool for a few minutes before serving.
- Serve warm with marinara sauce for dipping.
Notes
Press the almond firmly into the dough so it stays in place.
Make the knuckle lines shallow so they remain visible after baking.
For softer breadsticks, avoid overbaking.
You can use sesame seeds instead of sliced almonds, but almonds create a more recognizable fingernail shape.
Serve with marinara, garlic butter, or your favorite dipping sauce.
Store leftovers in an airtight container for up to 2 days and reheat before serving.
Enjoying AmandBox? Follow us on Pinterest for more recipes.