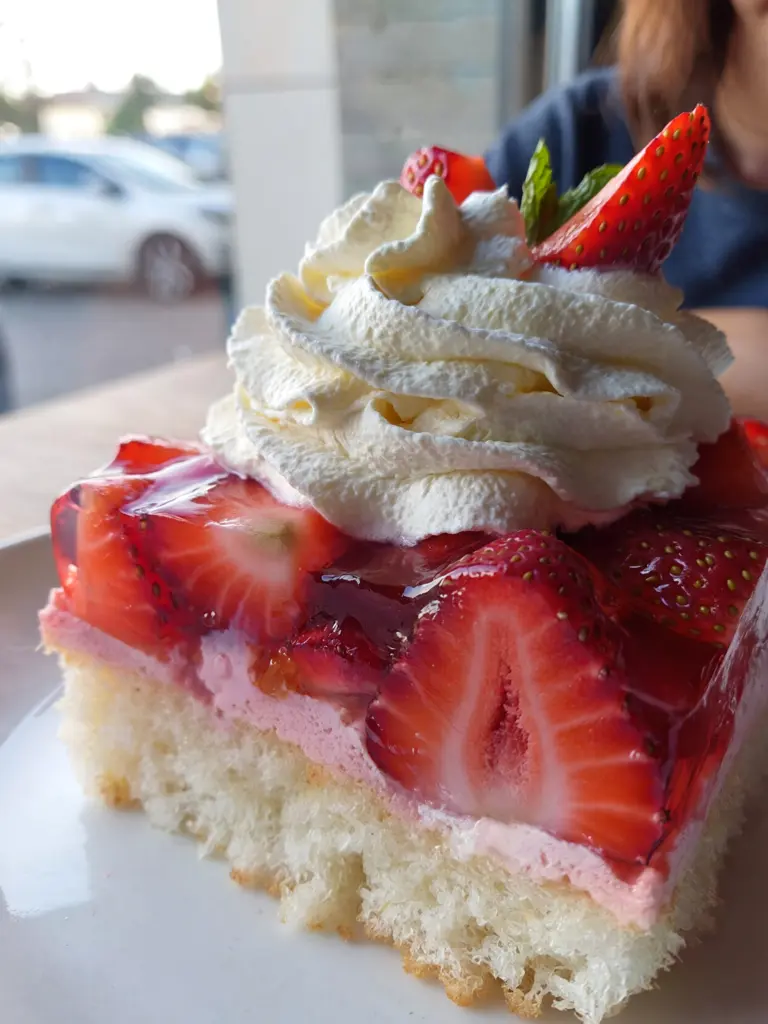

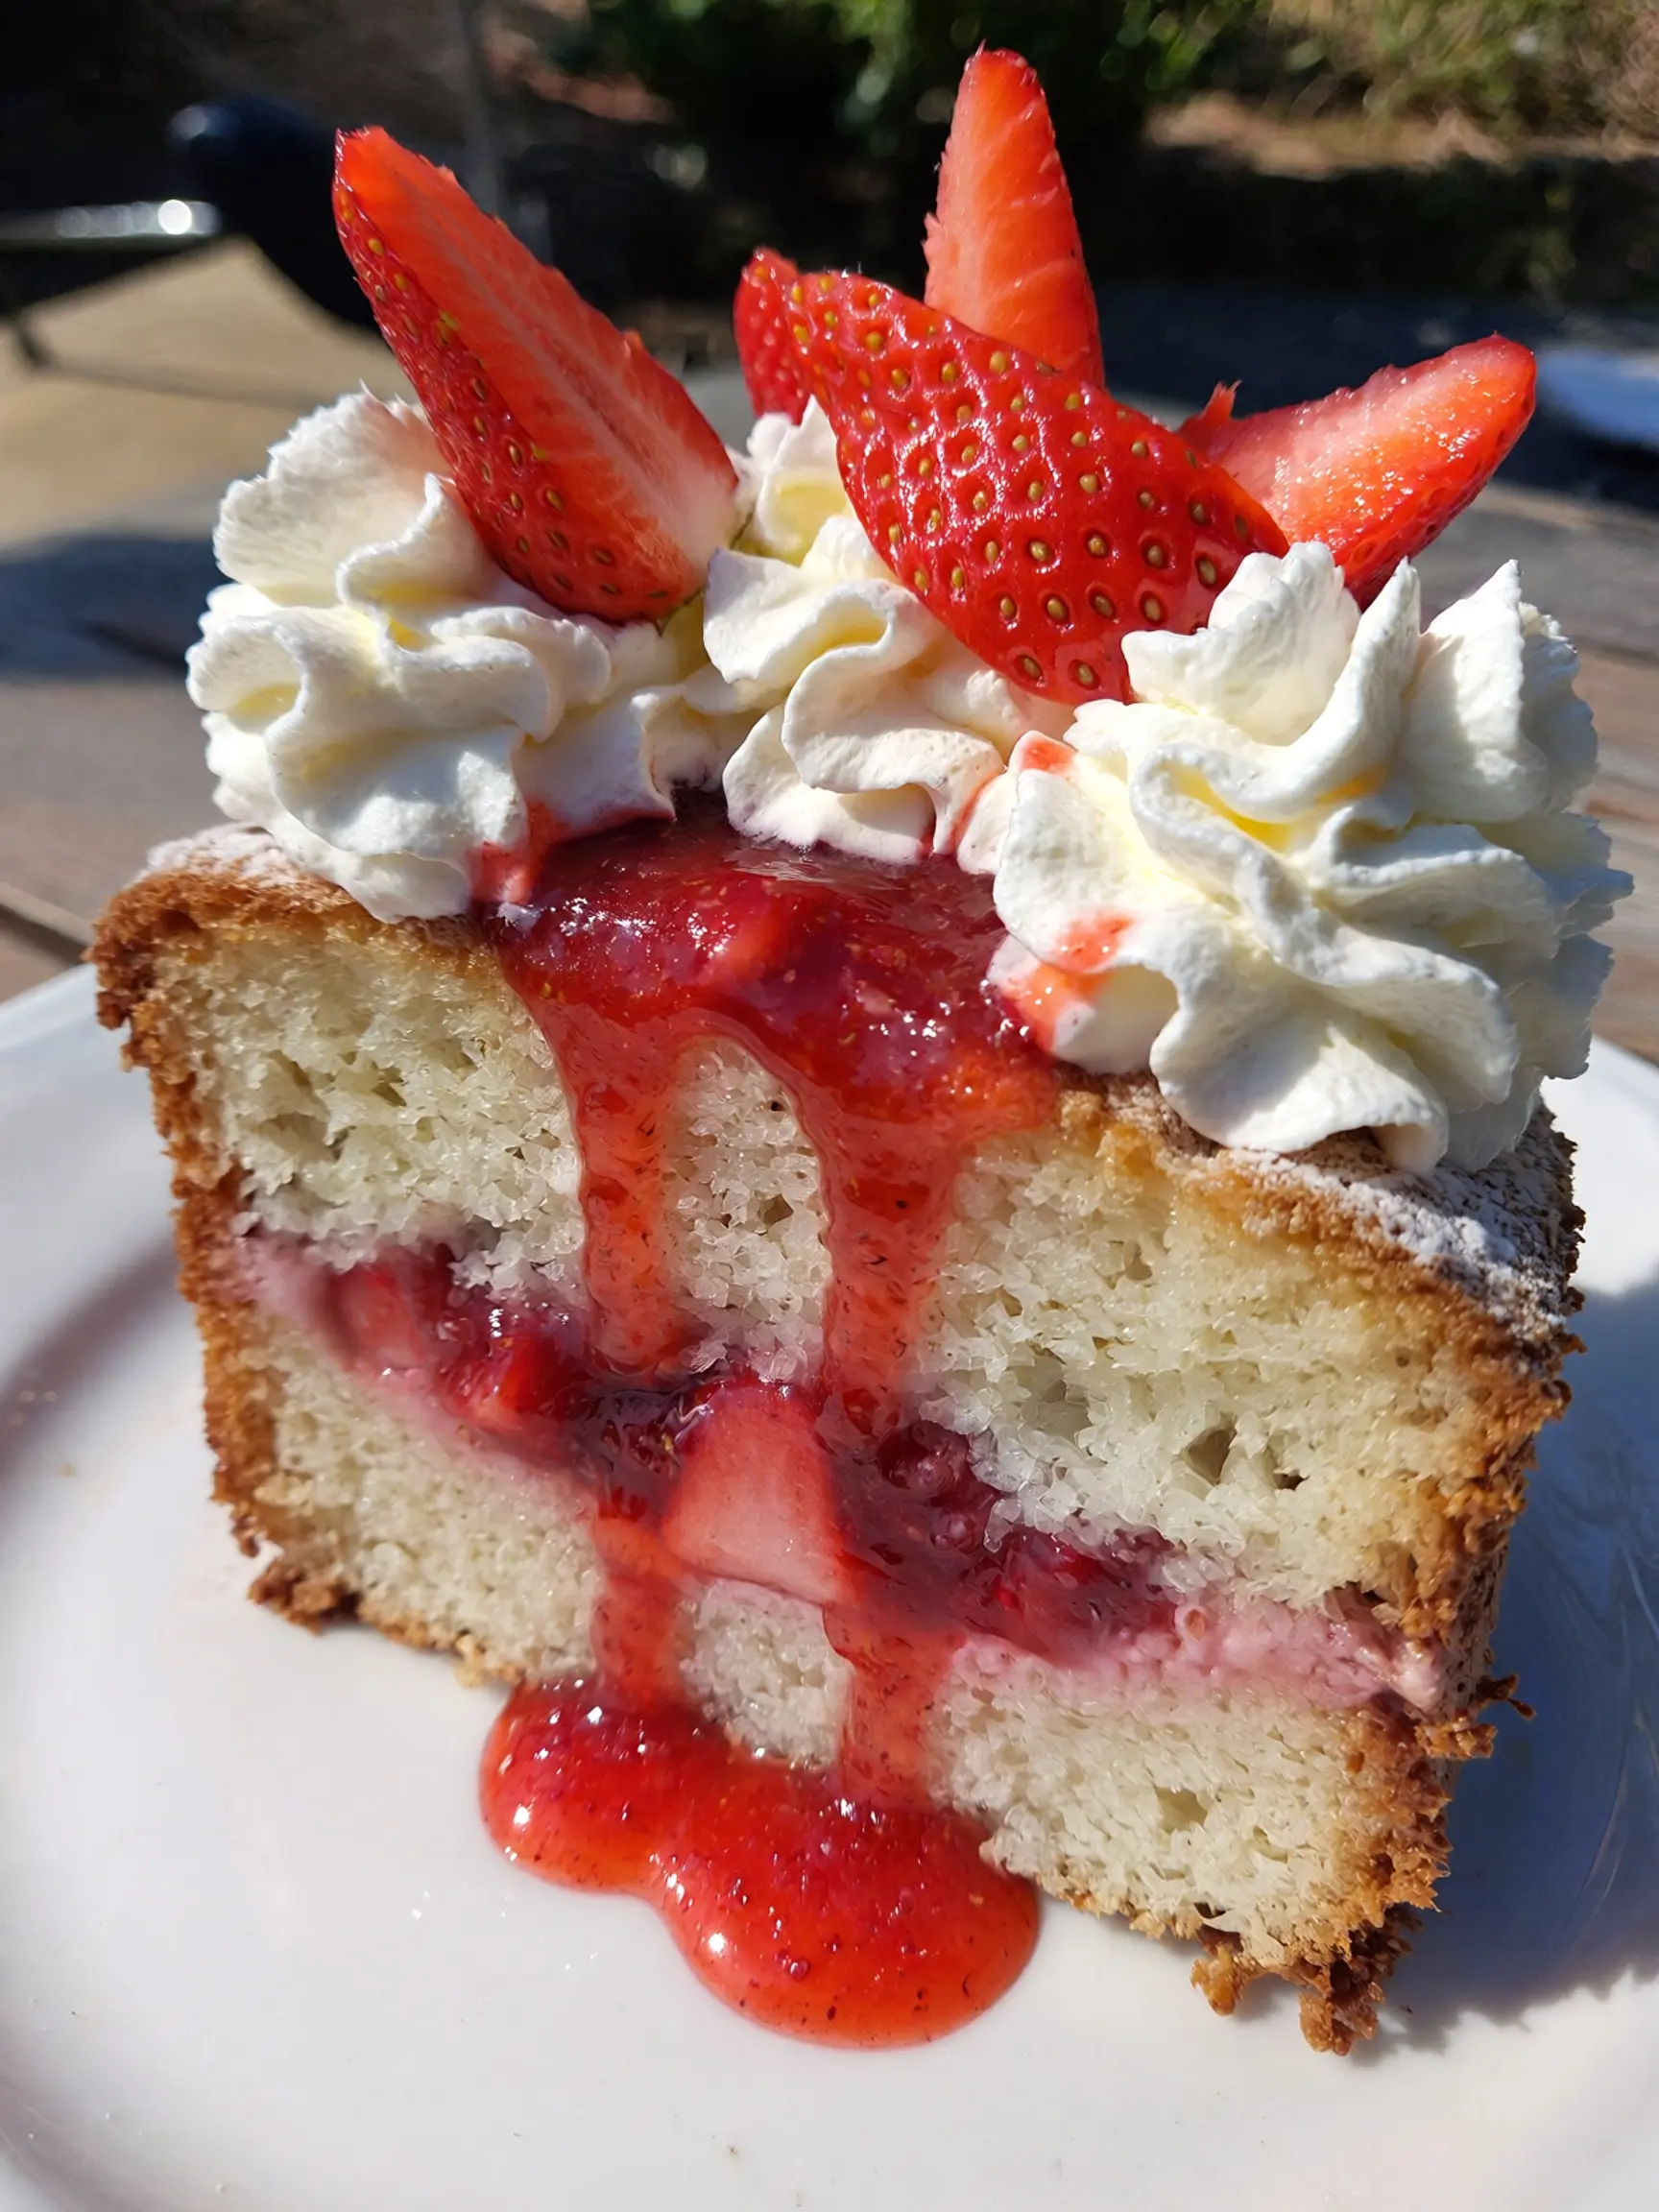
Strawberry Poke Cake
Did you know that search queries for “easy chilled desserts” spike by nearly 40% during the spring and summer months, yet over 60% of home bakers struggle with achieving the perfect moisture balance in their sponge cakes? If you’ve ever wondered why some cakes feel dry while others melt in your mouth with an explosion of fruit flavor, you’re likely overlooking the transformative power of the “poke” method.
This isn’t just a vintage trend; it is a culinary technique backed by flavor absorption science that ensures every crumb of your dessert is infused with vibrant strawberry essence. Whether you are a seasoned baker or a novice looking for a fail-proof centerpiece, mastering the Strawberry Poke Cake allows you to bridge the gap between gourmet quality and suburban simplicity.
Table of Contents
Essential Ingredients and Sensory Substitutions
To create a masterpiece, you need a foundation of high-quality ingredients that balance sweetness with acidity. The beauty of this recipe lies in its versatility—you can go fully homemade or utilize premium semi-homemade shortcuts without sacrificing the end result. For the cake base, you will need 1 box (15.25 oz) of white or yellow cake mix, or your favorite scratch-made vanilla sponge. To elevate the texture, swap the water called for on the box with whole milk for a richer crumb. You’ll also need 3 large eggs (room temperature to ensure better aeration) and 1/2 cup of melted unsalted butter, which provides a deeper flavor profile than standard vegetable oil.
The “poke” element requires 1 package (3 oz) of strawberry-flavored gelatin dissolved in 1 cup of boiling water, or for a more natural approach, a homemade strawberry reduction made from 2 cups of pureed berries and 1/4 cup of sugar. For the topping, prepare 1 tub (8 oz) of whipped topping or 2 cups of heavy cream whipped with powdered sugar. Finally, gather 1 pound of fresh, organic strawberries, sliced thinly to provide that essential “snap” of freshness against the soft cream.
If you are looking to pivot based on dietary needs or pantry availability, consider these expert substitutions. For a dairy-free version, utilize coconut milk and a plant-based butter alternative; the slight hint of coconut actually complements the strawberry beautifully. If you want to reduce the glycemic index, you can substitute the gelatin with a sugar-free variety or use a thickened strawberry balsamic glaze for a sophisticated, tangy twist. For those who prefer a denser, more European-style dessert, try using a pound cake base instead of a light sponge, which will absorb the liquid more slowly and result in a fudgy, decadent texture.
Precision Timing for Perfection
Efficiency in the kitchen is about more than just speed; it’s about temperature management. This recipe takes approximately 90 minutes of active and passive time, which is roughly 20% less time than a traditional layer cake that requires complex frosting and leveling. The preparation phase takes 15 minutes, primarily focusing on mixing the batter and prepping your berries. The baking phase requires 25 to 30 minutes, depending on your oven’s calibration. The most critical stage is the chilling phase, which takes at least 60 minutes.
While it might be tempting to rush this, data from food rheology suggests that gelatin-based infusions require this time to set within the cake’s structure, preventing a “soggy” bottom and ensuring a “moist” crumb. By planning ahead, you turn a simple cake into a structured dessert that holds its shape and flavor profile for days.
Step 1: Prepping the Foundation
Start by preheating your oven to 350°F (175°C) and greasing a 9×13-inch baking pan with non-stick spray or a light coating of butter and flour. In a large mixing bowl, combine your cake mix, milk, melted butter, and eggs. Use a hand mixer on medium speed for two minutes to incorporate air—this creates the “alveoli” or small holes in the cake that will later act as reservoirs for the strawberry nectar. Pour the batter evenly into the pan and bake for 25-30 minutes until a toothpick comes out clean. Pro-tip: Avoid over-baking; the cake will continue to set as it cools, and a slightly tender crumb absorbs the infusion better than a crusty one.
Step 2: The Art of the Poke
Once the cake is removed from the oven, let it cool for exactly 10 minutes. This is the “Goldilocks” window where the cake is firm enough to hold its shape but warm enough to let the liquid seep deep into the center.
Using the handle of a wooden spoon or a large glass pipette, poke holes across the entire surface of the cake at one-inch intervals. Aim to go about three-quarters of the way down. If you go all the way to the bottom, the liquid may pool at the base; if you go too shallow, the flavor stays on the surface. Consistency here ensures that every single bite delivered to your guests has an equal distribution of strawberry goodness.
Step 3: Infusing the Crimson Essence
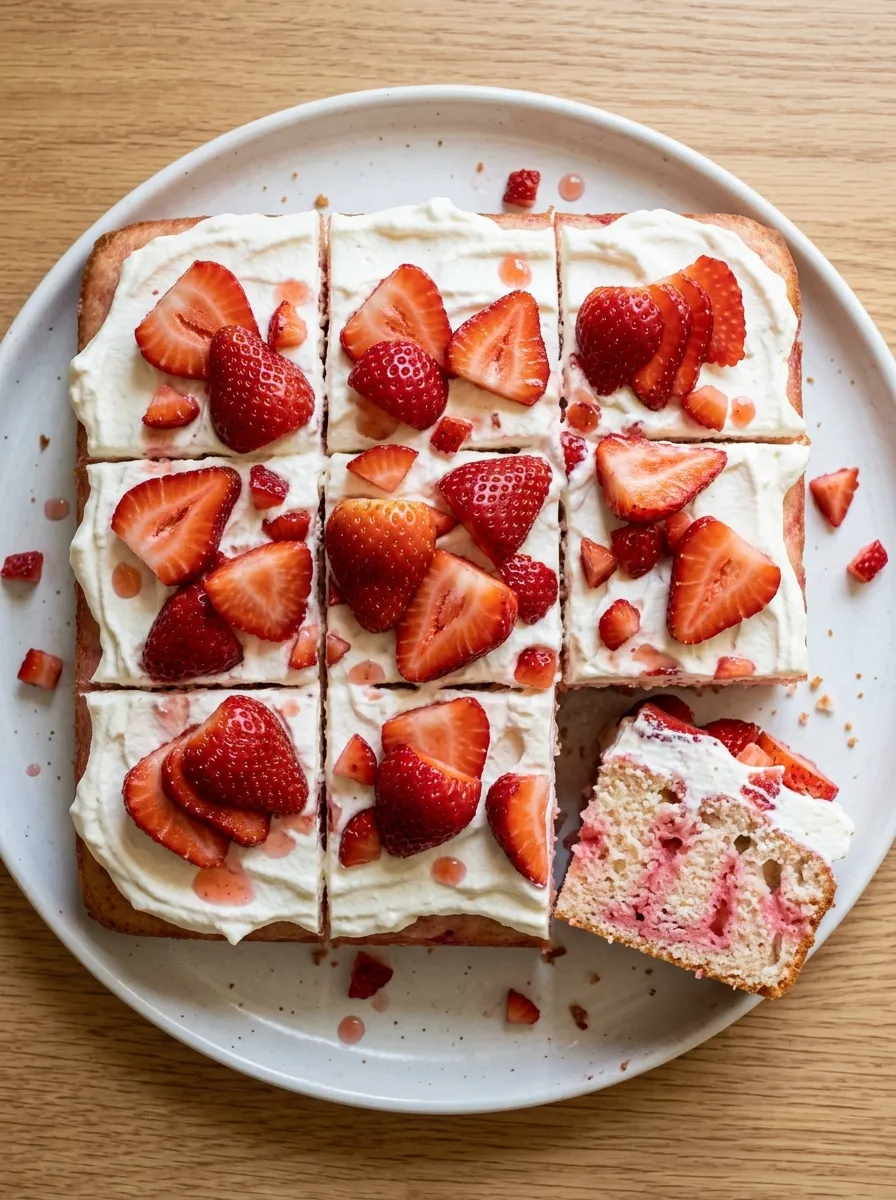
While the cake is resting in its “poked” state, whisk your strawberry gelatin into boiling water until fully dissolved. For a personalized touch, stir in a teaspoon of lemon zest to brighten the berry notes. Slowly and methodically pour the liquid over the holes, ensuring you target the openings specifically before spreading the remainder over the surface. The cake will act like a sponge, drawing the vibrant red liquid into its pores. This creates the signature “streaked” look when the cake is sliced, providing a visual appeal that is statistically proven to increase perceived flavor intensity by up to 15% in blind taste tests.
Step 4: The Cloud-Like Finish
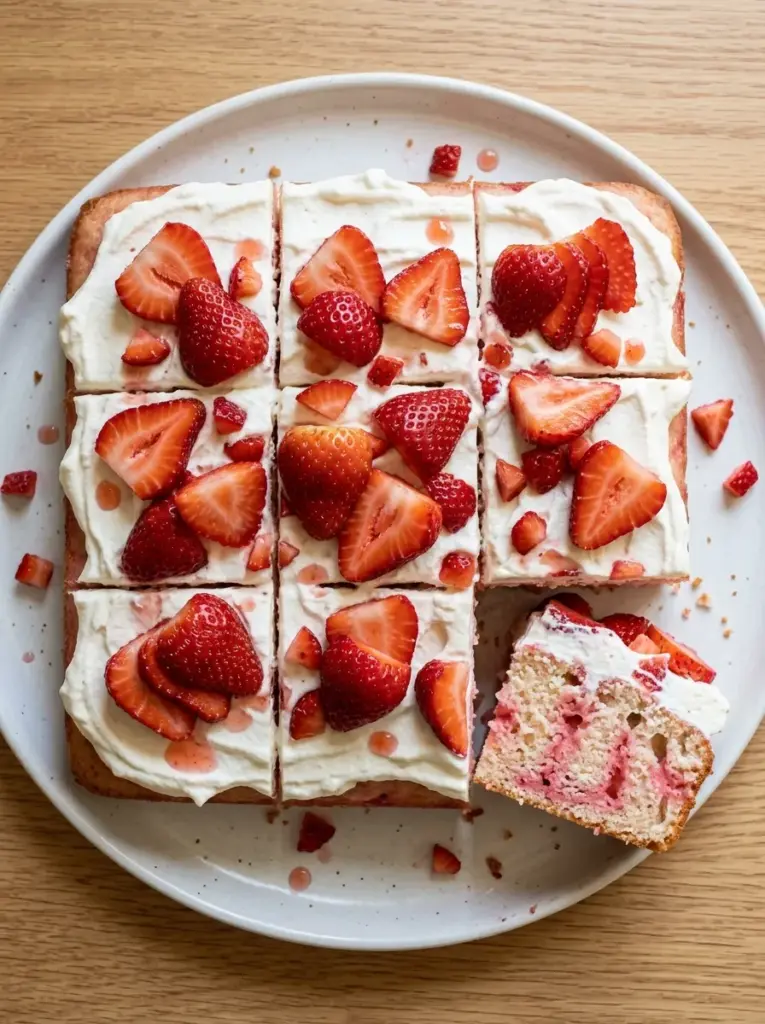
Cover the cake and refrigerate for at least one hour (or up to four). Once the cake is cold to the touch and the gelatin has set, it’s time for the crowning glory. Spread your whipped topping or stabilized whipped cream in an even, thick layer across the top. Use an offset spatula to create decorative swoops and peaks. Immediately before serving, arrange your fresh strawberry slices on top. Chef’s Secret: Pat your strawberry slices dry with a paper towel before placing them on the cream to prevent the red juice from “bleeding” and compromising the pristine white aesthetic of the topping.
Comprehensive Nutritional Information
Understanding the caloric and macronutrient breakdown of your treats is essential for a balanced lifestyle. A standard slice of Strawberry Poke Cake (1/12th of a 9×13 pan) contains approximately 280 calories. The breakdown typically includes 12g of fat, 42g of carbohydrates, and 3g of protein. While it is a celebratory dessert, it does provide a small boost of Vitamin C from the fresh strawberries. Data insights suggest that by using a sugar-free cake mix and Greek yogurt-based whipped topping, you can reduce the caloric density by nearly 30% without significantly altering the flavor profile.
Healthier Alternatives for the Recipe
For those tracking their macros or managing dietary restrictions, this recipe is incredibly adaptable. You can create a “Skinny” Poke Cake by using a sugar-free gelatin mix and replacing the butter in the cake with unsweetened applesauce at a 1:1 ratio. This significantly lowers the saturated fat content while maintaining moisture. Another excellent alternative is the Keto-Friendly Version, utilizing an almond flour-based vanilla cake, a strawberry reduction sweetened with erythritol, and heavy whipping cream. For an added nutritional punch, consider folding chia seeds into the strawberry puree; they provide Omega-3 fatty acids and help thicken the liquid naturally without the need for artificial binders.
Creative Serving Suggestions
Presentation is the final ingredient in any successful recipe. To make this dish resonate with a modern audience, consider serving individual portions in mason jars for a rustic, “picnic-ready” look. This layering technique emphasizes the contrast between the red-streaked cake and the white cream. For a sophisticated dinner party, garnish each square with a sprig of fresh mint and a dusting of freeze-dried strawberry powder. The mint adds an aromatic freshness that cuts through the sugar, while the powder provides a concentrated burst of color. If you’re serving this during a summer BBQ, pair it with a side of basil-infused lemonade—the herbal notes create a complex pairing that elevates the simple strawberry profile.
Common Mistakes to Avoid
The most frequent error in poke cake preparation is poking the holes too soon or too late. If the cake is piping hot, the holes may collapse back on themselves; if it’s stone cold, the liquid won’t penetrate the crumb effectively. Aim for that “warm to the touch” stage. Another pitfall is over-saturating the cake. While we want moisture, we don’t want a “mushy” texture. Ensure you stick to the 1-cup liquid ratio for a standard box mix. Finally, avoid using frozen strawberries for the topping. As they thaw, they release excess moisture which will cause your whipped topping to liquefy and slide off the cake. Stick to fresh, seasonal berries for the best structural integrity and flavor.
Storing Tips for Freshness
To maintain the peak quality of your Strawberry Poke Cake, it must be kept refrigerated at all times. Because of the dairy in the topping and the moisture in the cake, it is prone to spoilage if left at room temperature for more than two hours. Cover the pan tightly with plastic wrap or a lid to prevent the cake from absorbing “fridge odors.”
When stored correctly, the cake actually improves in flavor on the second day as the strawberry essence further permeates the sponge. It will stay fresh for up to 4 days. While you can freeze the cake base, we do not recommend freezing the fully assembled cake, as the whipped topping and fresh berries do not hold their texture well upon thawing.
Conclusion
The Strawberry Poke Cake remains a perennial favorite because it strikes the perfect chord between nostalgia and culinary science. By utilizing the poke-and-fill method, you ensure a level of moisture that traditional cakes simply cannot match. From the vibrant visual of the red-streaked sponge to the airy lightness of the whipped topping, this dessert is a masterclass in texture and flavor balance. We invite you to try this recipe for your next gathering—be sure to share your results on social media and tag us to show off your berry-filled creations! If you enjoyed this guide, explore our other “Science of Baking” posts to further refine your kitchen skills.
Frequently Asked Questions
Can I use a different fruit flavor for Strawberry Poke Cake?
Absolutely. You can customize Strawberry Poke Cake with other flavors such as lemon, lime, raspberry, or even chocolate. Choose a gelatin, curd, or filling that complements the cake for an easy variation.
What is the best tool for poking holes in Strawberry Poke Cake?
A wooden spoon handle works well for creating larger holes that allow the strawberry filling to travel deep into the cake. For smaller, more evenly distributed holes, you can use the handle of a clean utensil or a large fork. The key is to make the holes deep enough for the filling to spread throughout the Strawberry Poke Cake.
Can I make Strawberry Poke Cake ahead of time?
Yes. In fact, Strawberry Poke Cake is an excellent make-ahead dessert. Preparing it several hours or up to a day in advance gives the filling time to soak into the cake and allows the dessert to become thoroughly chilled before serving.
Why did the gelatin stay on top of my Strawberry Poke Cake?
This can happen if the holes are too shallow or the cake is too cold when the gelatin is added. Make deep, evenly spaced holes throughout the Strawberry Poke Cake, then pour the filling slowly so it has enough time to seep into the sponge.
More Dessert Recipes to Try

Strawberry Poke Cake
Ingredients
Equipment
Method
- Preheat the oven and prepare the vanilla cake according to the package directions in a greased 9×13-inch baking pan.
- Bake until a toothpick inserted into the center comes out clean.
- Let the cake cool for about 15 minutes.
- Using the handle of a wooden spoon or a large skewer, poke holes evenly across the entire cake.
- In a small bowl, dissolve the strawberry gelatin in 1 cup of boiling water.
- Stir in the cold water until combined.
- Slowly pour the gelatin mixture over the cake, making sure it fills the holes.
- Refrigerate the cake for at least 2 hours.
- Spread the whipped topping evenly over the chilled cake.
- Arrange the sliced strawberries over the top.
- Drizzle with strawberry sauce if desired.
- Refrigerate for another 30 minutes before slicing and serving.
Notes
Space the holes evenly to distribute the strawberry flavor throughout the cake.
Chill the cake thoroughly before adding the whipped topping.
Fresh strawberries make a great topping, but sliced raspberries can also be used.
Store covered in the refrigerator for up to 4 days.
For cleaner slices, refrigerate the cake overnight before serving.
Enjoying AmandBox? Follow us on Pinterest for more recipes.