
Dark Chocolate Graveyard Cake
Introduction
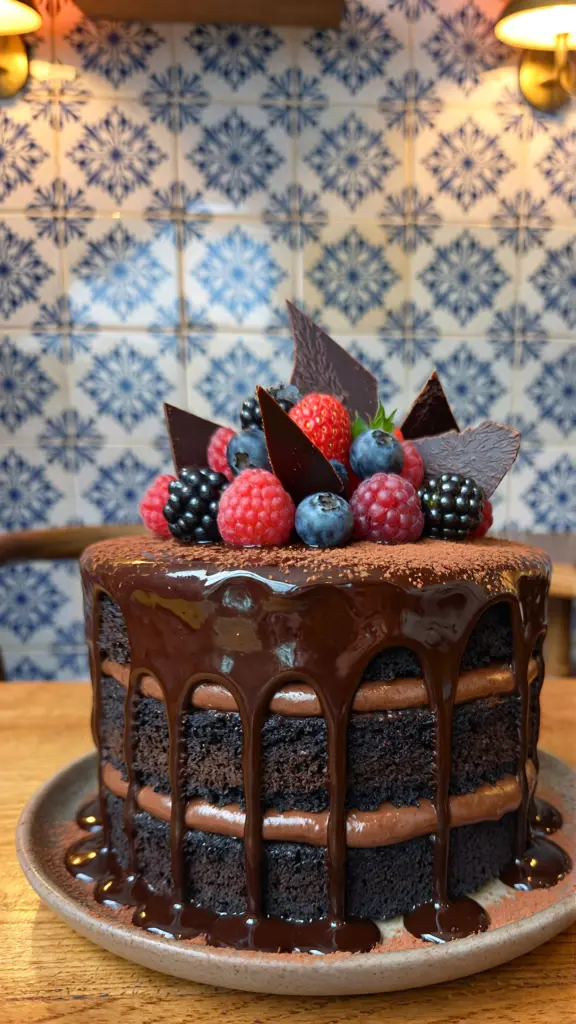
When the leaves begin to fall and the chill of autumn settles in, it’s the perfect time to indulge in delightful desserts that warm the spirits. One standout creation that embodies the essence of this season is the Dark Chocolate Graveyard Cake. This spooky yet scrumptious treat is not only visually captivating but also rich in flavor, making it an ideal centerpiece for Halloween festivities or any autumn gathering. The intense chocolate flavor coupled with the playful decorations serves as a conversation starter and a crowd-pleaser, ensuring that your event is both memorable and delicious.
Table of Contents
Ingredients List
To create this Dark Chocolate Graveyard Cake, gather the following ingredients:
For the Cake:
– 1¾ cups all-purpose flour
– 2 cups granulated sugar
– ¾ cup unsweetened cocoa powder
– 1½ teaspoons baking powder
– 1½ teaspoons baking soda
– 1 teaspoon salt
– 2 large eggs
– 1 cup whole milk
– ½ cup vegetable oil
– 2 teaspoons vanilla extract
– 1 cup boiling water
For the Frosting:
– 1 cup unsalted butter, softened
– 3½ cups powdered sugar
– ½ cup unsweetened cocoa powder
– ⅓ cup heavy cream
– 1 teaspoon vanilla extract
For Decorations:
– Crushed chocolate cookies (for “dirt”)
– Gummy worms
– Edible grave markers (such as cookies or candies)
– Fondant (optional, for more intricate decorations)
Timing
Before diving into the baking process, timing is critical. Here’s a breakdown:
– Preparation Time: 20 minutes
– Baking Time: 30-35 minutes
– Cooling Time: 1 hour
– Frosting and Decorating Time: 30 minutes
– Total Time: Approximately 2 hours and 25 minutes
Step-by-Step Instructions
Creating your Dark Chocolate Graveyard Cake involves several straightforward steps that come together to create a stunning dessert.
1. Preheat the Oven: Begin by preheating your oven to 350°F (175°C). This ensures that the cake will rise perfectly.
2. Prepare Cake Pans: Grease and flour two 9-inch round cake pans. Alternatively, you can use parchment paper for easier removal after baking.
3. Mix Dry Ingredients: In a large mixing bowl, sift together the flour, sugar, cocoa powder, baking powder, baking soda, and salt. This ensures even distribution and helps aerate the flour.
4. Combine Wet Ingredients: In another bowl, whisk together the eggs, milk, vegetable oil, and vanilla extract until well combined.
5. Combine Mixtures: Gradually add the wet ingredients into the dry mixture, mixing well until just combined.
6. Add Boiling Water: Carefully stir in the boiling water. The batter will be thin, which is normal.
7. Bake: Divide the batter evenly between the prepared cake pans and bake in the preheated oven for 30–35 minutes, or until a toothpick inserted in the center comes out clean.
8. Cool the Cakes: Once baked, remove the pans from the oven and let them cool in the pans for 10 minutes. Then, transfer the cakes onto wire racks to cool completely.
9. Frosting Preparation: While the cakes cool, prepare the frosting by beating the softened butter in a large bowl until creamy. Gradually add the powdered sugar and cocoa powder, alternating with the heavy cream, until you reach a fluffy consistency. Stir in the vanilla extract.
10. Layer the Cakes: Once the cakes are completely cooled, place one layer on a serving plate. Spread an even layer of frosting on top before adding the second layer of cake.
11. Frost the Cake: Apply a thin layer of frosting over the entire cake to create a crumb coat. This locks in the crumbs. Then, spread a final, thicker layer of frosting evenly over the cake.
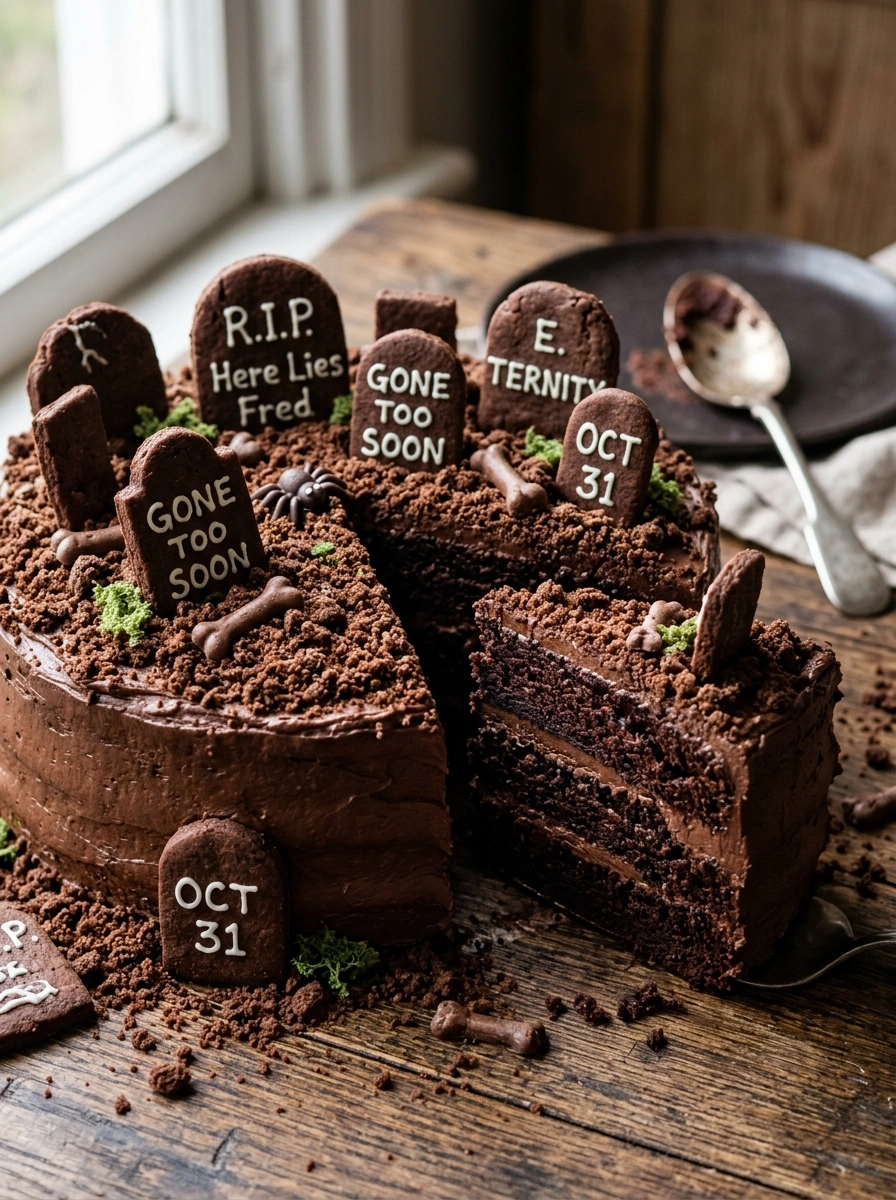
12. Decorate the Graveyard: Sprinkle crushed chocolate cookies around the base of the cake for “dirt.” Use gummies to create worms that crawl out from the cake. Place the grave markers on top, and add any additional decorations you desire.
Nutritional Information
Understanding the nutritional content of your Dark Chocolate Graveyard Cake can provide valuable insights, especially if you’re mindful of dietary preferences or restrictions. Here’s an approximation per slice (based on a 12-slice cake):
– Calories: 350
– Total Fat: 15g
– Saturated Fat: 8g
– Cholesterol: 50mg
– Sodium: 300mg
– Total Carbohydrates: 52g
– Dietary Fiber: 2g
– Sugars: 35g
– Protein: 4g
Remember, enjoyment in moderation is key to appreciating delicious desserts!
Tips
1. Use Quality Ingredients: The flavor of your cake relies heavily on the quality of your cocoa powder and chocolate. Opt for high-quality dark chocolate for the frosting and use Dutch-processed cocoa for a richer taste.
2. Experiment with Flavors: Don’t hesitate to infuse some additional flavors like espresso powder in the batter or flavored extracts in the frosting.
3. Allow Cakes to Cool Completely: Always ensure your cake layers are fully cooled before frosting to prevent melting and sliding.
4. Layering and Decorating: When layering and decorating, take the time to make sure the layers are even and the frosting is smooth. Clean your spatula as needed to achieve a clean finish.
Alternative Methods
If you’re looking to switch things up, consider these alternatives to make your Dark Chocolate Graveyard Cake uniquely yours:
1. Gluten-Free Version: Substitute all-purpose flour for a gluten-free blend. Ensure that your baking powder is gluten-free as well.
2. Vegan Option: Replace eggs with flaxseed meal or a commercial egg substitute, opt for non-dairy milk, and use vegan butter for the frosting.
3. Different Flours: Experiment with almond or coconut flour for a different nutty flavor. Just adjust the wet ingredients accordingly.
4. Choosing Different Add-ins: Instead of gummy worms, you can decorate with chocolate spiders or edible glitter for a more whimsical theme.
Common Mistakes to Avoid
Baking, while rewarding, requires attention to detail. Here are common pitfalls to watch for when making your Dark Chocolate Graveyard Cake:
– Overmixing the Batter: Once you add the wet ingredients, mix only until combined to ensure a tender cake.
– Underbaking: Conduct the toothpick test but also learn the feel of the cake; it should spring back slightly when touched.
– Not Using Room Temperature Ingredients: Allow eggs and butter to sit out for a while to reach room temperature for better incorporation.
– Skipping Crumb Coat: Applying a crumb coat before the final layer of frosting helps achieve a clean finish without crumbs messing up the surface.
Conclusion
Crafting a Dark Chocolate Graveyard Cake is more than just a task; it’s an experience that beckons creativity and joy during the autumn season. This delightful dessert is not merely a treat but a centerpiece that brings friends and family together, igniting laughter and nostalgia. Whether you’re hosting a children’s Halloween party or a cozy autumn gathering, this cake will impress and satisfy. So embrace your inner baker and make this cake for your next event. Once you’ve tried it, be sure to return to my website for more delectable recipes that will inspire you in the kitchen.
If you are looking for a rich and festive dessert, this Dark Chocolate Graveyard Cake is a delicious choice. With deep chocolate flavor and a fun graveyard-inspired design, Dark Chocolate Graveyard Cake makes a memorable centerpiece for any dessert table. Serve this Dark Chocolate Graveyard Cake at parties, gatherings, or seasonal celebrations for a fun treat everyone will enjoy.
FAQs
Q: Can I make the Dark Chocolate Graveyard Cake ahead of time?
A: Absolutely! You can bake the cake layers a day or two in advance and store them in the refrigerator. Frost just before serving for optimal freshness.
Q: Can I freeze leftover cake?
A: Yes, you can freeze the cake. Wrap it tightly in plastic wrap and then in aluminum foil. It will freeze well for up to three months. Thaw in the refrigerator overnight before enjoying.
Q: Is there a way to make this cake less sweet?
A: You can reduce the amount of sugar in the frosting or opt for a dark chocolate that is lower in sugar to balance the flavors.
Q: What if I don’t have some ingredients?
A: Baking is flexible! Feel free to explore substitutes for ingredients you might not have on hand, keeping in mind the overall texture and flavor.
Q: How should I store the Dark Chocolate Graveyard Cake?
A: Store the cake in an airtight container at room temperature for up to 3 days, or in the fridge for a week to maintain its freshness.
Diving into the world of baking allows you not just to create but to share beautiful moments. Why wait? Whip up your own Dark Chocolate Graveyard Cake, revel in its deliciousness, and return to the kitchen for more culinary adventures!
More Delicious Recipes

Dark Chocolate Graveyard Cake
Ingredients
Equipment
Method
- Preheat the oven to 350°F (175°C). Grease and line a 9×13-inch baking pan with parchment paper.
- In a large bowl, whisk together the flour, cocoa powder, sugar, baking powder, baking soda, and salt.
- Add the eggs, buttermilk, vegetable oil, and vanilla extract. Mix until combined.
- Gradually stir in the hot coffee until the batter is smooth.
- Pour the batter into the prepared pan and bake for 30 to 35 minutes, or until a toothpick inserted into the center comes out clean.
- Let the cake cool in the pan for 10 minutes, then transfer it to a wire rack and cool completely.
- To make the frosting, beat the softened butter until creamy.
- Gradually add the powdered sugar and cocoa powder, alternating with the heavy cream.
- Add the vanilla extract and salt, then beat until smooth and fluffy.
- Spread the chocolate frosting evenly over the cooled cake.
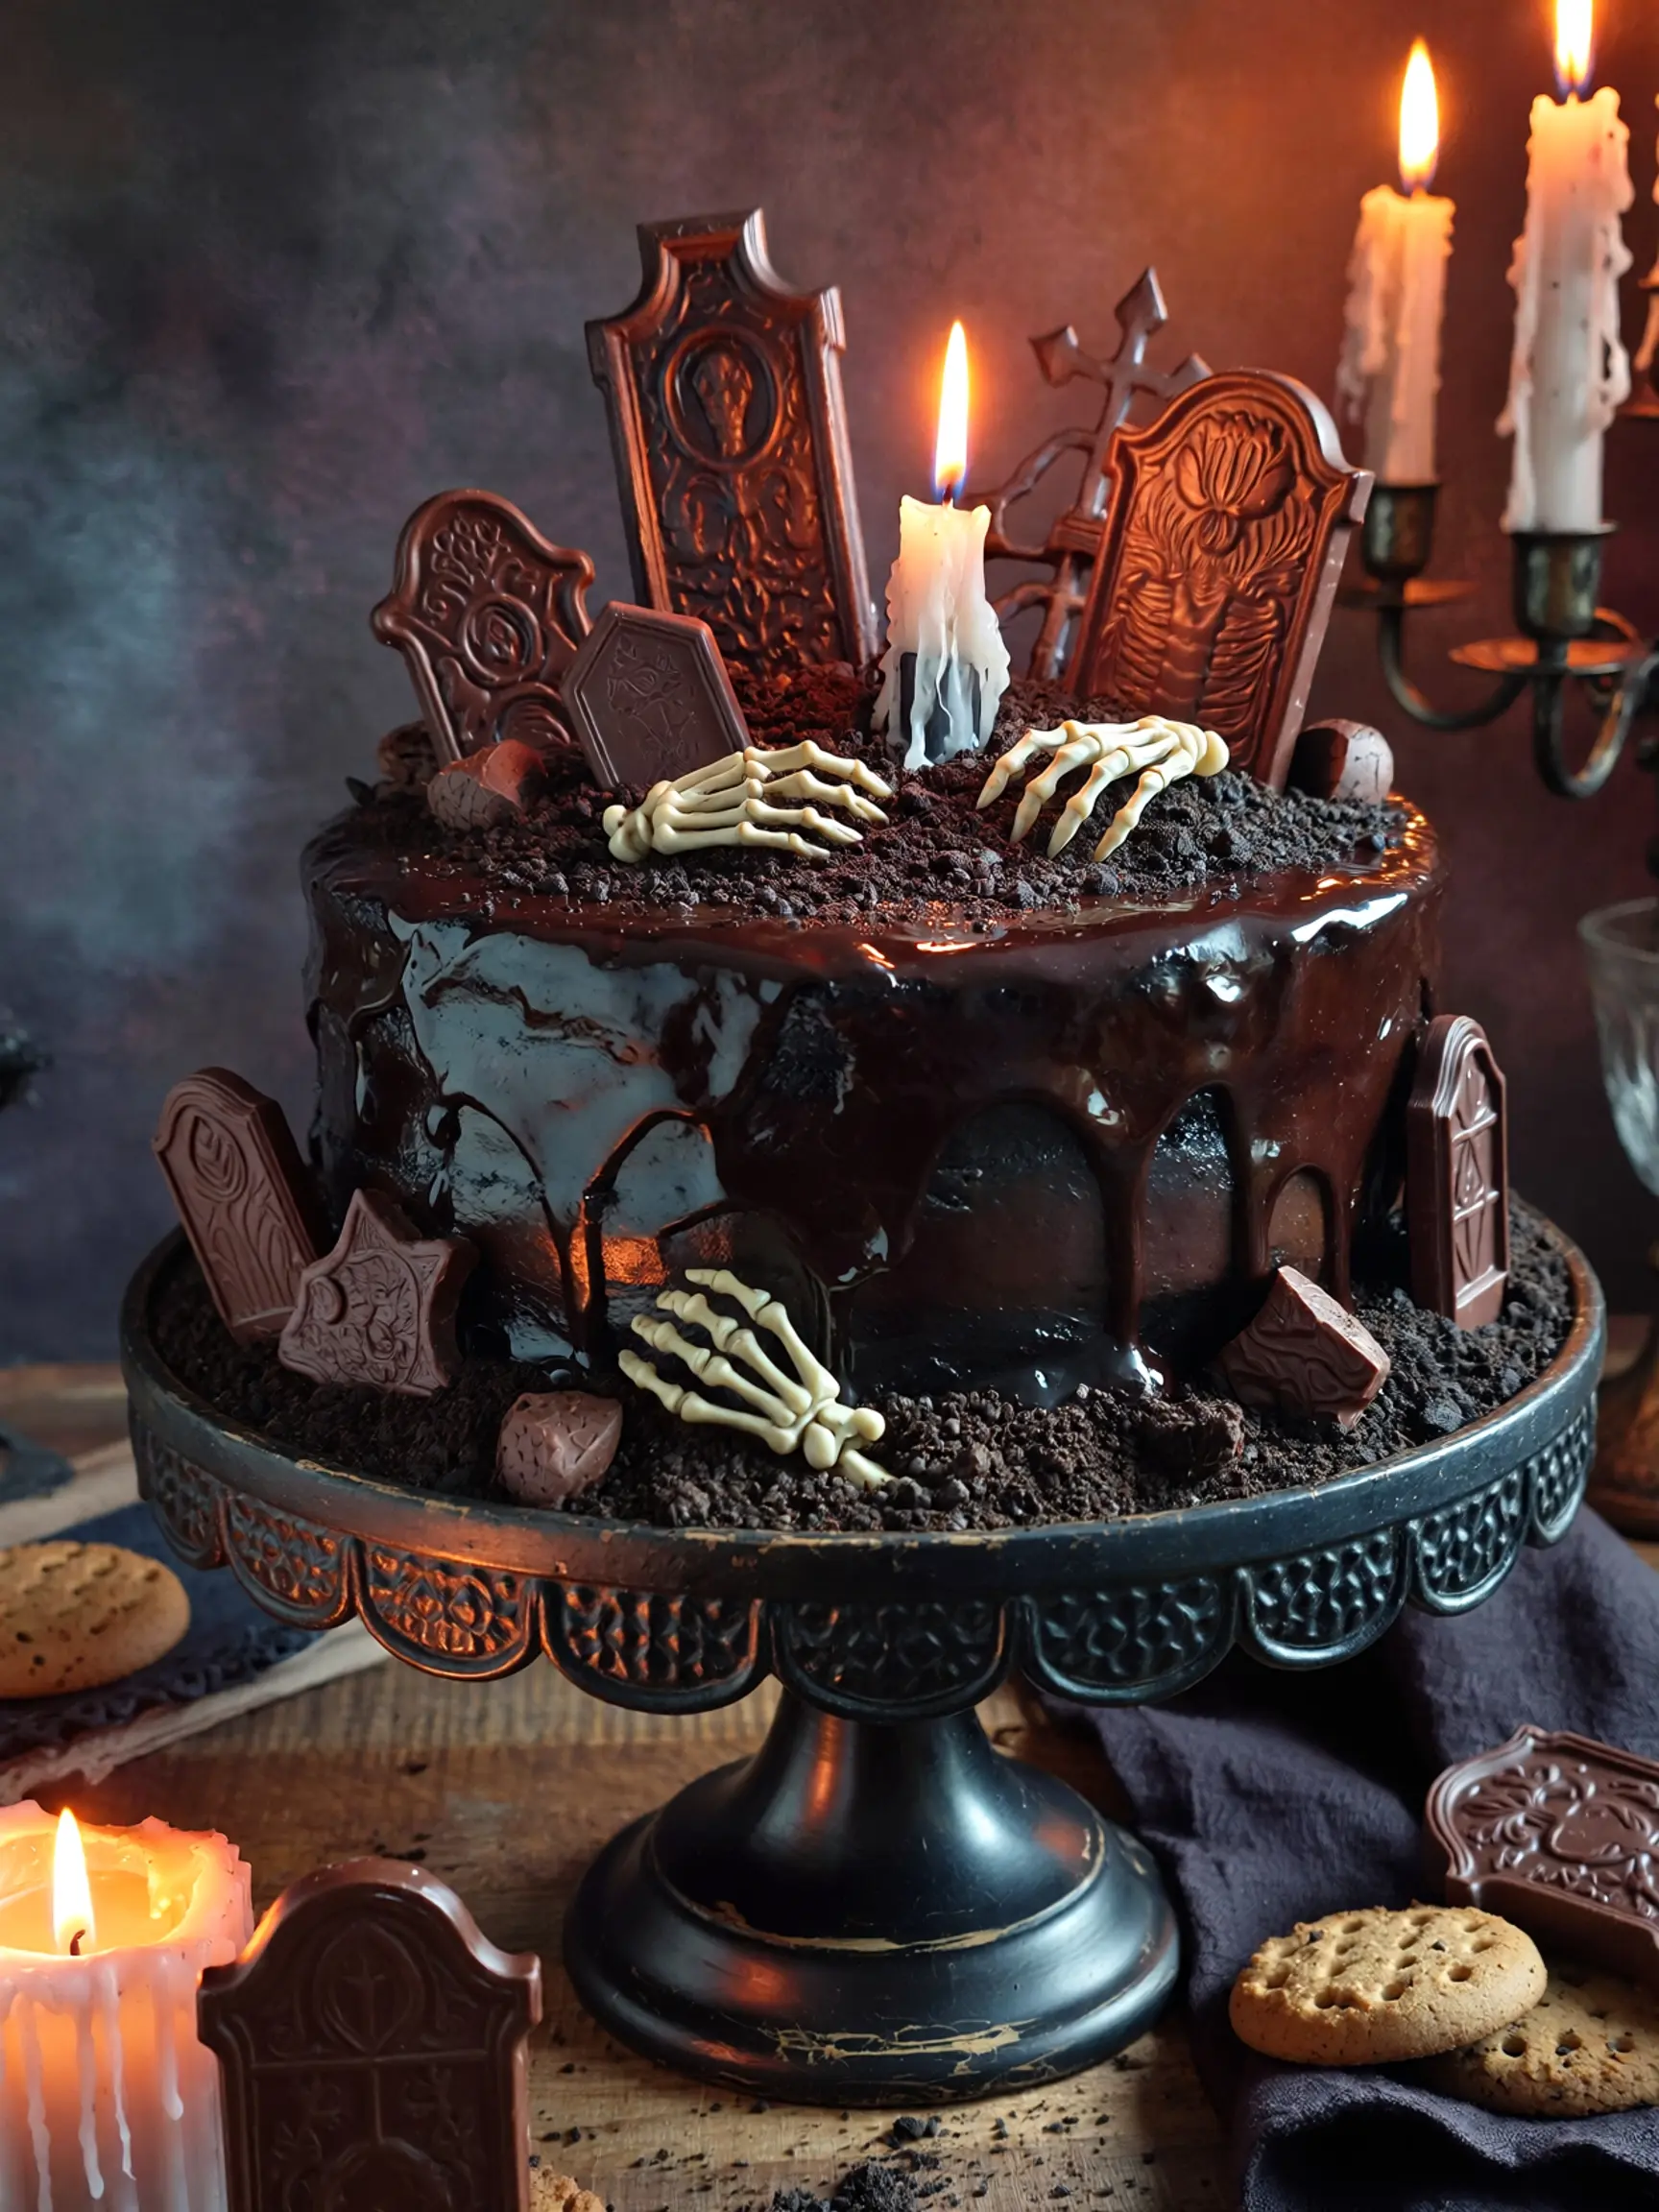
- Sprinkle the crushed chocolate sandwich cookies over the frosting to create the graveyard ground.
- Use the chocolate cookies as tombstones, securing them with a small amount of frosting if needed.
- Melt the chocolate and pipe small spooky details onto the cookie tombstones.
- Use the white decorating icing to add names, crosses, or simple graveyard designs.
- Refrigerate the cake for 20 to 30 minutes before serving to help the decorations set.
Notes
Use finely crushed cookies for a more realistic graveyard ground.
The cake can be decorated a few hours before serving.
Store covered in the refrigerator for up to 4 days.
Let the cake sit at room temperature for about 15 minutes before serving.
Enjoying AmandBox? Follow us on Pinterest for more recipes.